⚠️ This page connects you to Atovia’s partners and affiliate markets. We may receive a commission from affiliate partners for activities made through these links. Discount offers may change at any time according to policy! Rest assured, there are no additional costs to you! We hope this saves you time in finding the right items!
If you are wondering where to begin, you are not alone. Studying planets can mean two different things: spotting and tracking planets yourself with a free star-map program, or learning how scientists study worlds they can never touch. This guide walks through both paths in order, starting with what you can do from your own backyard tonight and ending with how researchers find planets around other stars.
- Start Here: What Counts as a Planet and What Planetary Science Covers
- Step 1: Pick One Planet and Set Up a Free Star Map
- Step 2: Read the Sky Correctly (Direction and Altitude)
- Step 3: Know Which Planets You Can Actually See
- Step 4: Record Positions Over Several Nights
- Step 5: Know the Limits of Naked-Eye Observation
- How Scientists Study Planets Up Close: Missions, Mapping, and Labs
- How Light Reveals What Planets Are Made Of
- How Scientists Find Planets They Cannot See
- Candidate vs. Confirmed: How Discoveries Are Verified
- A Simple Study Plan You Can Start This Week
- Frequently Asked Questions
- Key Takeaways and Next Steps
- Start with one planet, a free star-map program, and your own location, date, and time.
- Which planets you can see depends on the date, the time, and where you are, so check the star map each time.
- Logging a planet’s position over several nights lets you practice predicting where it will appear next.
- Spotting a bright point in the sky is a different level of observation from analyzing a planet scientifically.
- Scientists study planets with spacecraft, mapping, lab work, computer models, and careful analysis of light.
- A planet signal around another star is a candidate until follow-up work supports it.
Start Here: What Counts as a Planet and What Planetary Science Covers
NASA counts eight planets in our solar system. Pluto was reclassified as a dwarf planet in 2006 under a classification from the International Astronomical Union, so it is no longer in that list of eight.
Planetary science is wider than the planets alone. According to the U.S. Geological Survey, it also covers moons and small bodies such as asteroids and comets, along with their atmospheres, interiors, and the processes that shape them.
That gives you two paths to follow in this guide:
- Observe it yourself: find a planet in the real sky and track how it moves.
- Learn how scientists do it: understand the methods used to study planets that nobody can visit or see up close.
Step 1: Pick One Planet and Set Up a Free Star Map
NASA JPL’s classroom activity “Find Planets in the Sky” begins with a simple rule: choose one planet. Trying to find several at once makes it harder to learn how the sky works.
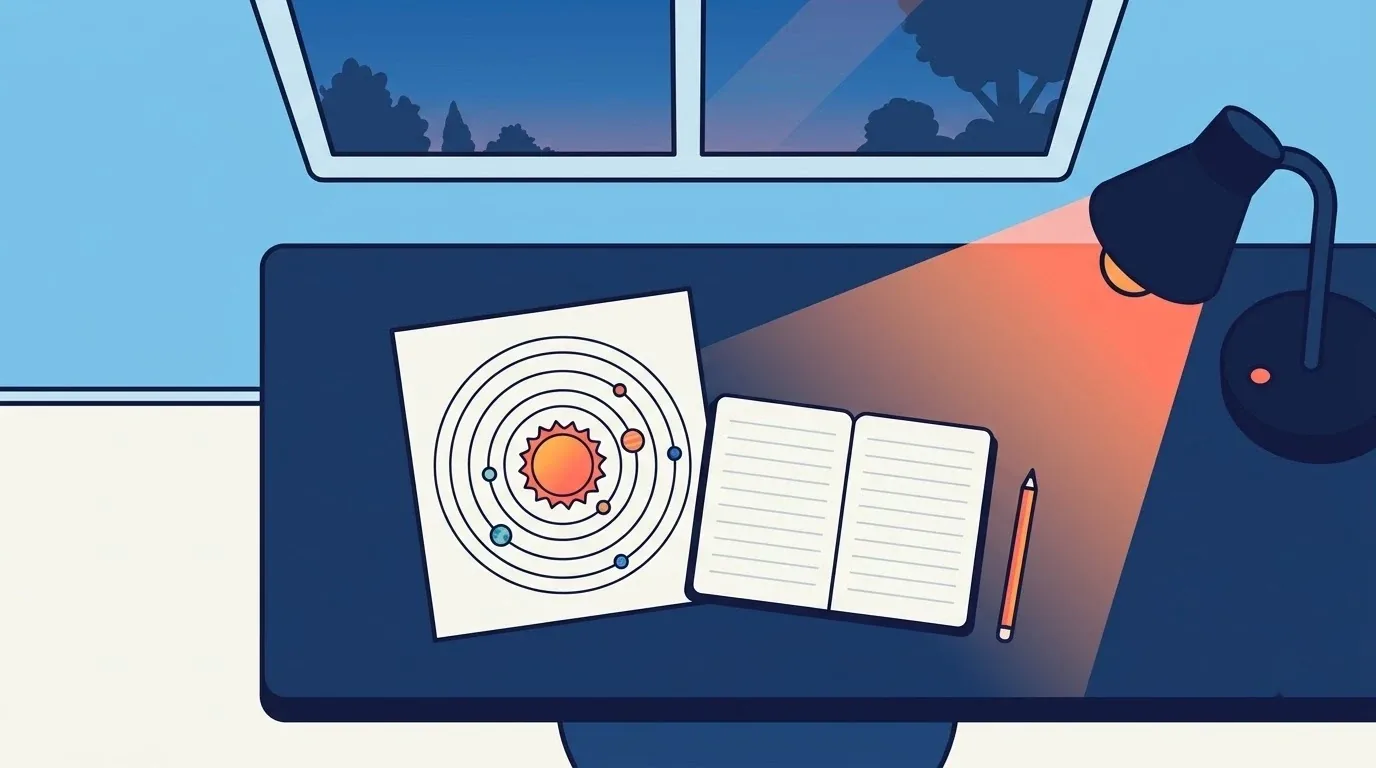
Next, open a free star-map program and enter three settings:
- Location: where you will actually be standing when you observe.
- Date: the night you plan to look.
- Time: the hour you plan to look.
These three settings matter because the sky changes with all of them. A planet that is easy to find on one night or from one place may be hidden on another, so always check the map first instead of relying on a list you read somewhere else.
Step 2: Read the Sky Correctly (Direction and Altitude)
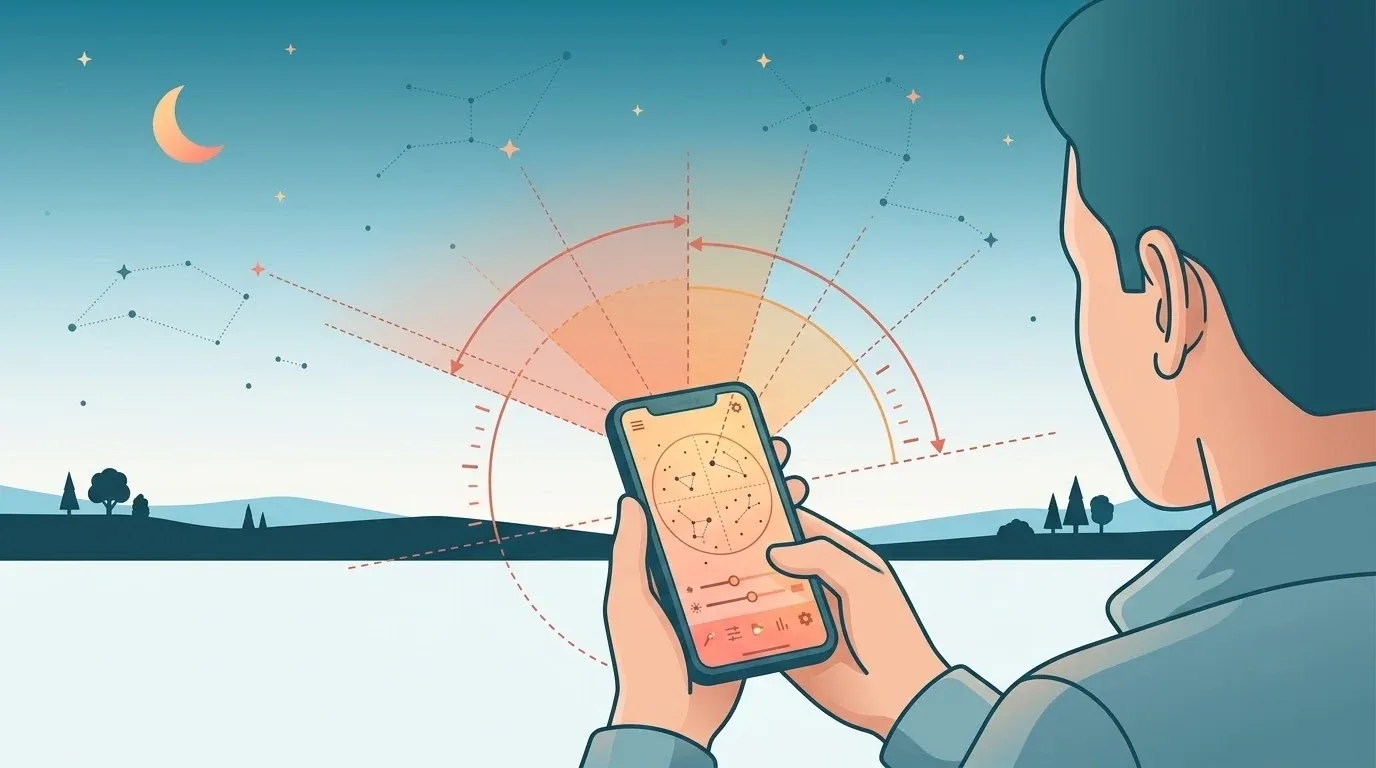
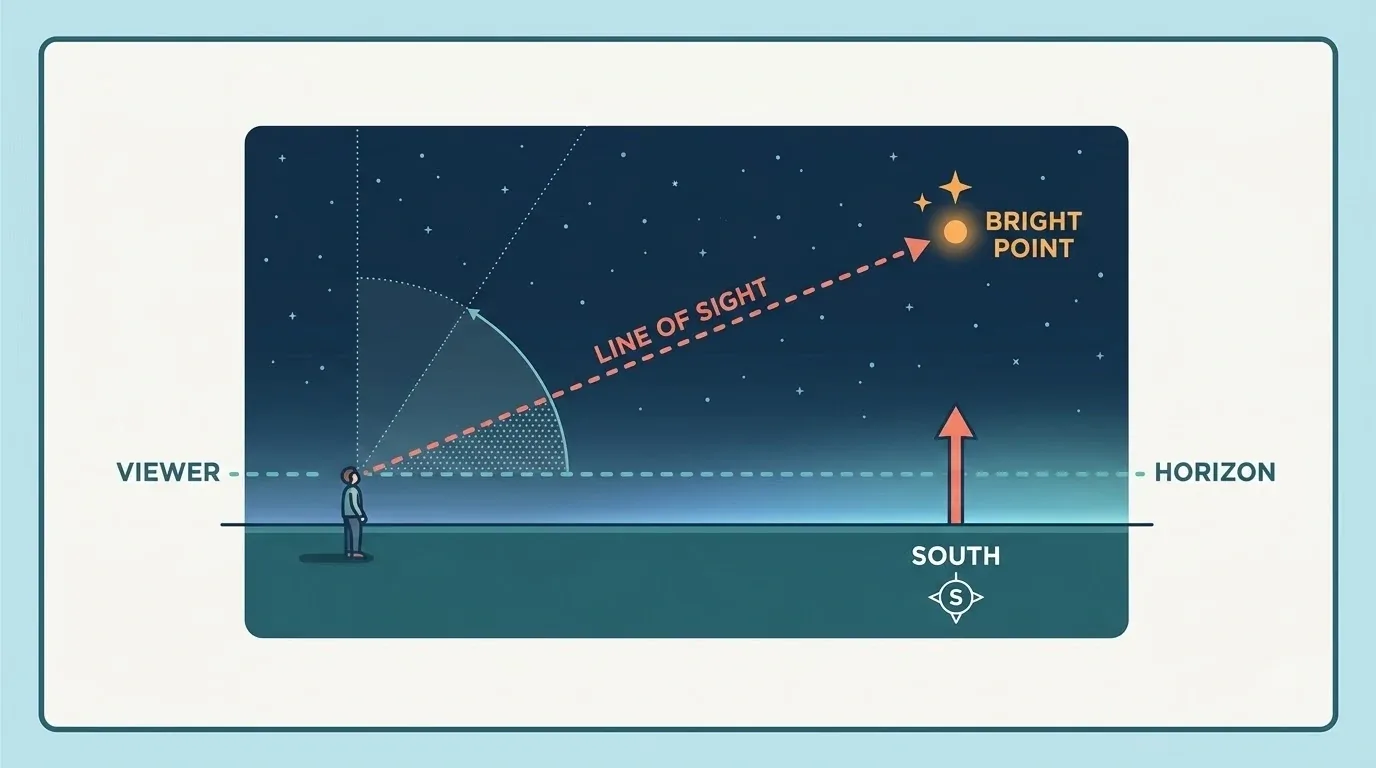
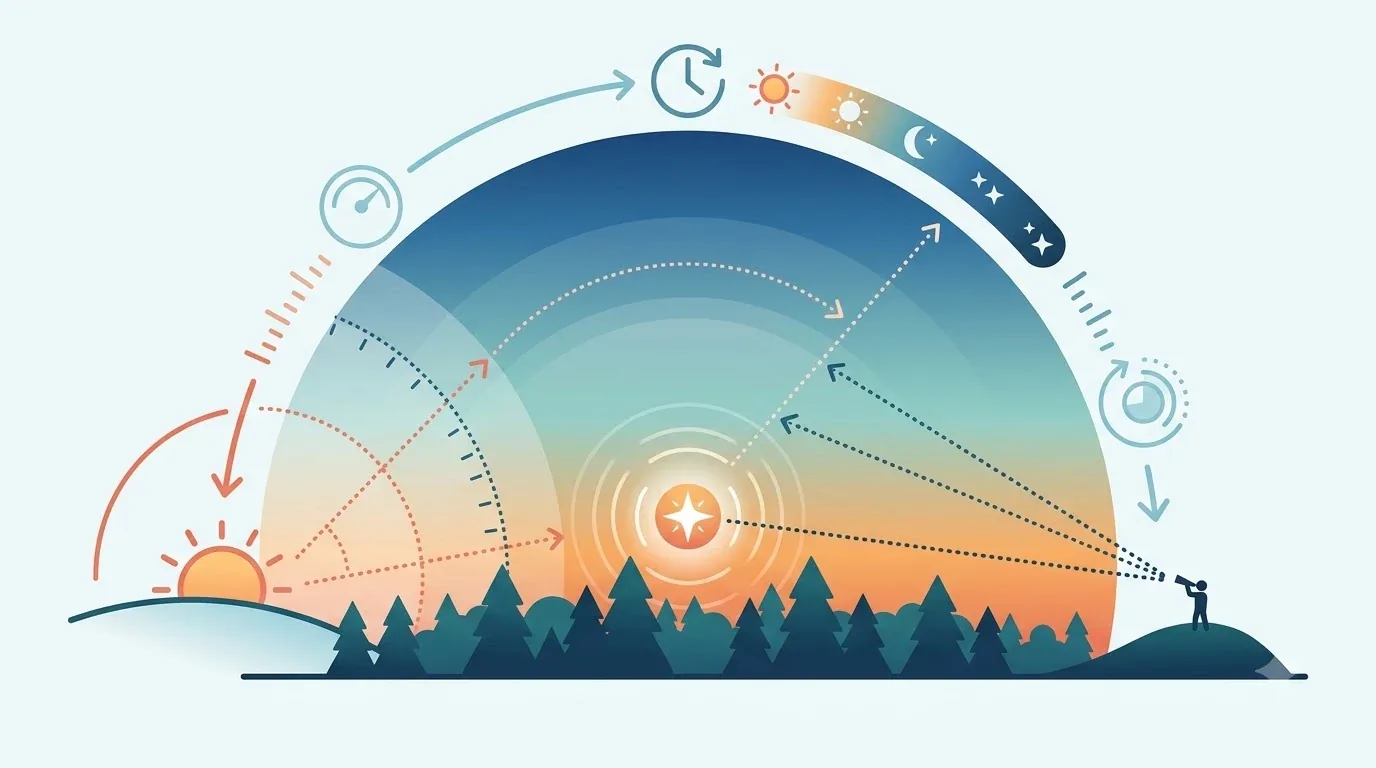
Two terms will help you here. Azimuth is the compass direction you face along the horizon. Altitude is how high something sits above the horizon, from the ground up toward the point overhead.
The NASA JPL activity suggests turning on the program’s azimuth grid, a set of lines that marks compass directions. With it on, you can check which direction to face and how high to look for your chosen planet.
One orientation rule to remember: when you face south in the Northern Hemisphere, east is on your left and west is on your right. For any other situation, rely on the compass grid in your star map rather than guessing.
Worked example: suppose your map shows your planet in the south, fairly low above the horizon. Turn to face south, find the horizon, and look a modest distance upward. Then compare what you see in the real sky with the map. If a bright point sits where the map marks the planet, you have found it.
Step 3: Know Which Planets You Can Actually See
Not every planet is equally easy to spot. NASA JPL notes that Venus and Jupiter are relatively bright and easier to find, that Mercury can only be seen close to the horizon just before sunrise or just after sunset, and that Neptune cannot be seen with the naked eye.
| Planet | Naked-eye visibility | Viewing notes |
|---|---|---|
| Venus | Relatively bright, easier to find | Confirm its position on your star map for your date, time, and place. |
| Jupiter | Relatively bright, easier to find | Confirm its position on your star map for your date, time, and place. |
| Mercury | Visible only under narrow conditions | Look near the horizon just before sunrise or just after sunset. |
| Neptune | Not visible to the naked eye | Needs equipment beyond your eyes, so use the star map to learn where it is. |
Caution: whether a planet is visible on a given night depends on the date, the time, and your location. Treat this table as a guide to difficulty, then let the star map tell you what is actually possible tonight.
Step 4: Record Positions Over Several Nights
Planets shift against the sky from one night to the next. NASA JPL’s activity has you watch from the same place, at the same time, over several nights in a row. Keeping a log turns a one-time sighting into real data.
Here is a simple log you can copy:
| Date | Time | Direction (azimuth) | Height (altitude) | Notes |
|---|---|---|---|---|
| Night 1 | ||||
| Night 2 | ||||
| Night 3 |
Three nights is a practical suggestion for getting started, not a required number. After you have a few entries, try predicting where the planet will appear on the next night, then check your guess against your observation and the star map.
Step 5: Know the Limits of Naked-Eye Observation
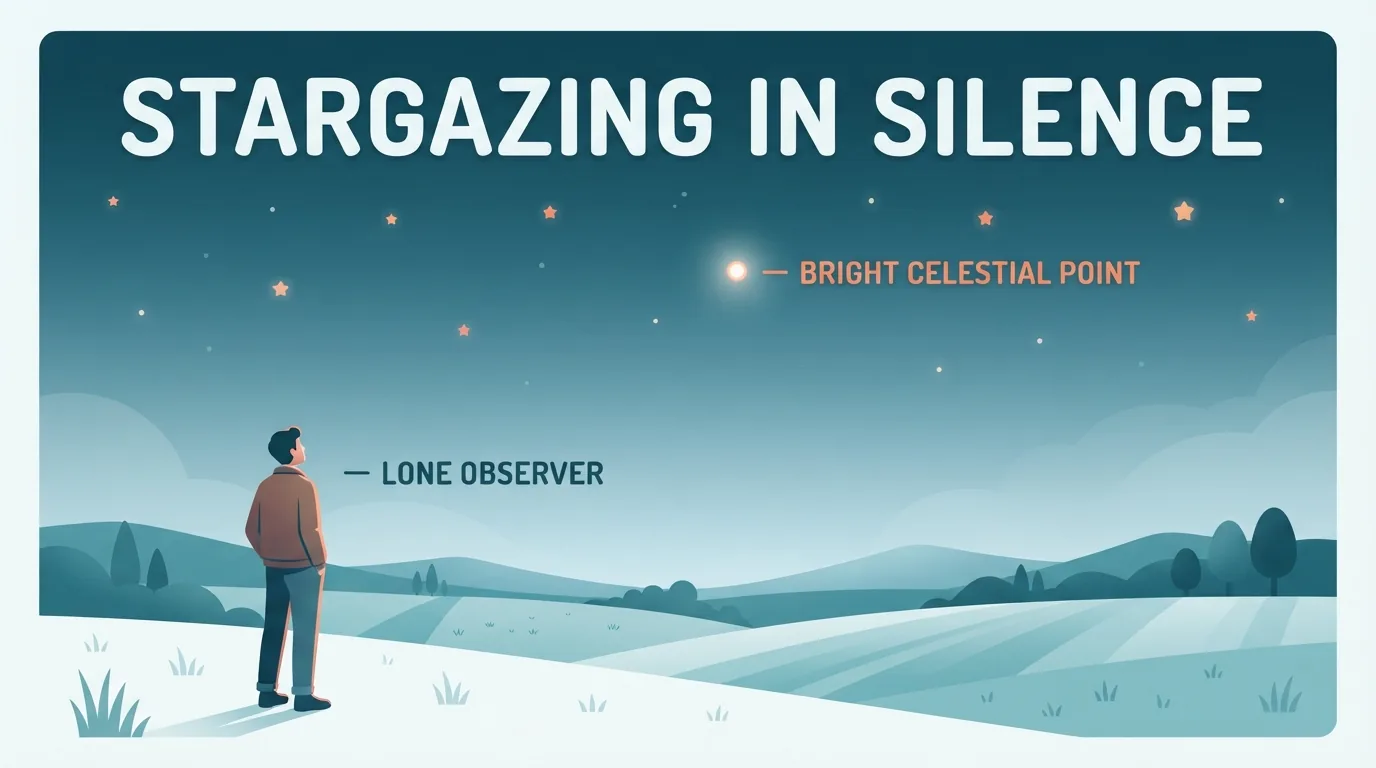
Finding a bright point and matching it to your star map is a real achievement, but it is a different level of observation from analyzing a planet scientifically. With your eyes alone you can learn where a planet is and how its position changes. You cannot learn what its atmosphere is made of or what its surface looks like.
For those questions, scientists rely on equipment beyond the naked eye and on data from space missions. That is where the second half of this guide picks up.
How Scientists Study Planets Up Close: Missions, Mapping, and Labs
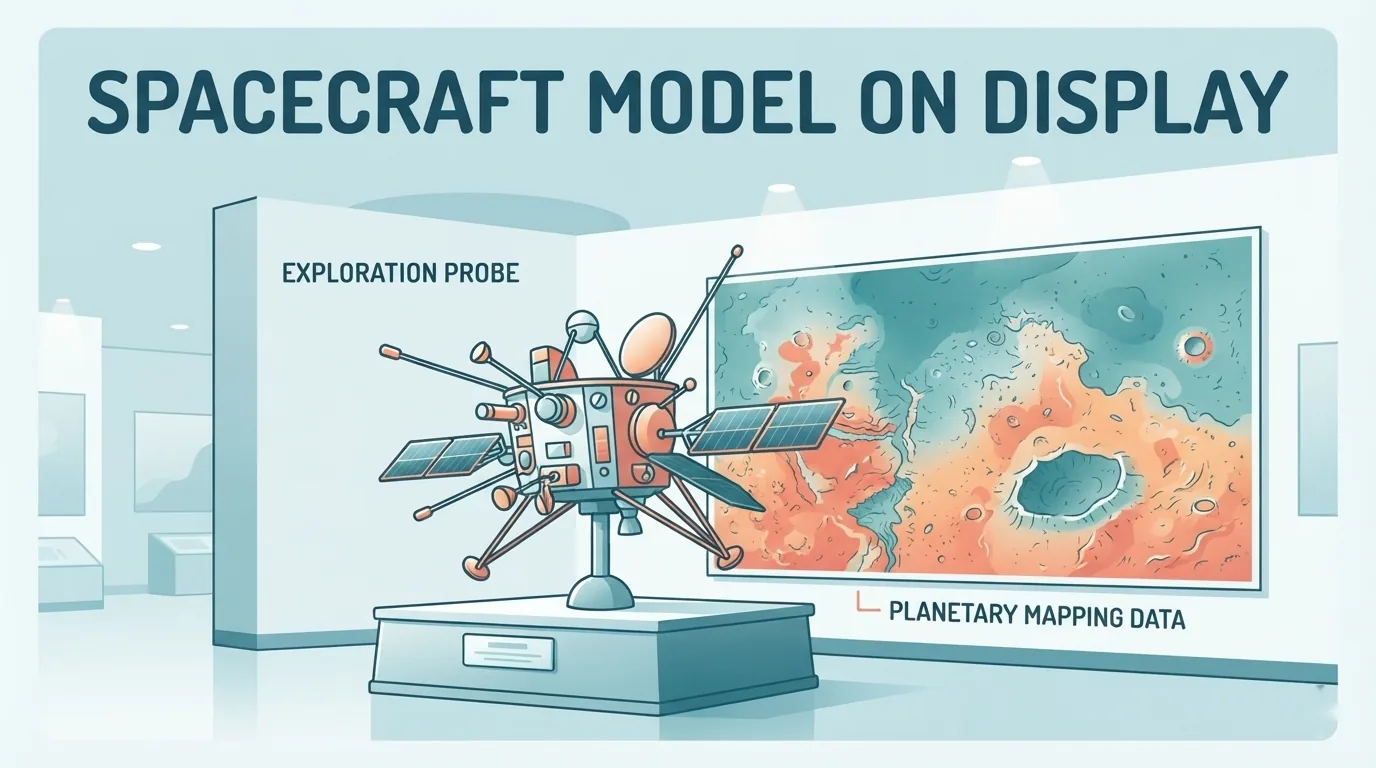
According to the U.S. Geological Survey, planetary scientists use several approaches together: remote observation from spacecraft, studying similar landforms here on Earth, making maps, analyzing materials in laboratories, and building computer models. NASA also offers an overview of the focus areas in solar system exploration.
Good topics to explore next include:
🛒 Recommended Product
- Volcanoes: how molten material shapes a surface.
- Weathering: how surfaces change over time.
- Impacts: what happens when one body strikes another.
- Terrestrial analogs: places on Earth that resemble other worlds and can be studied directly.
- Remote sensing: measuring a world without touching it.
How Light Reveals What Planets Are Made Of
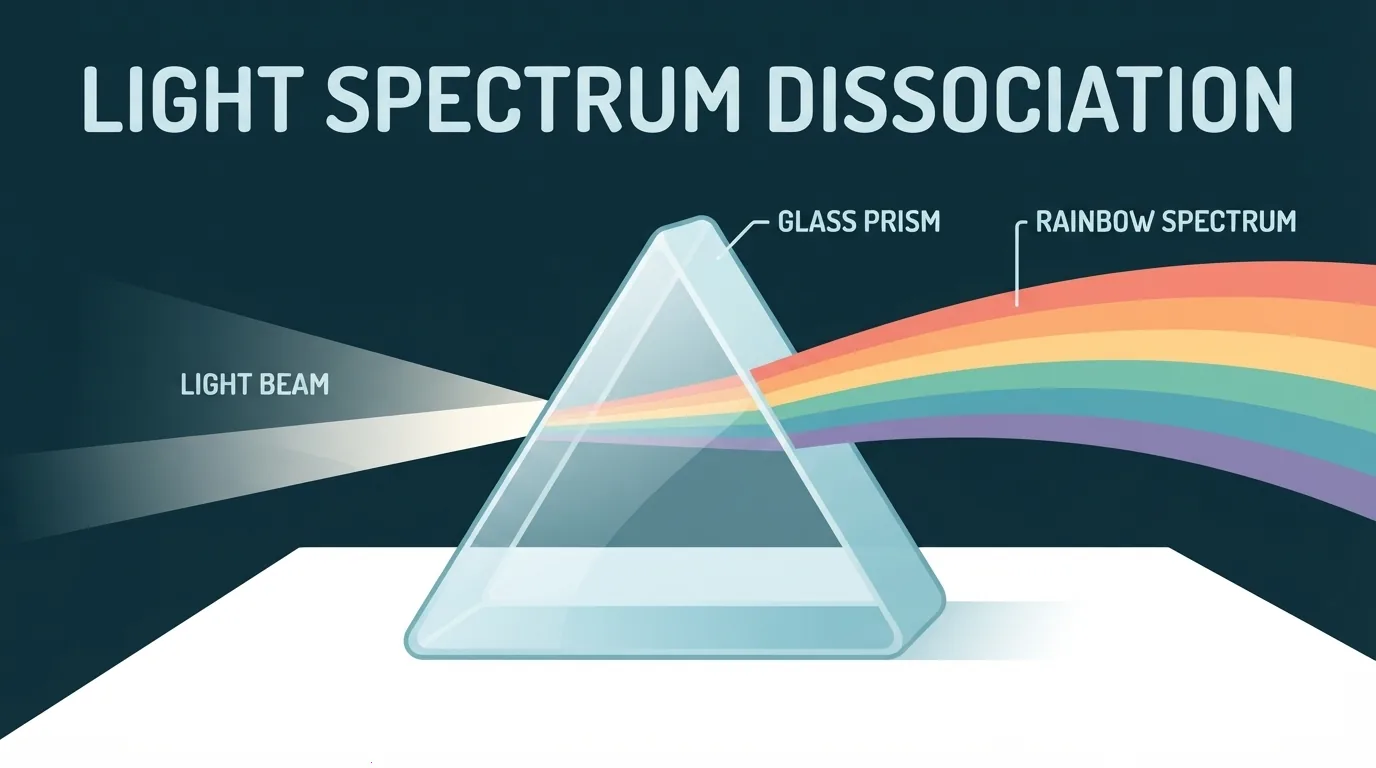
Remote sensing means measuring something without physically touching it. Because we cannot visit most planets, light becomes the main messenger.
Spectrum analysis splits light into its component colors so scientists can study the pattern. According to NASA JPL, this helps identify what a planet is made of. In short, the light that reaches us carries clues about composition, even from far away.
How Scientists Find Planets They Cannot See
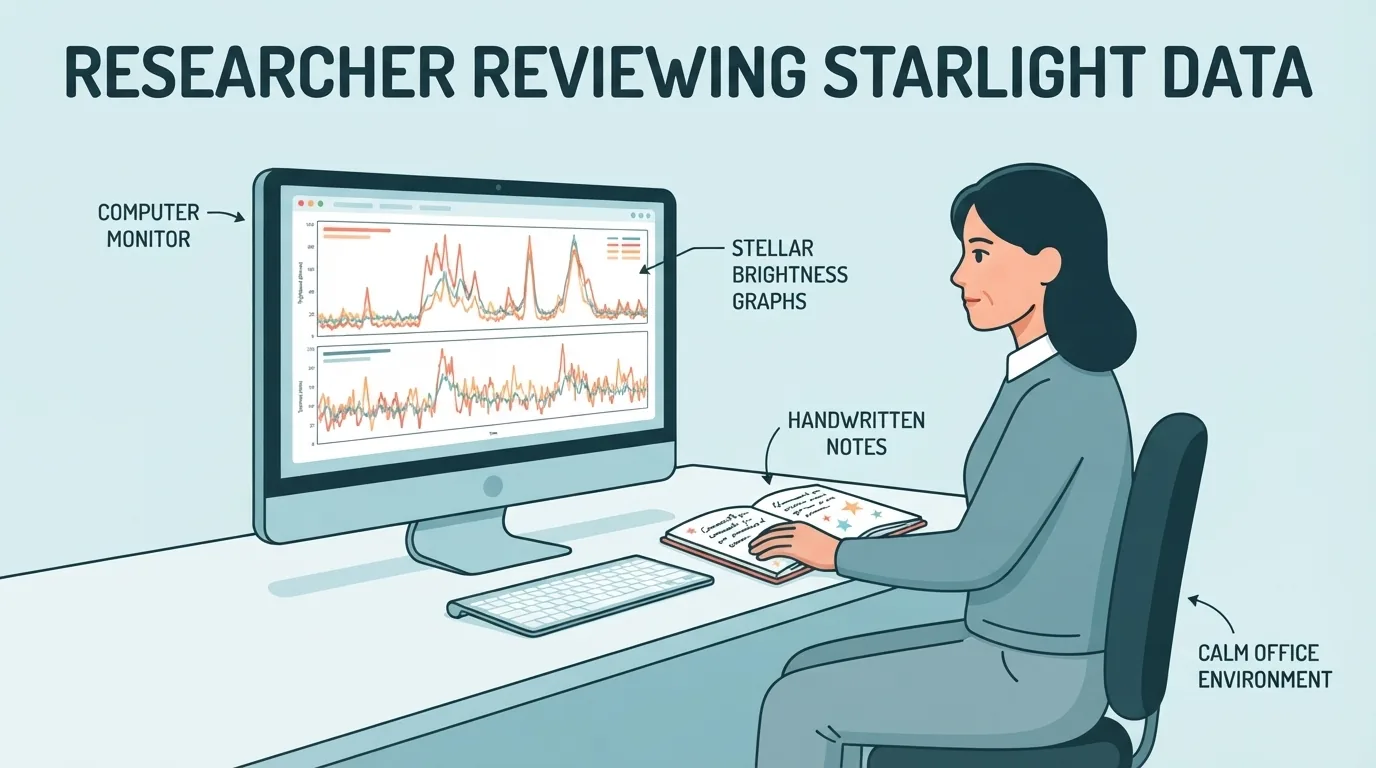
Planets around other stars, called exoplanets, are usually far too faint and distant to see directly. NASA describes three main approaches, summarized below.
| Method | What is measured | What it can help reveal |
|---|---|---|
| Transit | How much a star’s light dims as a planet passes in front of it | Helps estimate the planet’s radius and can support atmosphere studies |
| Radial velocity | A tiny wobble in the star, seen as a shift in the wavelength of its light | Helps estimate the planet’s mass |
| Direct imaging | An actual image of the planet | Shows the planet itself, but is difficult because planets are far fainter than their stars |
The wobble in the radial velocity method comes from the planet’s gravity tugging on its star. Each method answers different questions, which is why researchers often combine them.
Candidate vs. Confirmed: How Discoveries Are Verified
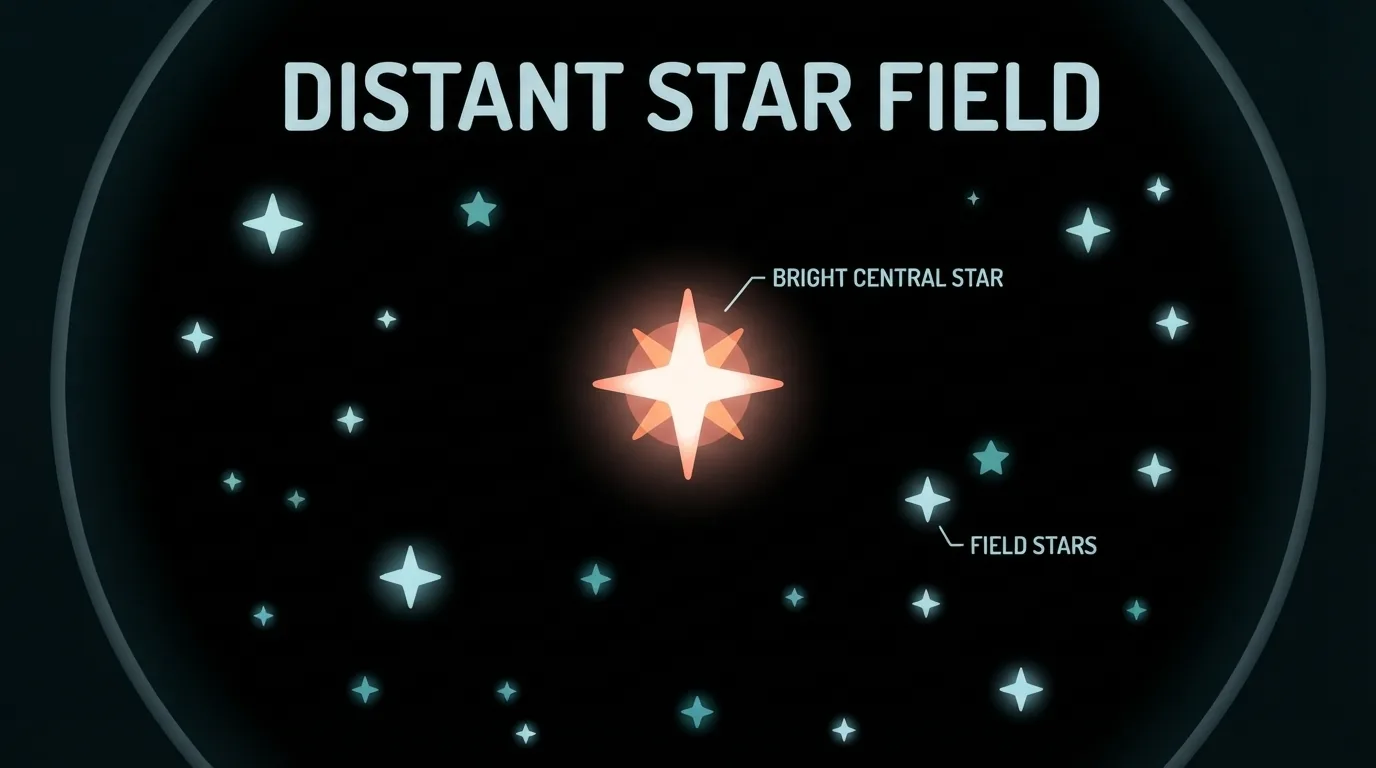
A signal that looks like a planet is a candidate, not yet a confirmed discovery. NASA explains that candidates need follow-up observation and analysis before they are confirmed.
When you read news about a newly found planet, check the wording:
- Words like “candidate” or “possible” mean the work is still in progress.
- Words like “confirmed” mean follow-up work has supported the result.
- Look for the original source, such as NASA, rather than relying on a headline alone.
A Simple Study Plan You Can Start This Week
- Pick one planet to follow.
- Set up a free star-map program with your location, date, and time.
- Turn on the azimuth grid and note the direction and altitude.
- Log your planet’s position for three nights, at the same time each night.
- Try predicting the next night’s position, then check it.
- Read one source on each method: observation, remote sensing, and exoplanet detection.
A suggested reading order: the NASA JPL activity first, then NASA’s overview of studying the solar system, the USGS introduction, the NASA JPL lesson on light, the NASA exoplanet fact sheet, and finally NASA’s explainer on finding and confirming a planet. Links are in the references below.
Frequently Asked Questions
How do I tell a planet from a star?
Use your star map. Set your location, date, and time, then match the bright point in the sky to the position the map marks for your planet.
Which planets can I see without a telescope?
Venus and Jupiter are relatively bright and easier to find. Mercury is possible only low on the horizon around sunrise or sunset. Neptune cannot be seen with the naked eye. Exact visibility depends on your date, time, and location.
Do I need a telescope to start?
No. A free star-map program and your own eyes are enough to find a planet, record its position, and practice predicting its movement.
Why can’t I see Neptune?
According to NASA JPL, Neptune cannot be seen with the naked eye. You can still locate where it is on a star map.
Is Pluto still a planet?
NASA counts eight planets. Pluto was reclassified as a dwarf planet in 2006 under the International Astronomical Union’s classification.
How do scientists know a planet exists if they cannot see it?
They measure its effects on starlight, such as dimming during a transit or a tiny wobble in the star, and then follow up with further observation and analysis before calling it confirmed.
Key Takeaways and Next Steps
Studying planets starts small: one planet, one free star map, and a few nights of careful notes. From there, you can understand how scientists move beyond the naked eye, using spacecraft, mapping, lab work, light analysis, and exoplanet detection methods. Always check conditions for your date, time, and location, and treat a new planet signal as a candidate until it is confirmed.
Ready to try it yourself? Follow NASA JPL’s step-by-step activity for finding planets in the sky.
References
- NASA JPL Education, “Find Planets in the Sky” (2024)
- U.S. Geological Survey, “Planetary Science 101”
- NASA JPL Education, “Using Light to Study Planets”
- NASA Science, “The Search for Other Earths (fact sheet)” (2023)
- NASA Science, “About the Planets”
- NASA Science, “How do you find – and confirm – a planet?”
- NASA Science, “Studying our solar system”
Want more comparisons and buying guides?