⚠️ This page connects you to Atovia’s partners and affiliate markets. We may receive a commission from affiliate partners for activities made through these links. Discount offers may change at any time according to policy! Rest assured, there are no additional costs to you! We hope this saves you time in finding the right items!
- 1. What Is Sports Taping and Why It Matters for the Knee
- 2. Types of Tape Used for Knee Taping
- 3. What You Need Before You Start
- 4. How to Prepare Your Knee for Taping
- 5. Step-by-Step: How to Sports Tape a Knee
- 6. Common Knee Taping Techniques Explained
- 7. Tips for Getting the Best Results
- 8. When to See a Professional Instead
Whether you’re recovering from a minor strain, dealing with chronic knee pain, or trying to prevent an injury before it happens, knowing how to sports tape a knee is one of the most valuable skills an athlete can have. Proper taping provides stability, reduces unwanted movement, and can keep you active through training and competition. This guide walks you through everything you need — from choosing the right tape to applying it correctly every time.
- Sports taping helps stabilize the knee, reduce pain, and prevent re-injury during physical activity.
- Different tape types — rigid athletic tape, kinesiology tape, and cohesive bandage — serve different purposes.
- Clean, dry, and hair-free skin is essential for tape to adhere properly and last through activity.
- The most common techniques include patellar taping, MCL support taping, and general compression wrapping.
- If pain is severe or swelling is significant, always consult a sports medicine professional before taping.
1. What Is Sports Taping and Why It Matters for the Knee
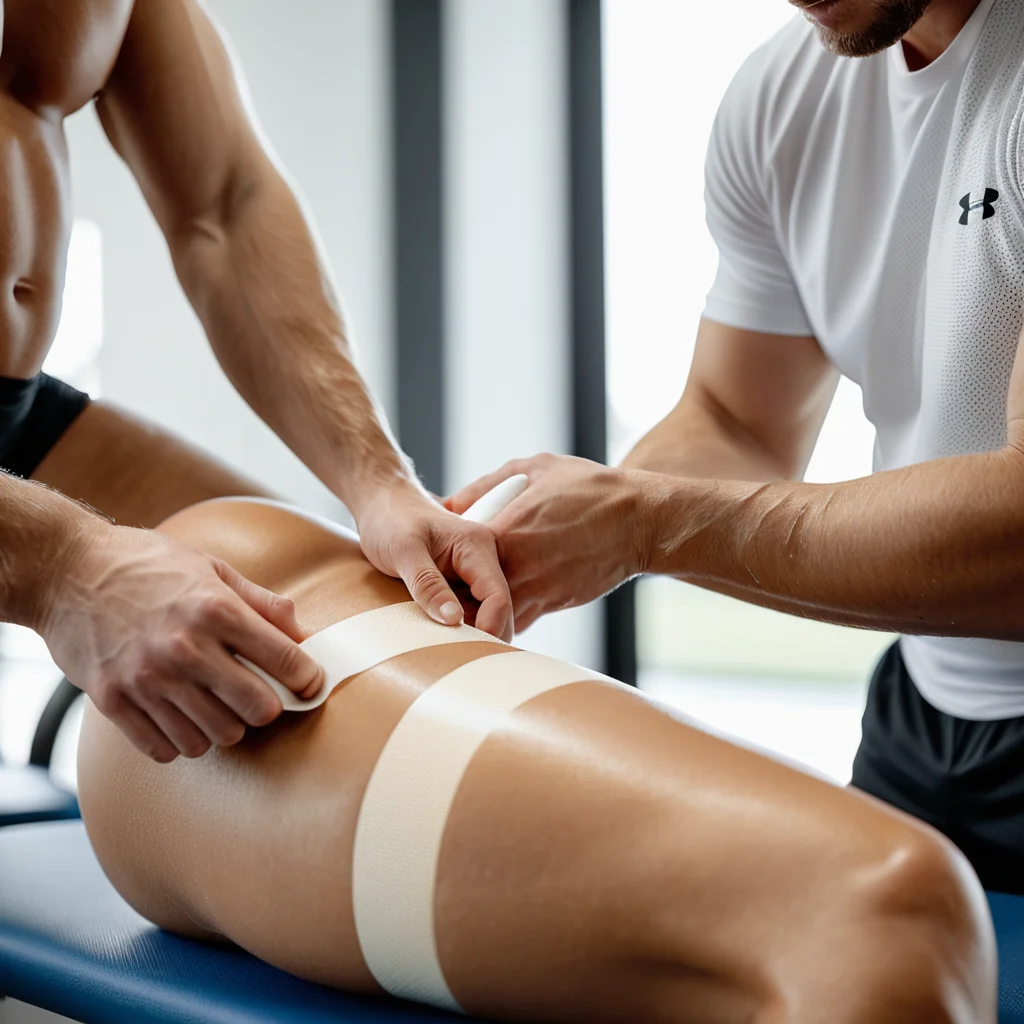
Sports taping is the application of specialized adhesive tape to joints and muscles to provide mechanical support, reduce pain, and limit harmful movements. When it comes to the knee — one of the most complex and injury-prone joints in the human body — taping plays a critical role in both rehabilitation and prevention.
The knee joint bears the full weight of the body with every step, jump, and pivot. It is supported by four major ligaments: the ACL, PCL, MCL, and LCL. When any of these structures becomes strained, inflamed, or partially injured, sports tape can act as an external reinforcement, taking stress off the affected tissue and allowing the athlete to move with greater confidence and less pain.
Sports taping is widely used by physical therapists, athletic trainers, and sports medicine professionals. However, with the right technique and materials, athletes can also learn to tape themselves effectively for everyday training.
2. Types of Tape Used for Knee Taping
Not all sports tape is the same. Choosing the right type for your specific need is the first step toward an effective application.
| Tape Type | Best Use | Stretch Level |
|---|---|---|
| Rigid Athletic Tape (White Tape) | Maximum support, ligament protection | None — fully rigid |
| Kinesiology Tape (e.g., KT Tape) | Pain relief, muscle support, swelling reduction | High — mimics skin elasticity |
| Cohesive Bandage (e.g., Co-Flex) | Compression wrapping, holding padding in place | Moderate — self-adhering |
| Pre-wrap Foam | Skin protection layer under rigid tape | High — not adhesive |
Rigid tape is the go-to choice for structural support, particularly for ligament issues. Kinesiology tape is better suited for muscle-related pain and swelling, as it lifts the skin slightly to improve circulation. Cohesive bandages are often used as a finishing layer or for light compression. Pre-wrap is not a tape on its own but is used under rigid tape to protect the skin from irritation and tearing.
3. What You Need Before You Start
Before you begin taping, gather all your supplies. Having everything ready prevents you from stopping midway through the application, which can compromise the quality of the tape job.
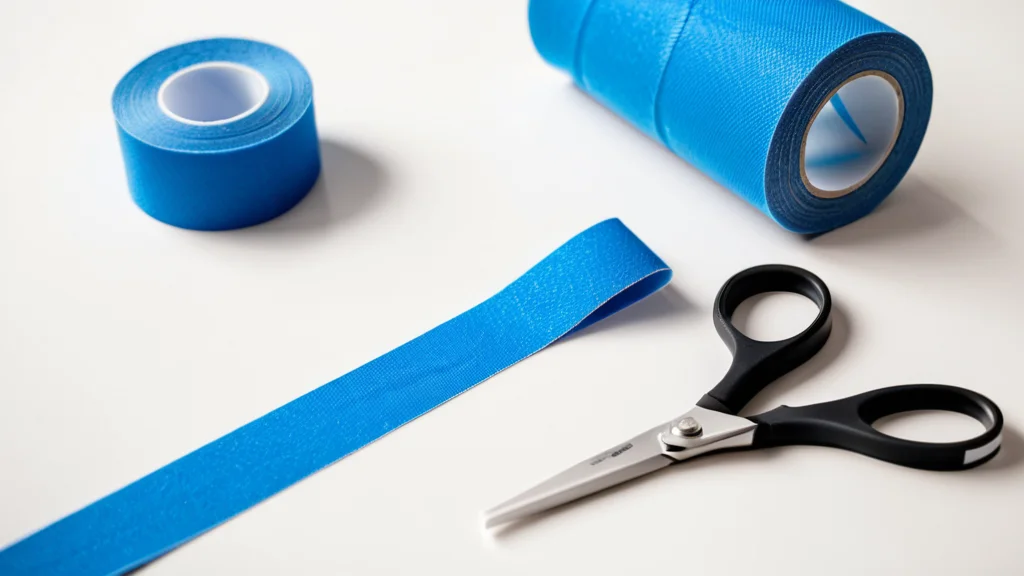
You will need: rigid athletic tape (1.5-inch width is standard for knees), kinesiology tape if using that method, pre-wrap foam, scissors or tape cutters, skin adherent spray or underwrap adhesive (optional but recommended), and a clean towel. If you have sensitive skin or known tape allergies, choose hypoallergenic tape and have skin barrier wipes on hand.
Make sure you are working in a well-lit area with the athlete seated on a stable surface — ideally a table or bench — with the knee at the angle required for the technique you are using. Most knee taping is done with the knee bent at approximately 30 degrees, which is a natural, slightly flexed position.
🛒 Recommended Product
4. How to Prepare Your Knee for Taping
Skin preparation is one of the most overlooked aspects of sports taping, yet it directly determines how long the tape will last and how effective it will be. Tape applied to unprepared skin peels off quickly, loses tension, and fails to provide the intended support.
Start by cleaning the skin around the knee thoroughly. Remove any dirt, sweat, or lotion using a clean cloth or alcohol wipe. Allow the skin to dry completely. If the area has significant body hair, shaving it 24 hours in advance (not immediately before taping) will dramatically improve adhesion and reduce pain during tape removal.
Apply a skin adherent spray such as Mueller Tuffner or a similar product and allow it to become tacky before applying tape. If you are using pre-wrap foam, apply it in a spiral pattern around the knee, overlapping each pass by about half the width of the foam. Keep the pre-wrap smooth and free of wrinkles, as creases can cause pressure points and discomfort.
5. Step-by-Step: How to Sports Tape a Knee
The following is a general knee support taping method using rigid athletic tape. This technique is appropriate for mild knee instability, general support during sport, and post-minor-sprain activity. It is not a substitute for medical treatment of serious injuries.
Step 1 — Position the knee. Have the athlete sit with the knee bent at 30 degrees. This position keeps the joint in a functional, slightly flexed angle and ensures the tape does not restrict natural movement once the athlete stands and moves.
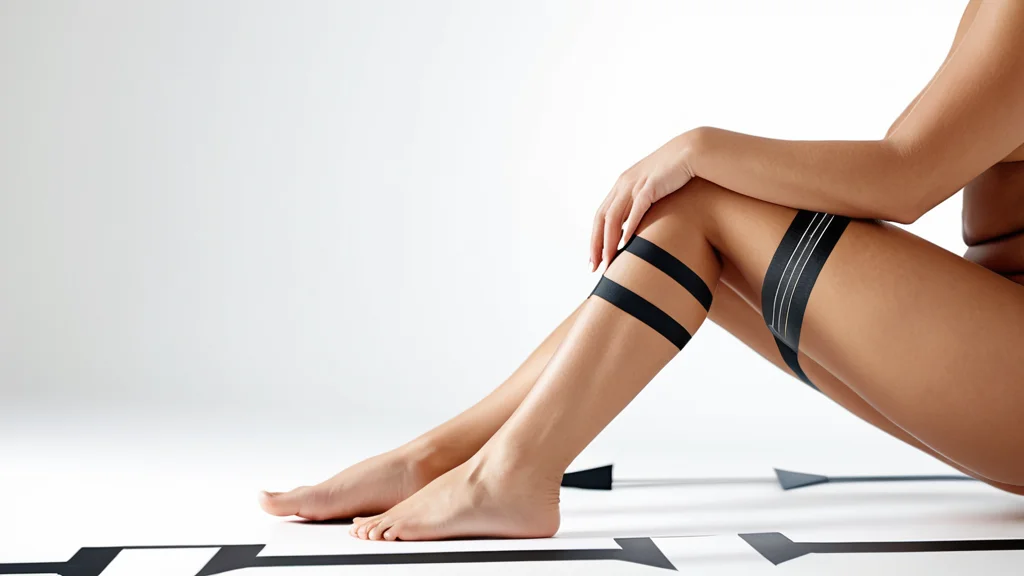
Step 2 — Apply anchor strips. Place two anchor strips of rigid tape horizontally around the thigh, approximately 4 to 6 inches above the kneecap. Apply two more anchor strips around the lower leg, 4 to 6 inches below the kneecap. These anchors are the foundation of the tape job. Do not apply them too tightly — they should be snug but not cut off circulation.
Step 3 — Apply support strips. Run vertical strips of tape from the lower anchor to the upper anchor along both the inner and outer sides of the knee. These strips provide the primary lateral support. Apply three to four strips per side, overlapping each by half the tape width. Pull the tape with moderate tension as you apply — enough to feel resistance but not so tight that it distorts the skin.
Step 4 — Apply diagonal reinforcement strips. For added rotational stability, apply diagonal strips that cross over the kneecap from one anchor to the opposite anchor. These crossing strips help control the twisting forces that commonly cause knee injuries.
Step 5 — Apply closing strips. Finish by covering the edges of all support strips with horizontal closing strips, layered from bottom to top. These hold the support strips in place and smooth out the edges to prevent the tape from catching on clothing or peeling during activity.
Step 6 — Check circulation and comfort. Once the taping is complete, ask the athlete to flex and extend the knee. The tape should feel supportive but not painful or restrictive. Check that the toes are warm and that the athlete has full sensation in the lower leg. If there is any numbness, tingling, or discoloration, remove the tape immediately and reapply with less tension.
6. Common Knee Taping Techniques Explained
Beyond the general support method, several specific taping techniques target particular knee conditions. Understanding each one helps you match the right technique to the right problem.
Patellar Taping (McConnell Technique). This technique is used specifically for patellofemoral pain syndrome, commonly known as runner’s knee. It involves repositioning the kneecap (patella) using rigid tape to reduce the friction and pressure that causes pain. The tape is applied across the kneecap from the outer edge, pulling it slightly inward to correct its tracking. This technique requires some practice but provides significant pain relief for many runners and cyclists.
MCL Support Taping. When the medial collateral ligament (the ligament on the inner side of the knee) is strained, tape is applied in a fan pattern from below the knee up and across the inner thigh. The goal is to limit the lateral force that places stress on the MCL while keeping the knee functional for activity.
Kinesiology Taping for Swelling and Pain. Kinesiology tape is applied in a Y-strip or fan pattern around the kneecap to help reduce localized swelling and improve proprioception — the body’s sense of joint position. Unlike rigid tape, it does not restrict range of motion, making it popular among athletes who need pain relief without any limitation in flexibility.
Compression Wrapping. A cohesive bandage wrapped in a figure-eight pattern around the knee joint provides gentle, even compression. This technique is commonly used in the immediate aftermath of a minor knee injury to manage swelling and is typically combined with ice and elevation as part of the RICE protocol.
7. Tips for Getting the Best Results
Even the right technique will underperform if small details are overlooked. Keep the following best practices in mind every time you tape a knee.
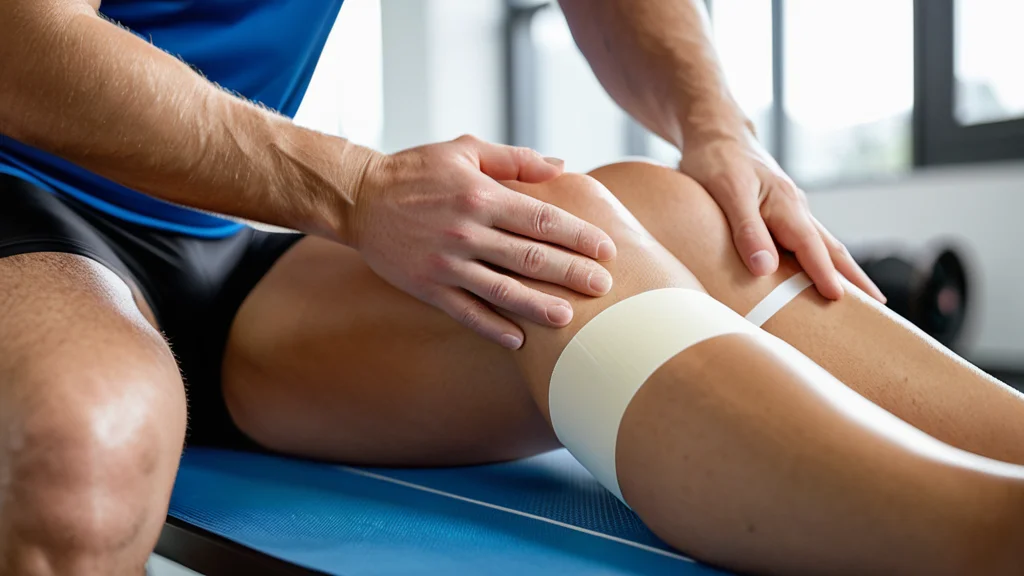
Always start with clean, dry skin. This single factor has more impact on tape longevity than any other variable. Tape applied to moist or oily skin will begin to peel within minutes of activity. Apply each strip with consistent tension — uneven tension creates pressure points and reduces overall support. Tear tape cleanly rather than cutting where possible, as clean tears seat better against the skin.
Overlap each strip by at least half its width. Gaps between strips create weak points where the tape can roll or bunch. Never tape directly over open wounds, broken skin, or areas of active infection. Replace the tape after every training session — tape that has been worn through a full session loses significant adhesive strength and should not be reused.
Practice the technique multiple times on a training partner before applying it to yourself in competition conditions. Taping your own knee is significantly more difficult than taping someone else’s, and getting comfortable with the angles and tension required takes repetition.
8. When to See a Professional Instead
Sports taping is a powerful tool, but it is not appropriate for every situation. Knowing when to step back and seek professional evaluation is just as important as knowing how to apply the tape correctly.
You should see a sports medicine physician, physical therapist, or certified athletic trainer if your knee pain came on suddenly after a specific incident such as a fall, collision, or awkward landing; if there is significant swelling that developed rapidly after injury; if the knee feels unstable, buckles, or gives way during normal walking; if you heard or felt a pop at the time of injury; or if pain is severe enough to prevent normal weight bearing.
These symptoms may indicate a serious structural injury such as an ACL tear, meniscus damage, or fracture — conditions that require imaging, diagnosis, and a specific rehabilitation plan rather than taping. Applying tape to an undiagnosed serious injury can mask symptoms and lead to further damage.
For chronic knee conditions such as osteoarthritis, patellar tendinopathy, or IT band syndrome, a professional can teach you the most effective taping technique for your specific diagnosis and ensure you are not inadvertently causing harm with an incorrect application.