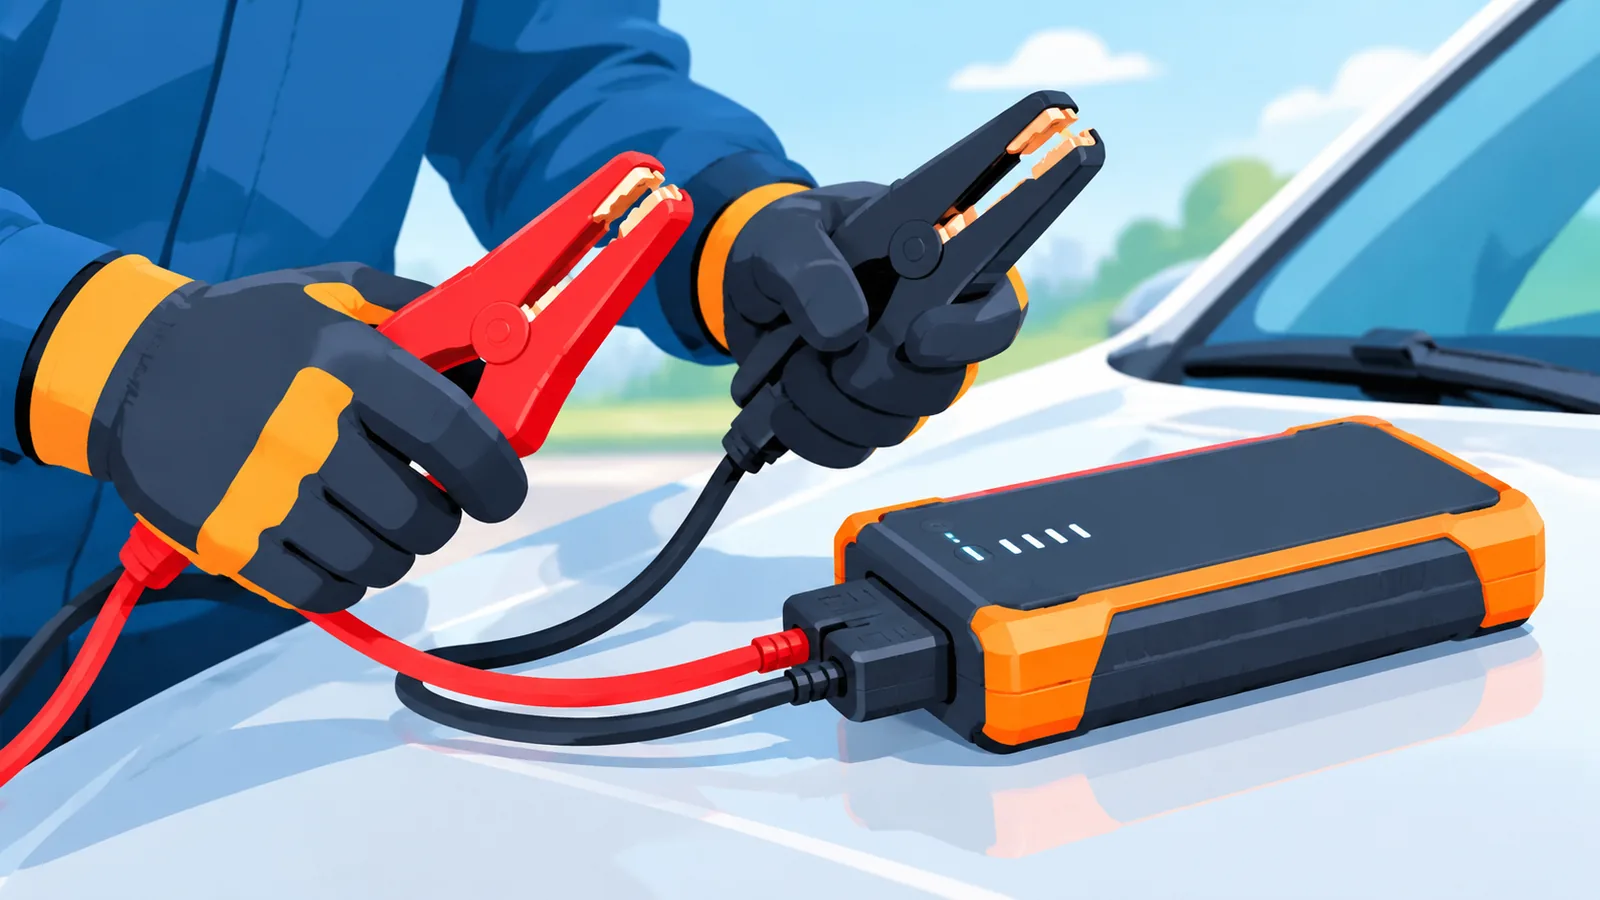
⚠️ This page connects you to Atovia’s partners and affiliate markets. We may receive a commission from affiliate partners for activities made through these links. Discount offers may change at any time according to policy! Rest assured, there are no additional costs to you! We hope this saves you time in finding the right items!
A dead battery can happen at the worst possible time, but jump starting a car is a simple, safe process once you know the correct steps. This guide walks you through both traditional jumper cables and portable jump starter devices, so you can get back on the road in minutes.
- What You Need Before You Start
- Jumper Cables vs Portable Jump Starter: Which Should You Use
- Step-by-Step: How to Jump Start With Jumper Cables
- Step-by-Step: How to Jump Start With a Portable Jump Starter
- Safety Precautions to Follow Every Time
- Common Mistakes That Cause Failed Jump Starts or Damage
- After the Jump: What to Do Next
- When Jump Starting Doesn’t Work: Next Steps
- Pre-Jump Safety Checklist
- Frequently Asked Questions
- Red clamps always connect to positive (+) terminals, black clamps to negative (-).
- The final black clamp goes on unpainted metal, not the dead battery’s negative terminal.
- Never jump start a battery that is cracked, swollen, or leaking.
- Drive at least 15 to 30 minutes after a jump start to let the alternator recharge the battery.
What You Need Before You Start
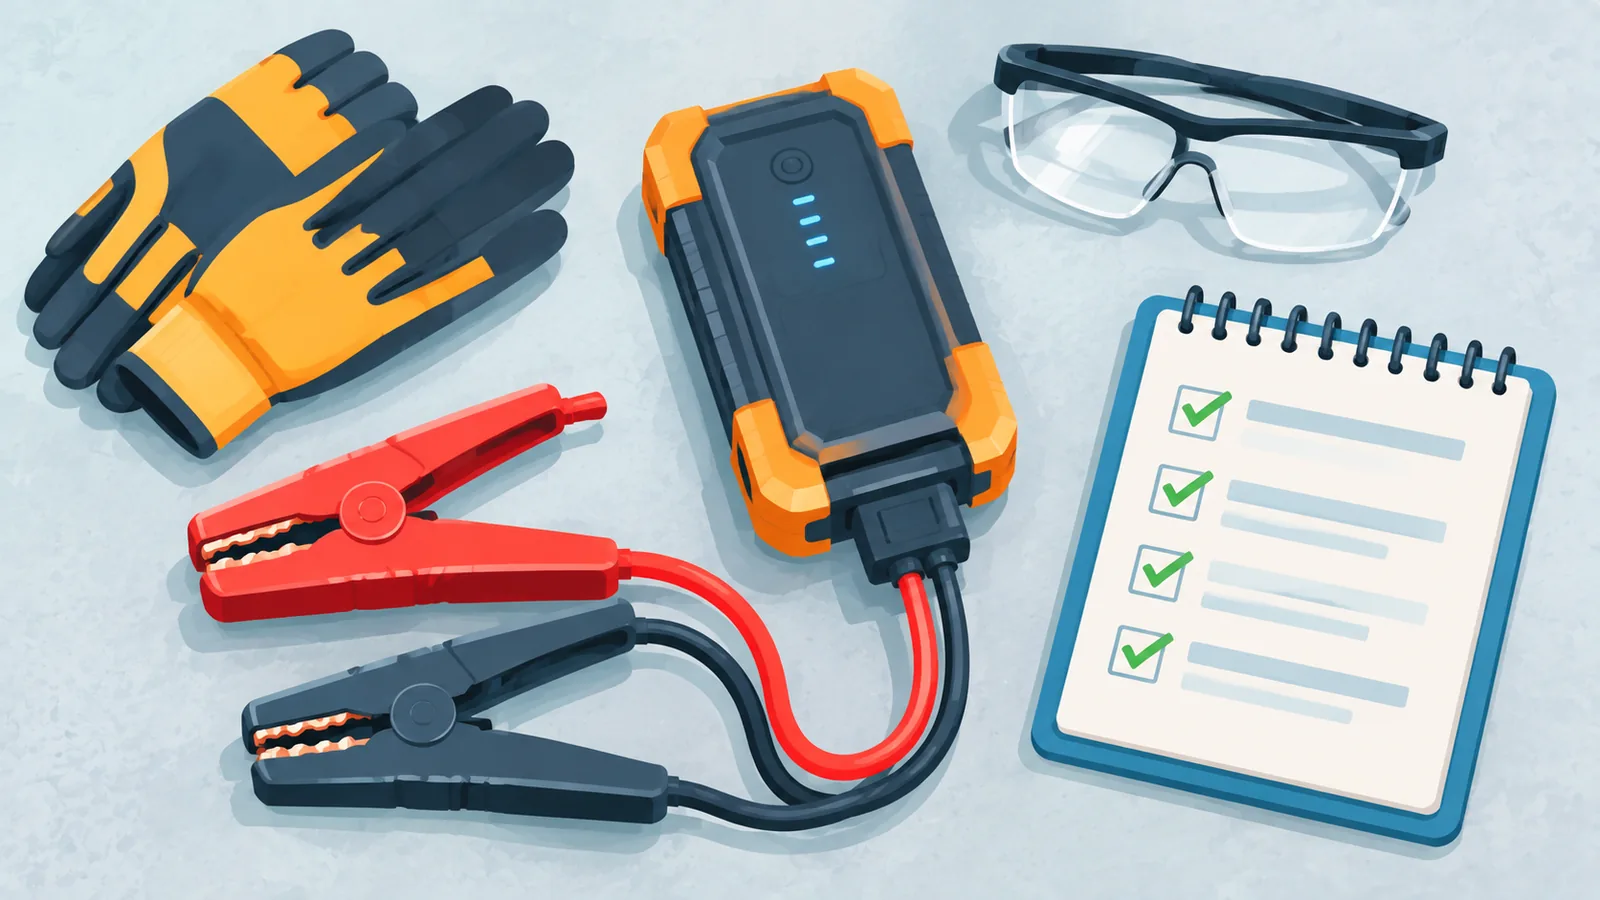
Before attempting a jump start, gather the right equipment. You’ll need either a set of jumper cables and a second working vehicle, or a portable jump starter that works on its own. It’s also smart to have work gloves and safety glasses on hand, since batteries can leak acid or emit sparks.
Check your owner’s manual first. Some vehicles have specific jump-starting instructions or a dedicated remote terminal designed to keep you away from the battery itself, especially in newer cars with tightly packed engine bays.
Jumper Cables vs Portable Jump Starter: Which Should You Use
Both methods work, but they suit different situations. Jumper cables require a second vehicle and another driver, while a portable jump starter lets you handle everything solo. The table below breaks down the key differences.
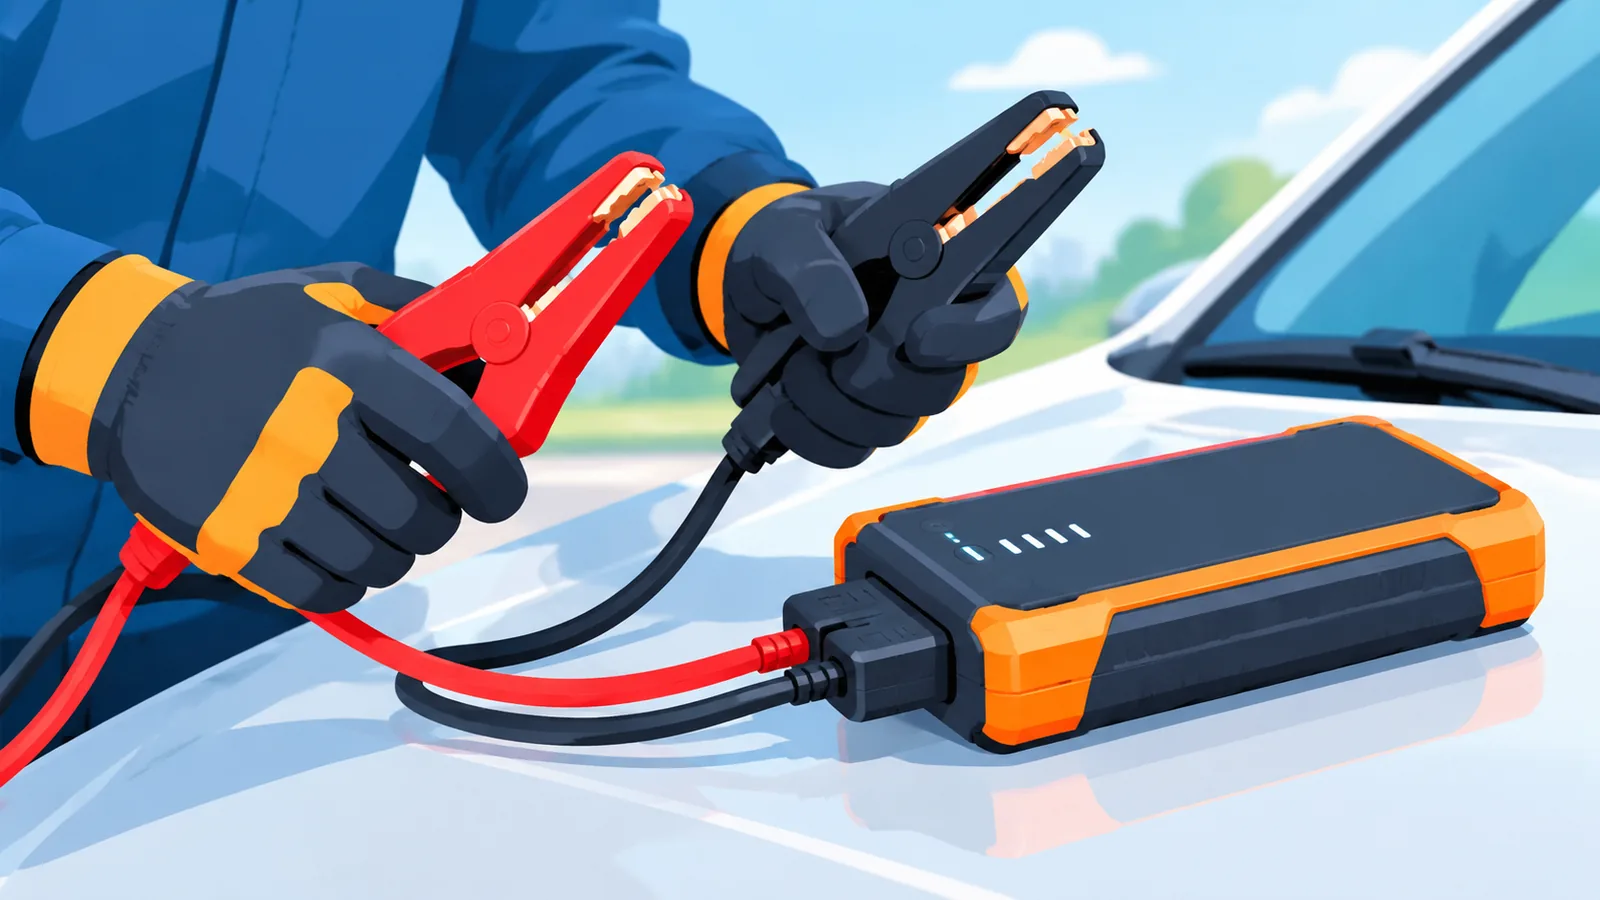
| Feature | Jumper Cables | Portable Jump Starter |
|---|---|---|
| Second vehicle needed | Yes | No |
| Setup speed | Slower, needs positioning two cars | Faster, single device |
| Cost | Low | Moderate to higher |
| Portability | Requires another driver present | Works alone, stores in trunk |
| Safety features | Manual care required | Often includes reverse-polarity protection |
Step-by-Step: How to Jump Start With Jumper Cables
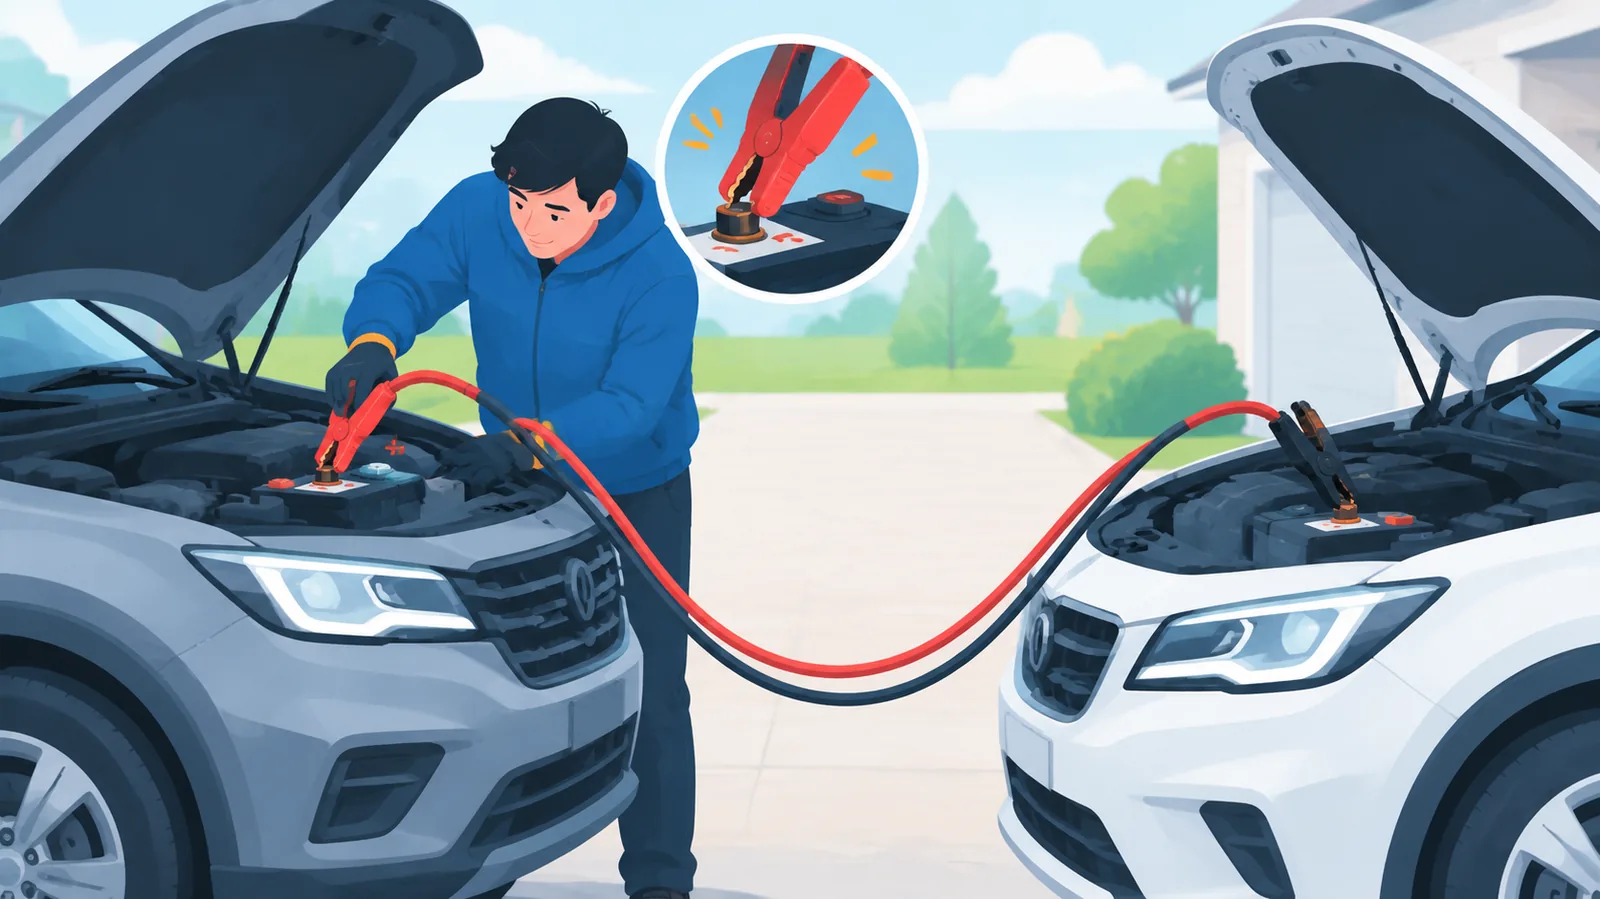
Park the working vehicle close to the dead car so the cables reach both batteries, but make sure the vehicles are not touching. Turn off both engines, put each car in park or neutral, and engage the parking brakes.
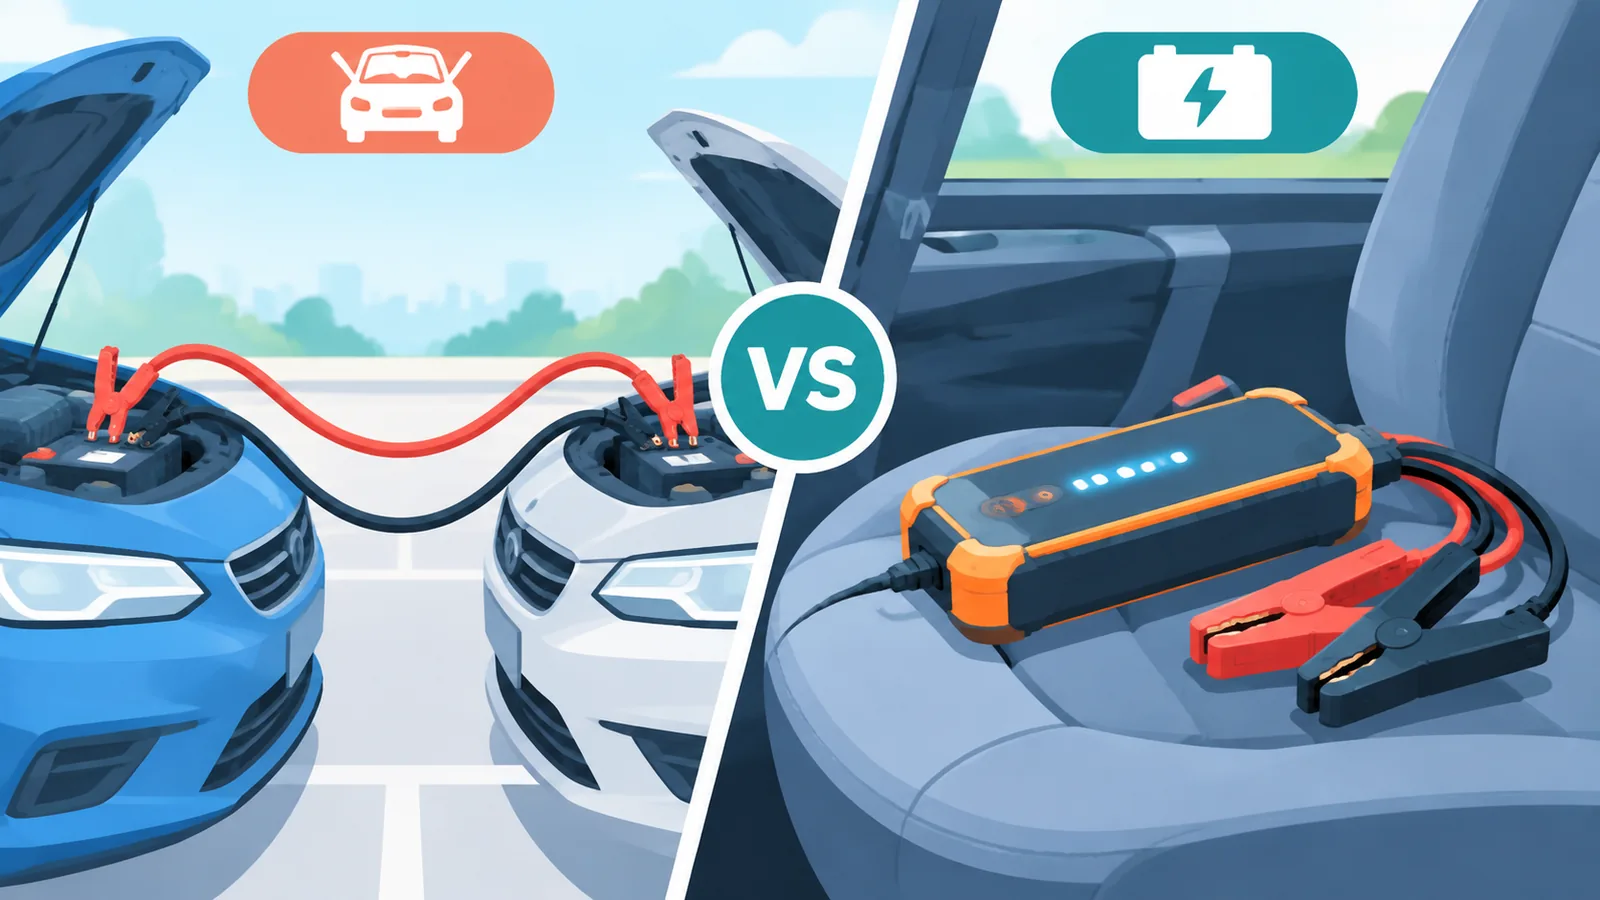
Follow this connection order carefully:
- Connect one red clamp to the positive (+) terminal of the dead battery.
- Connect the other red clamp to the positive (+) terminal of the good battery.
- Connect one black clamp to the negative (-) terminal of the good battery.
- Connect the final black clamp to an unpainted metal surface on the dead car’s engine block or frame, not the dead battery itself.
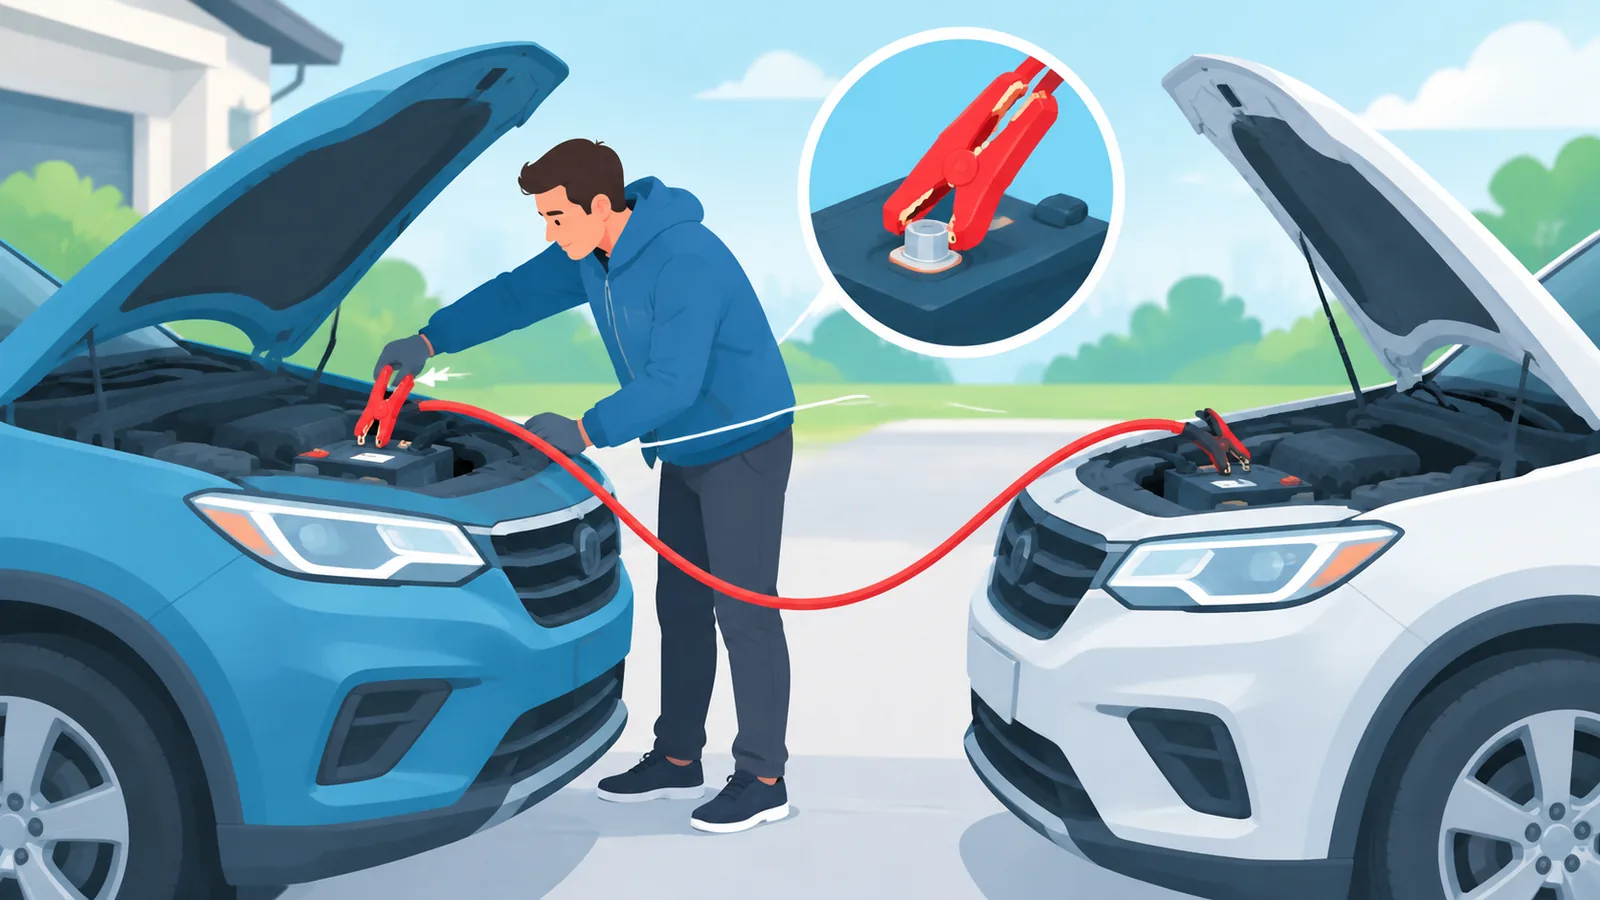
Start the working vehicle first and let it run for a couple of minutes. Then try starting the dead vehicle. If it starts, let both cars idle briefly before disconnecting the cables in the exact reverse order you connected them.
Step-by-Step: How to Jump Start With a Portable Jump Starter
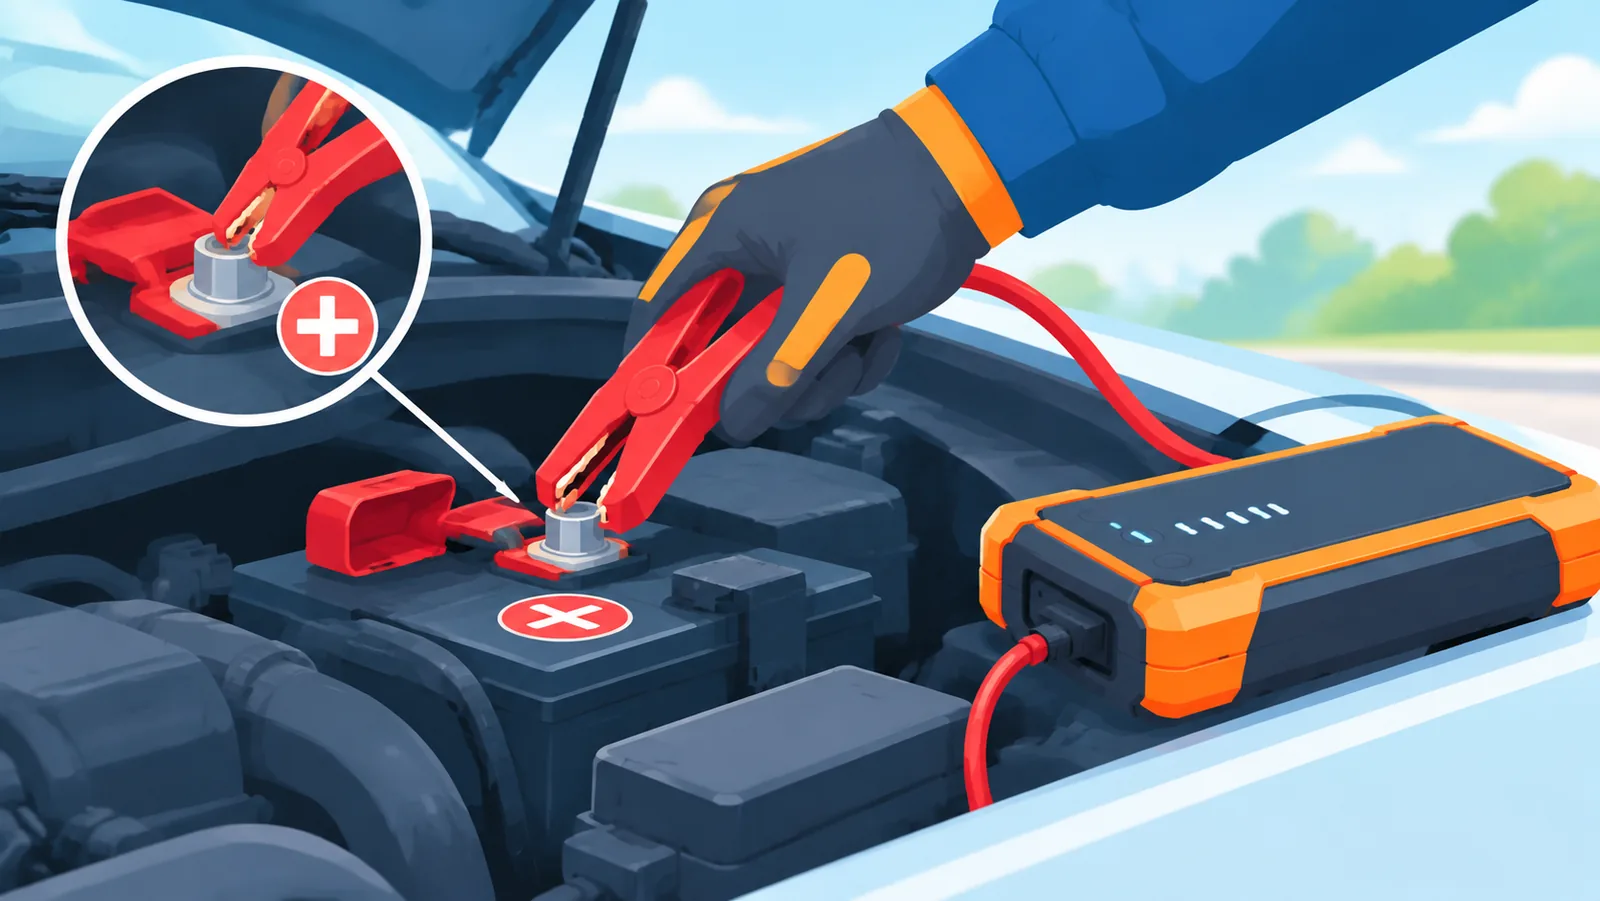
Make sure the jump starter is charged before you begin. Turn off the dead vehicle’s ignition, then connect the clamps in the same order as jumper cables: red to positive, black to a solid, unpainted metal ground point away from the battery.
Turn on the jump starter using its power button, then attempt to start the vehicle. Once it starts, disconnect the clamps in reverse order and power off the device before storing it.
Safety Precautions to Follow Every Time
Jump starting involves handling a component that can produce sparks and hydrogen gas, so a few precautions matter every time.
🛒 Recommended Product
- Work in a well-ventilated area and avoid open flames or smoking nearby.
- Remove rings, watches, or other metal jewelry before touching the terminals.
- Never jump start a battery that is cracked, swollen, leaking, or heavily corroded.
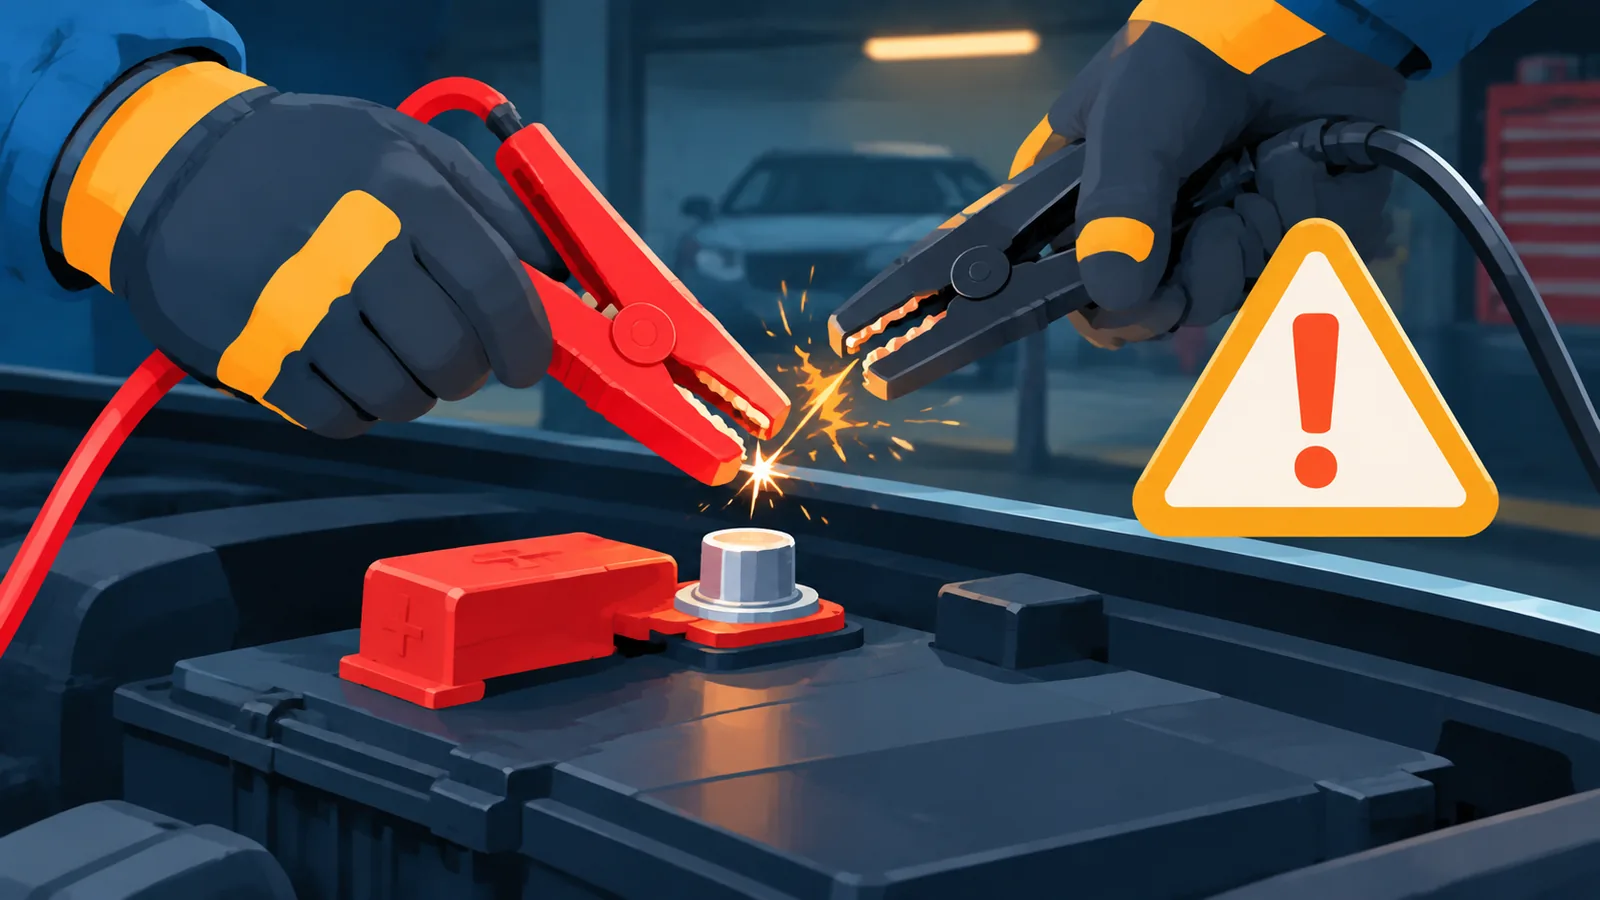
- Keep clamps from touching each other while connected to a battery.
Common Mistakes That Cause Failed Jump Starts or Damage
Most jump-start problems come down to a handful of avoidable errors. Reversing the polarity, connecting positive to negative, can cause sparking or blown fuses and may damage the vehicle’s electrical system.
- Grounding the final clamp on the dead battery’s negative terminal instead of the engine block.
- Disconnecting the cables before the jumped car has run long enough to build charge.
- Letting the vehicles or clamps touch each other during the process.
- Skipping the owner’s manual for vehicles with nonstandard battery access points.
After the Jump: What to Do Next
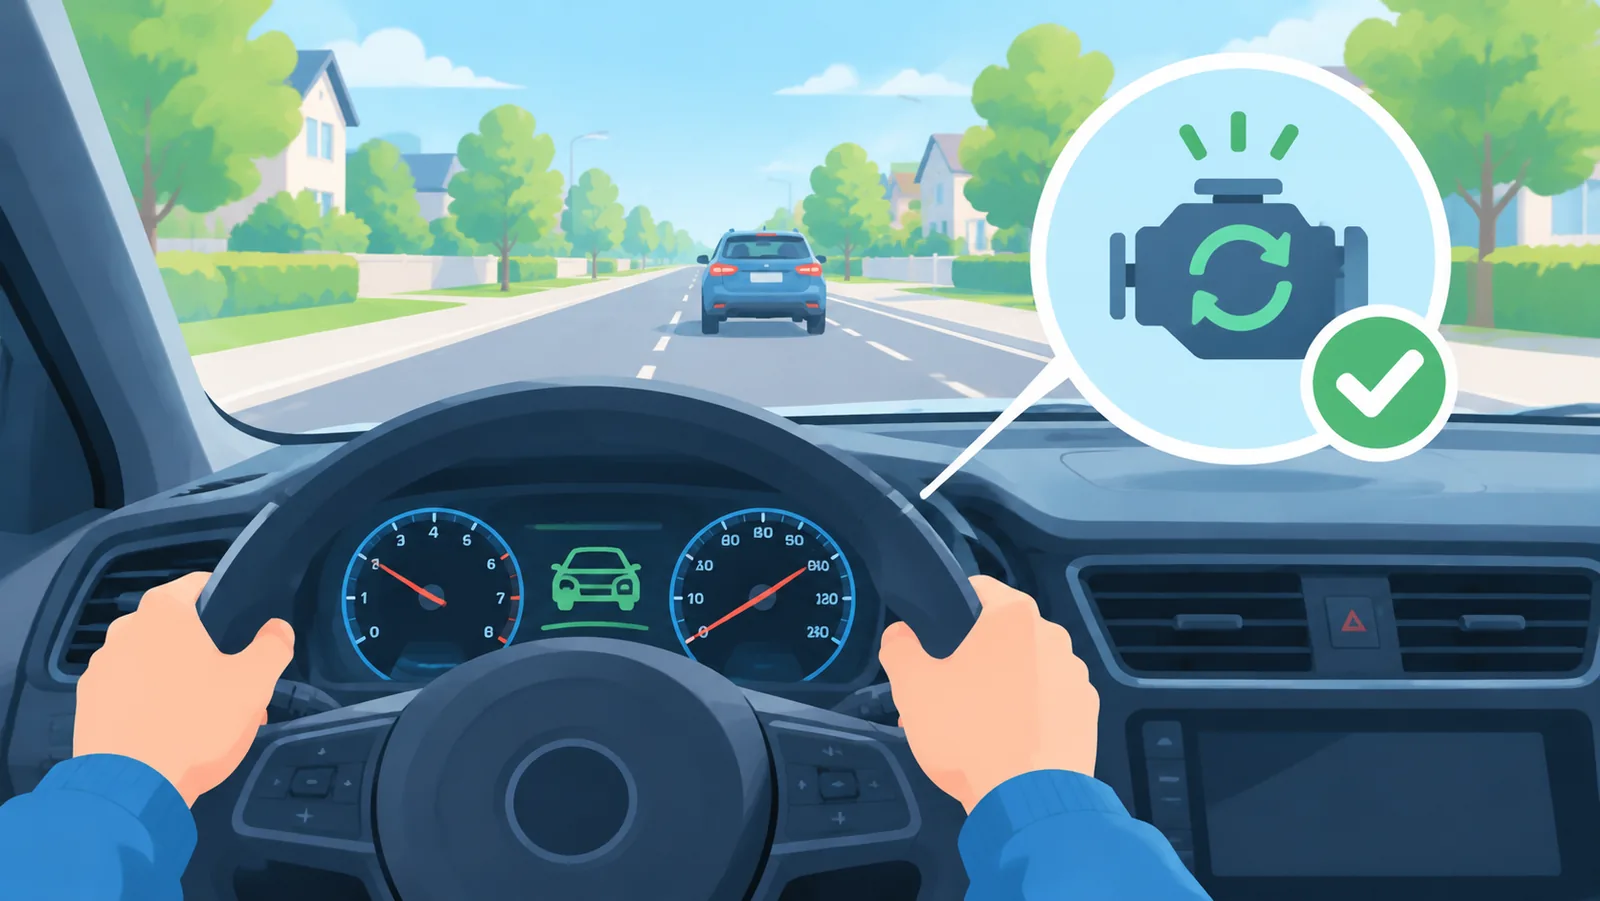
Once the dead vehicle starts, let it idle for a few minutes before driving. This gives the alternator a head start on recharging the battery. Afterward, plan to drive for at least 15 to 30 minutes, ideally on a route that doesn’t involve constant stopping, so the alternator can fully restore the charge.
If the battery seems weak again soon after, it may not be holding a charge anymore and could need replacement rather than just another jump.
When Jump Starting Doesn’t Work: Next Steps
If the car still won’t start after a proper jump attempt, the issue may not be the battery at all. A failing alternator or starter can mimic a dead battery but won’t respond to a jump start.
- Try reconnecting the clamps and double-check for a secure connection.
- Listen for clicking sounds, which often point to a starter issue rather than a battery issue.
- If nothing works, contact roadside assistance through your insurance, auto club, or manufacturer coverage if available.
Pre-Jump Safety Checklist
- Both vehicles off, in park or neutral, parking brakes on.
- Vehicles positioned close but not touching.
- Battery inspected for cracks, swelling, or leaks.
- Jewelry removed, gloves and eye protection on hand.
- Cables or jump starter connected in the correct order.
Frequently Asked Questions
How long should I leave the cables connected? Generally, a few minutes of idling before driving is enough, followed by at least 15 to 30 minutes of driving to recharge the battery.
Can I jump start a car in the rain? It’s best to avoid it if possible. If you must, keep terminals and connections as dry as possible and avoid standing water near the battery.
Can I jump start a hybrid or electric vehicle? Most hybrids and EVs use a separate 12V auxiliary battery for starting and accessories, not the main traction battery. Procedures and access points vary by manufacturer, so check your owner’s manual before attempting this.

How often do car batteries need replacing? Most car batteries last roughly 3 to 5 years, though climate, usage, and battery type can shorten or extend that range.
Jump starting a car doesn’t have to be stressful once you know the correct order of steps and the safety basics behind them. Whether you use jumper cables or a portable jump starter, keeping the right tools in your trunk means you’ll be prepared the next time a battery dies.
- General automotive safety guidance on jump-starting procedures and battery handling.
- Manufacturer owner’s manual guidance on 12V auxiliary battery systems in hybrid and electric vehicles.
Want more comparisons and buying guides?