
⚠️ This page connects you to Atovia’s partners and affiliate markets. We may receive a commission from affiliate partners for activities made through these links. Discount offers may change at any time according to policy! Rest assured, there are no additional costs to you! We hope this saves you time in finding the right items!
You have placed every feature carefully, and the eyes, nose, and mouth all look right. Yet the portrait still looks flat, as if the face were pasted onto the paper. The usual cause is not accuracy but structure. Real faces are made of surfaces that turn toward and away from the light, and those surfaces are called planes.
This guide is for beginner-to-intermediate artists and art students. It offers one practical way to study the planes of the face: block in a simple head, identify the major planes, group values into light and shadow shapes, and practice under different light directions. The steps are one useful sequence, not a universal rule, so adjust them to fit your own practice.
- Why Planes of the Face Matter for Drawing and Painting
- What Are the Planes of the Face?
- Tools and Setup Before You Start
- Step 1: Block In the Head as a Simple Form
- Step 2: Identify the Major Planes
- Step 3: Group Values Into Light and Shadow Shapes
- Step 4: Practice With Light Direction Studies
- Comparing Study Methods
- A Weekly Practice Routine
- Common Mistakes and How to Fix Them
- Frequently Asked Questions
- Conclusion and Next Steps
- Planes are flat or gently curved surfaces that face different directions and catch light differently.
- Start with a simple head form before adding any planes or details.
- Group values into a few large light and shadow shapes instead of rendering every small change.
- Practice one light setup at a time so you can see clearly what the light is doing.
- Many teachers recommend regular short sessions over occasional long ones.
Why Planes of the Face Matter for Drawing and Painting
Planes of the face give a drawing believable volume. A flat-looking portrait usually treats the face as a pattern of shapes: an outline, a few features, and scattered shading. A convincing portrait treats the face as a solid form with a front, sides, a top, and an underside.
Flat faces versus faces with volume
Think of a mask lying on a table versus the same mask held up to a window. In the second case, the forehead catches light, the side of the nose falls into shade, and the area under the chin goes dark. Those differences come from planes turning away from the light, not from the features themselves.
How planes turn features into a solid form
When you know which way each surface is facing, you can decide where the light lands and where it fades. The eyes sit inside the brow plane, the nose stands out from the front plane, and the lips wrap around the curve of the lower face. Planes explain how the features connect to the head instead of floating on top of it.
What this guide covers
You will learn the main plane groups, set up a simple study space, and work through four steps: block-in, plane identification, value grouping, and light direction studies. Later sections compare study methods, suggest a four-week routine, and list common mistakes with fixes.

What Are the Planes of the Face?
Planes of the face are flat or gently curved surfaces that face different directions. Real faces are full of soft curves, so planes are a simplification. They are a way of seeing that helps you decide where light and shadow will change.
The main plane groups
At the simplest level, you can divide the head into four groups:
- Front planes: the forehead, the center of the face, and the front of the nose, which face the viewer.
- Side planes: the temples, the cheeks, and the sides of the jaw, which turn away from the front.
- Top planes: surfaces that face upward, such as the top of the head, the brow ridge, and the top of the cheekbones.
- Bottom planes: surfaces that face downward, such as the underside of the nose, the area beneath the lower lip, and the underside of the chin and jaw.

Simplified versus detailed plane maps
Many portrait teachers introduce a simplified head with a few large planes before moving to a more detailed map that breaks those areas into smaller facets around the brow, nose, cheekbones, and jaw. Simplified plane maps are taught in classical and academic schools, and the ball-and-plane idea is widely used to build the head from a simple form. Treat detailed maps as an optional later stage. They are a teaching aid rather than an exact description of every face, since real faces vary from person to person.
Tools and Setup Before You Start
You do not need special equipment to study facial planes. A basic setup with controlled light is enough.
Pencil and paper
- Pencils: a softer pencil for shadows and a harder one for construction lines works well.
- White paper: good for clean value studies.
- Toned paper: a mid-tone surface lets you add lights and darks separately, which can make the light and shadow shapes easier to see.
Reference types
- 3D head models: physical or digital models let you move the light and view the head from any angle.
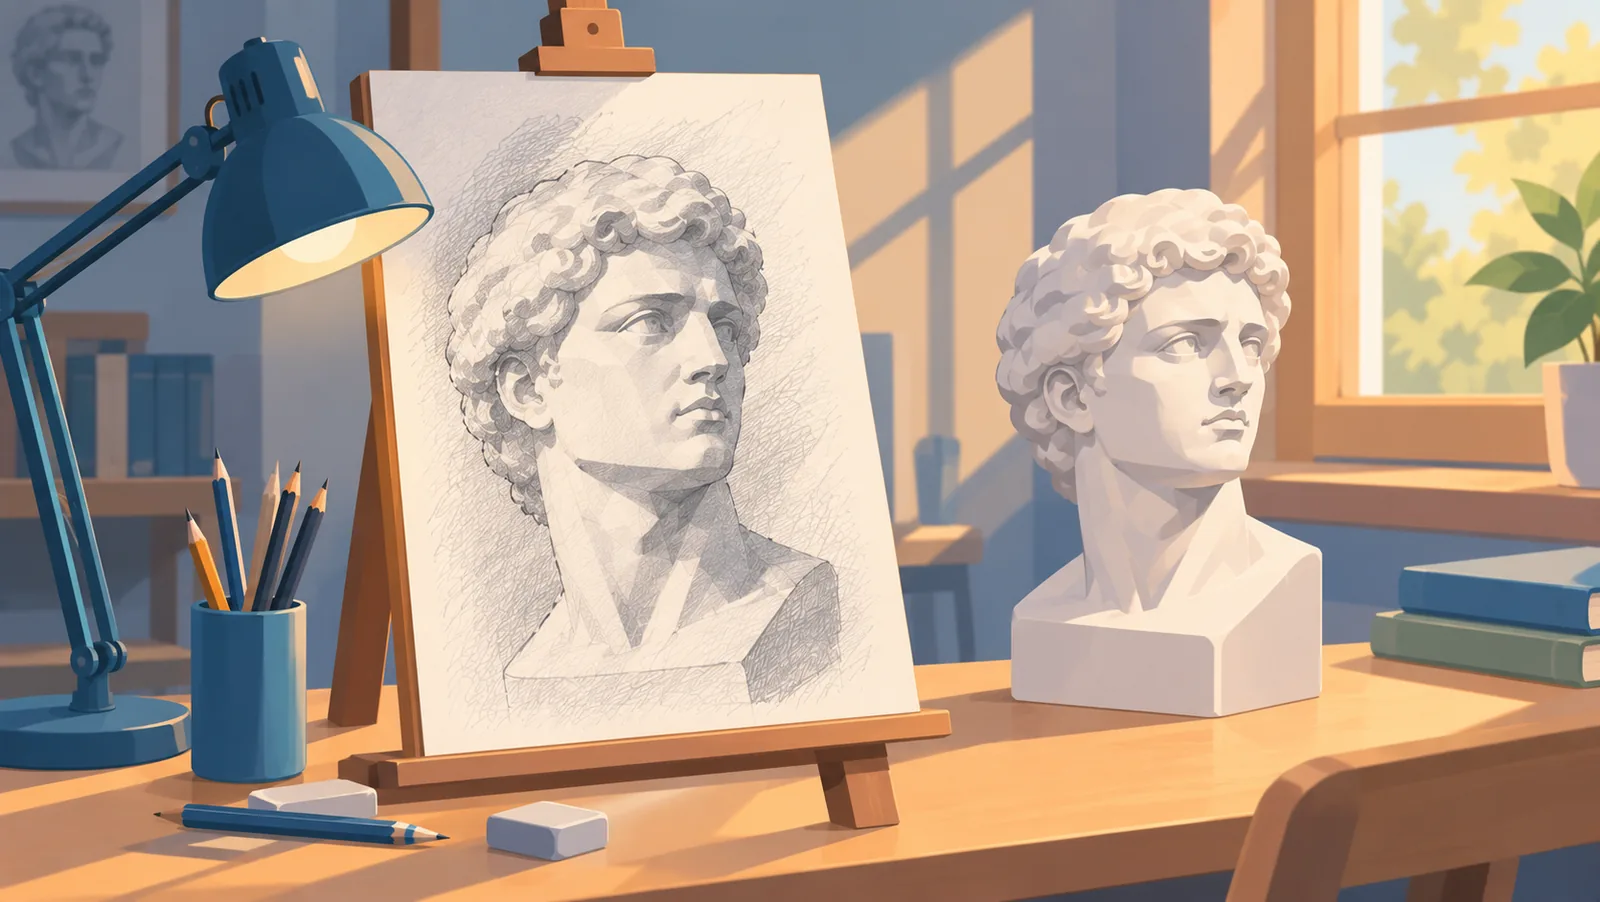
- Plaster casts: simple white forms show planes clearly because there is no skin color or texture to distract you.
- Photos with strong side light: a photo with clear light and shadow shows plane changes better than a softly lit, evenly lit photo.

A simple lighting arrangement
Use a single light source, such as a desk lamp, in an otherwise dim room. Place a plain wall or sheet of paper behind the subject to keep the background quiet. One light makes shadow shapes easy to read. Multiple lights blur the planes together.
Step 1: Block In the Head as a Simple Form
Start with a simple three-dimensional shape so the planes have something to sit on. Skipping this step is a common reason plane studies fall apart.
Egg, ball, or box
Draw an egg or ball shape for the cranium and add the jaw and chin below it. Some artists prefer a box-like head because its flat sides make the plane directions obvious. Choose the one that helps you see the form best.

Center line and placement lines
- Draw a center line down the middle of the face, curving it to follow the form if the head is turned.
- Add a brow line across the face at the level of the eyebrows.
- Add a nose line at the base of the nose.
- Mark the chin line at the bottom of the chin.
Check yourself
Before adding planes, hold your drawing next to the reference and compare the placement of the brow, nose, and chin lines. Adjust the block-in now, because moving lines is much easier before shading begins.
Step 2: Identify the Major Planes
Once the head form is in place, mark where the large surfaces change direction. Keep the map simple and work at the level of landmarks an artist can see.
Front planes
Find the flat front of the forehead, the front of the face between the cheeks, and the front of the nose. These planes face you most directly and often catch the most light when the light comes from the front or above.

Side planes
Locate the temples, the sides of the cheeks, and the sides of the jaw. These planes turn away from the viewer, and in side lighting they are often where the shadow shapes start.
Top and bottom planes
- Top planes: the brow ridge and the top of the cheekbones.
- Bottom planes: the underside of the nose, the area under the lower lip, and the underside of the chin.
Check yourself
Point at a spot on the face and ask, “Which way is this surface facing?” If you can answer with front, side, top, or bottom, you are reading the planes correctly.

🛒 Recommended Product
Step 3: Group Values Into Light and Shadow Shapes
Value means how light or dark something is. Grouping values means reducing the many small tonal changes on a face to a few large shapes so the planes stay clear.
Reduce to two or three values
Start with just two values, light and shadow. When that reads well, add a middle value. Fewer values keep the light logic clear, and detail can be added later without breaking the structure.
Key terms in plain language
- Halftone: the middle values between full light and full shadow.
- Terminator line: the edge between the lit area and the shadow area on a form.
- Core shadow: the darkest part of the shadow on the form itself, usually just beyond the terminator line.
- Cast shadow: a shadow one object throws onto another, such as the nose shadow on the cheek or the chin shadow on the neck.
- Reflected light: a soft glow inside the shadow, caused by light bouncing off nearby surfaces.
The squint test
Squint at your reference and at your drawing. Squinting blurs the small details and reveals the big value shapes. If the main light and shadow shapes look the same in both, your value groups are working. If your drawing breaks into many small spots, simplify.

Step 4: Practice With Light Direction Studies
The same head looks very different under different light. Studying one head under several light directions teaches you which parts of a face are fixed and which parts change with the light.
Four light setups
- Front light: shadows are minimal and the planes look flatter. This is useful for seeing how little the form reads without side shadow.
- Three-quarter light: the light comes from one side and slightly in front. Light and shadow shapes are clear, and it is a common choice for portraits.
- Side light: half of the face is lit and half is in shadow. The terminator line is easy to see.
- Top light: the brow, nose, and cheekbones cast shadows downward, and the eye sockets and under-chin area become dark.
What changes and what stays the same
The placement of the shadows changes with the light. The planes themselves, and their directions relative to each other, stay the same. Seeing this helps you avoid copying shadows without understanding what causes them.

Suggested timed exercises
These are suggested structures that you can adjust:
- 5 minutes: a quick two-value sketch that captures only the main light and shadow shapes.
- 15 minutes: a study with block-in, major planes, and three values.
- 30 minutes: a fuller study that adds halftones, the core shadow, and soft edges.
Comparing Study Methods
There are several ways to study facial planes, and each has strengths and trade-offs. The table below describes general tendencies. Individual results vary, and no method is proven best.
| Method | Cost | Lighting control | Learning speed | Difficulty |
|---|---|---|---|---|
| Drawing from photos | Usually lowest and most convenient | Low, since the light is fixed by the photo | Moderate | Often easier to start, but soft-lit photos can flatten the form |
| Drawing from a 3D model or cast | Varies | High, since the light can be moved | Tends to be fast for reading planes | Moderate |
| Drawing from a live model | Varies with access | Moderate to high, depending on the space | Often fast for overall observation | Higher, because pose and light can change |
| Sculpting a head in clay | Materials and time vary | High | Often strong for understanding form, but slower to set up | Higher |

Many artists combine methods, for example using photos for quick daily practice and a cast or model for weekly light studies.
A Weekly Practice Routine
Many teachers recommend regular short sessions over occasional long ones. The four-week plan below is a suggested structure, so change the timing to suit your schedule.
Sample four-week plan
- Week 1, block-in: practice egg or box heads with center, brow, nose, and chin lines from several angles.
- Week 2, plane studies: mark the front, side, top, and bottom planes on a simple head or cast.
- Week 3, value studies: reduce the same subject to two and then three values, and check with the squint test.
- Week 4, full portraits: apply the process to a complete portrait study from a model or a strongly lit photo.

Session checklist
- Is my head form built before I add planes?
- Can I name the direction each major surface faces?
- Do my value groups pass the squint test?
- Is my light source consistent across the whole drawing?
- Have I avoided adding detail before the large shapes work?
Common Mistakes and How to Fix Them
Overdetailing the features too early
Detailed eyes and lips can draw attention away from a weak structure. Fix it by working large to small: block-in, planes, value groups, and only then details.
Using too many values
When every small change gets its own tone, the light logic gets lost. Fix it by limiting yourself to two or three values until the shapes read clearly.
Ignoring the overall form and head angle
Planes look different when the head turns or tilts. Fix it by redrawing the center line and placement lines to follow the curve of the form before placing planes.

Copying plane maps without understanding light
A plane map is a guide, not a recipe. Real faces differ, and the lighting changes where shadows fall. Fix it by asking which way each surface faces relative to the light instead of copying the map line for line.
Frequently Asked Questions
How long does it take to learn the planes of the face?
It varies with how often you practice and your prior drawing experience. Short, regular sessions and a clear focus on one step at a time tend to help.
Do I need to memorize a plane map?
No. A plane map is a teaching aid. It is more useful to understand how surfaces face different directions and respond to light than to memorize a specific diagram.
Can I study planes digitally?
Yes. Digital 3D head models let you rotate the head and move the light, and painting apps let you practice value grouping. The same principles apply to traditional and digital work.
Is this useful for painting as well as drawing?
Yes. Understanding planes and value groups helps in painting, sculpture, and digital art, because all of them depend on showing form under light.
Conclusion and Next Steps
Studying the planes of the face is a way of seeing the head as a solid form. One practical sequence is to block in a simple head, identify the major planes, group values into light and shadow shapes, and practice under different light directions. Each step builds on the one before it.
One small exercise to start today
Set up a single lamp in a dim room and draw a simple egg-shaped head or a plaster cast for 15 minutes. Mark the front, side, top, and bottom planes, then fill in only two values: light and shadow. Squint at the result and adjust until the big shapes read clearly.
- General portrait drawing and painting instruction as commonly taught in academic and classical art courses, including ball-and-plane head construction and value grouping. No single source is cited.