⚠️ This page connects you to Atovia’s partners and affiliate markets. We may receive a commission from affiliate partners for activities made through these links. Discount offers may change at any time according to policy! Rest assured, there are no additional costs to you! We hope this saves you time in finding the right items!
Studying plants can feel overwhelming when there are thousands of species and a wall of technical terms. The good news is that you only need a few repeatable habits and a small, well-chosen kit to get started. This guide walks you through the methods first, then compares the essential tools and gives you a checklist for choosing your starter kit.
As an Amazon Associate I earn from qualifying purchases.
🛒 Recommended Product
- Why Studying Plants Is Easier Than It Looks
- Start With Careful Observation
- Learn Plant Structure and Basic Terms
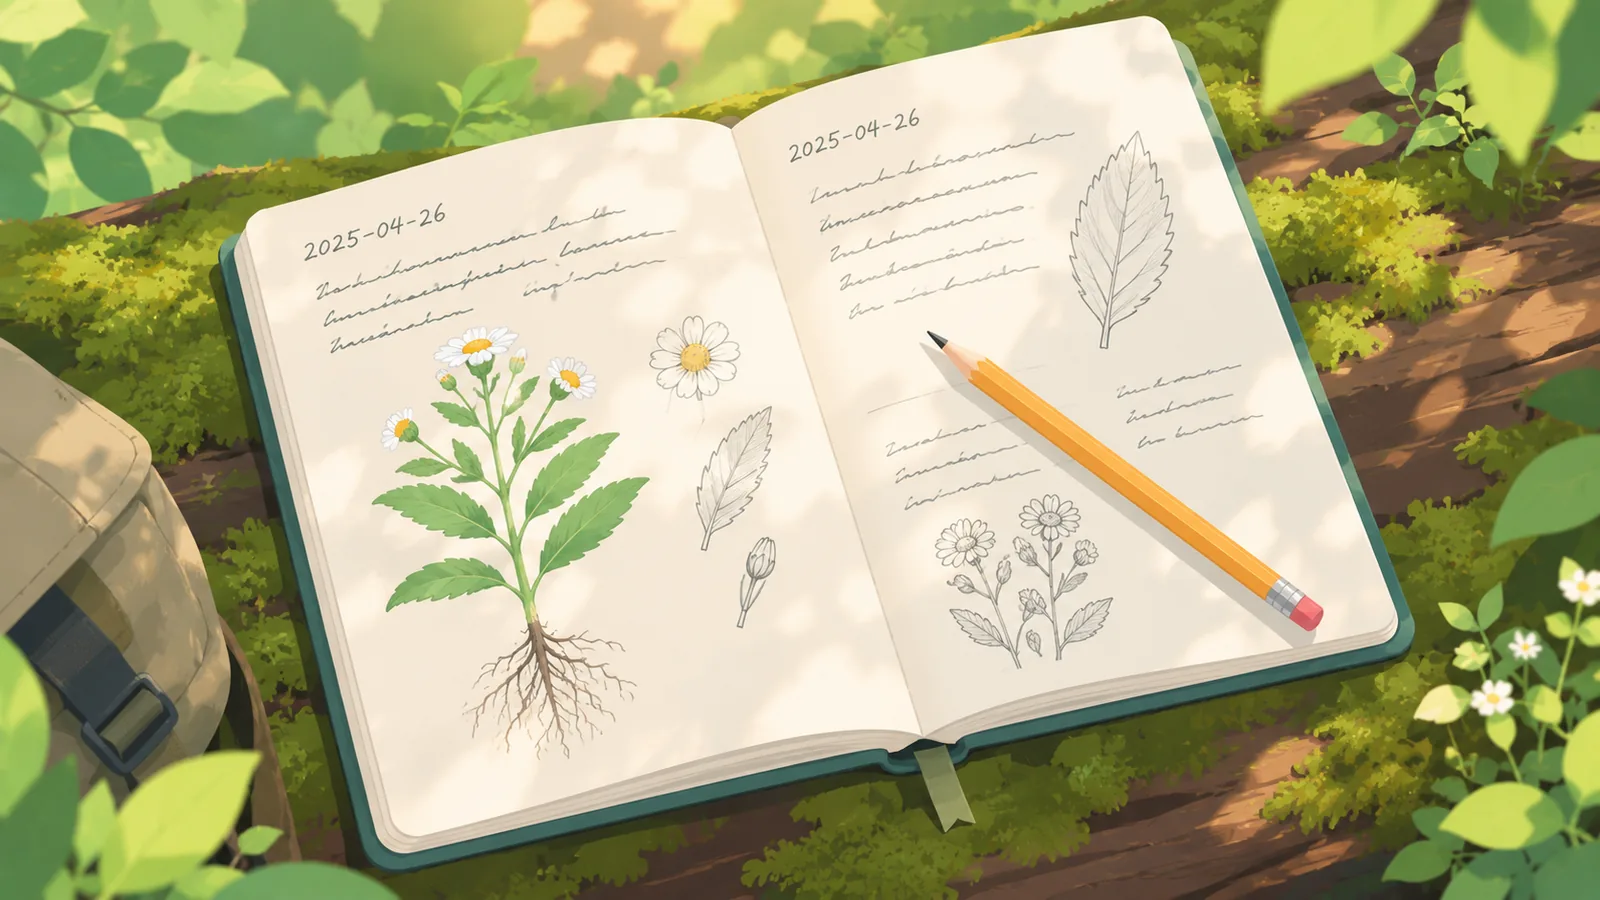
- Keep a Field Journal
- Try Botanical Drawing to See More
- Identify Plants With Field Guides and Keys
- Collect and Press Plants Responsibly
- Essential Tools Compared
- How to Choose Your Starter Kit
- A Simple 4-Week Practice Plan
- Frequently Asked Questions
- Start with one local habitat, such as a backyard, a park, or a trail edge.
- Observe carefully before you try to identify anything.
- Record every plant the same way so your notes are easy to compare.
- Buy a regional field guide and a hand lens first.
- Add a plant press, a field journal, and a drawing set as your practice grows.
Why Studying Plants Is Easier Than It Looks
Most beginners get stuck for two reasons: there seem to be too many species to learn, and the vocabulary sounds like a foreign language. Both problems shrink quickly when you narrow your focus to one place and one small set of skills.
This guide uses a habit-plus-kit approach. The habits are observing, recording, and identifying in the same order every time. The kit is a handful of simple tools that support those habits, not a long shopping list.
Takeaway: Choose one nearby habitat and commit to learning it well before you branch out.
Start With Careful Observation
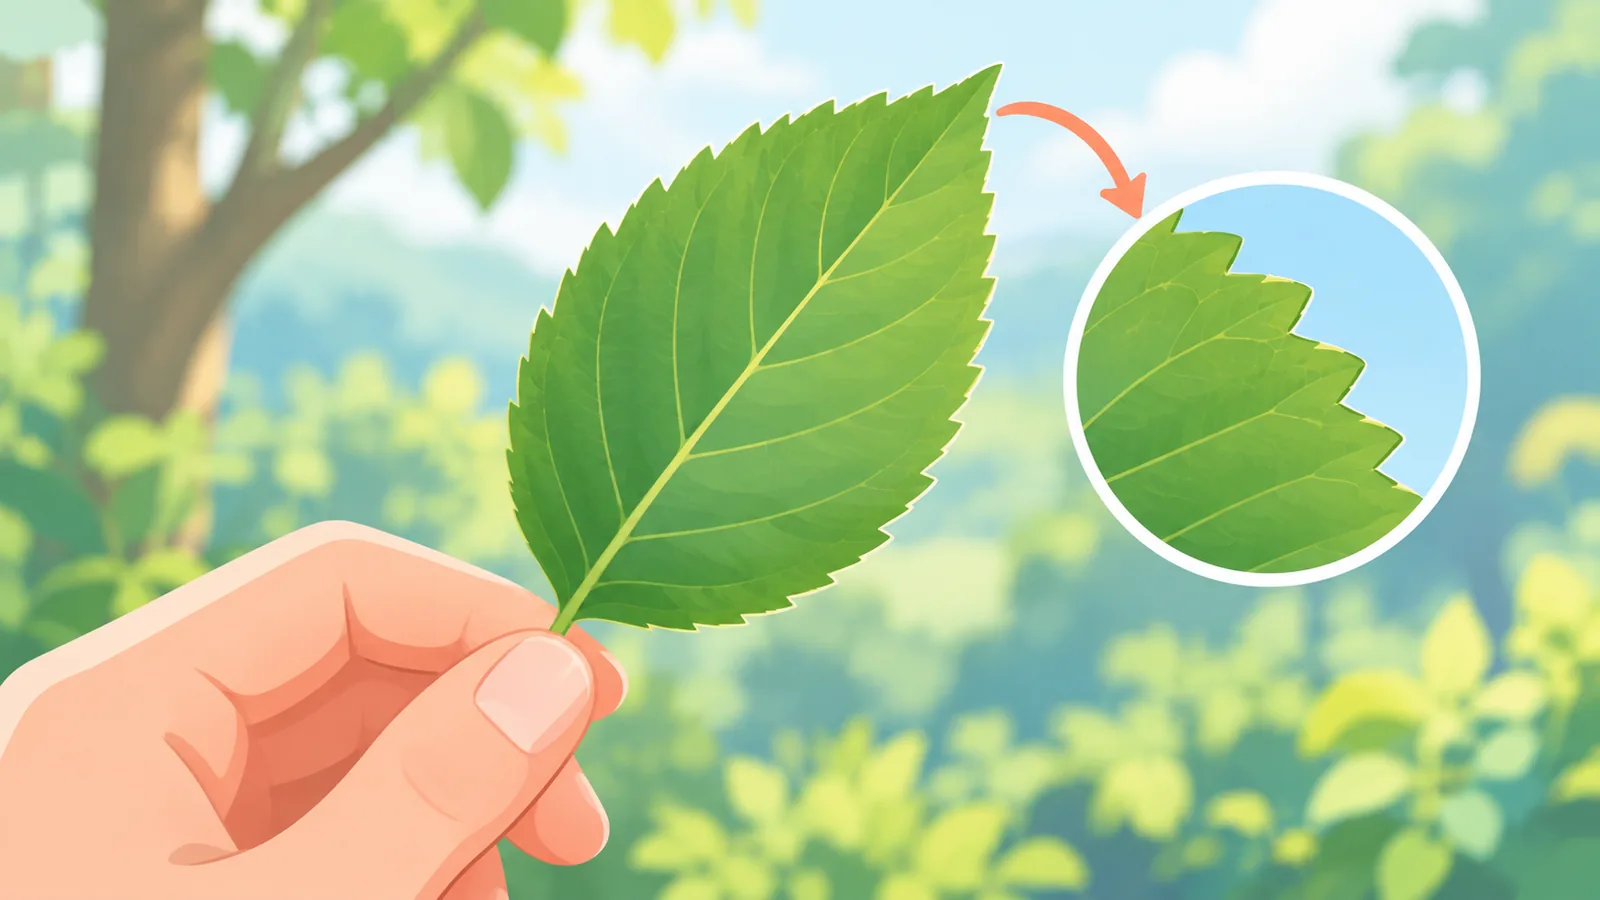
Careful observation is the foundation of every other plant skill. Before you reach for a book or an app, look closely at the plant in front of you. Leaf arrangement, leaf shape, and leaf margin are standard identification features, so check these first.
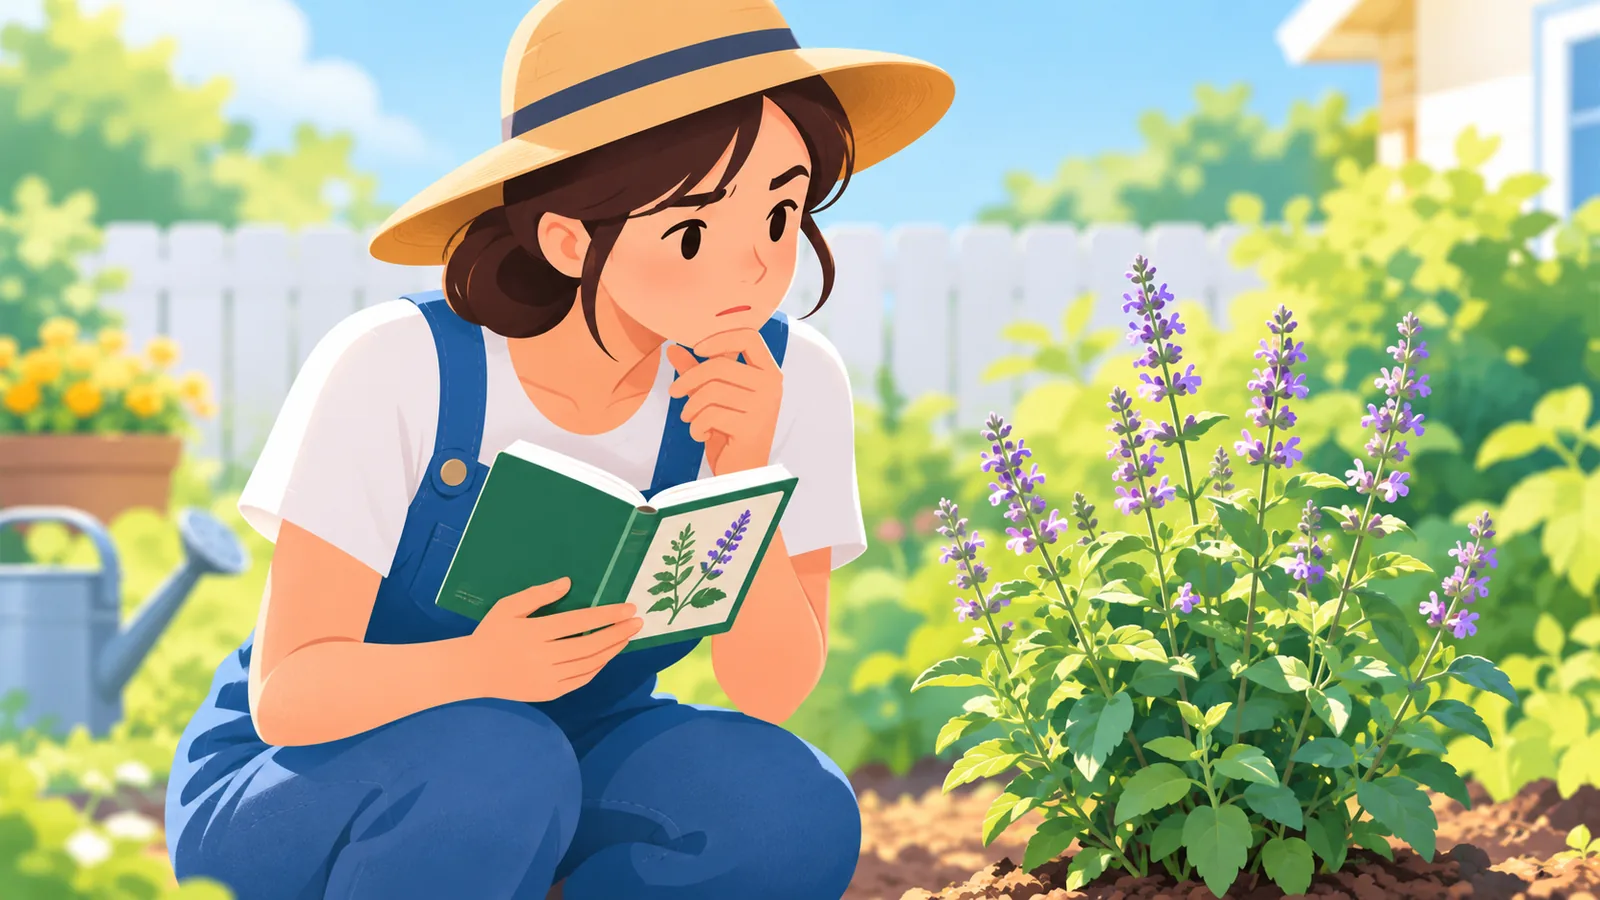
A Simple Five-Point Observation Routine
- Growth habit: Is it a tree, shrub, vine, grass, or herb?
- Leaf arrangement: Are leaves alternate, opposite, or whorled along the stem?
- Leaf shape and margin: Is the edge smooth, toothed, or lobed?
- Stem: Is it round or square, smooth or hairy, woody or soft?
- Flowers or fruit: If present, note the color, the number of petals, and how they are arranged.
Takeaway: Run the same five checks on every plant so the routine becomes automatic.
Learn Plant Structure and Basic Terms
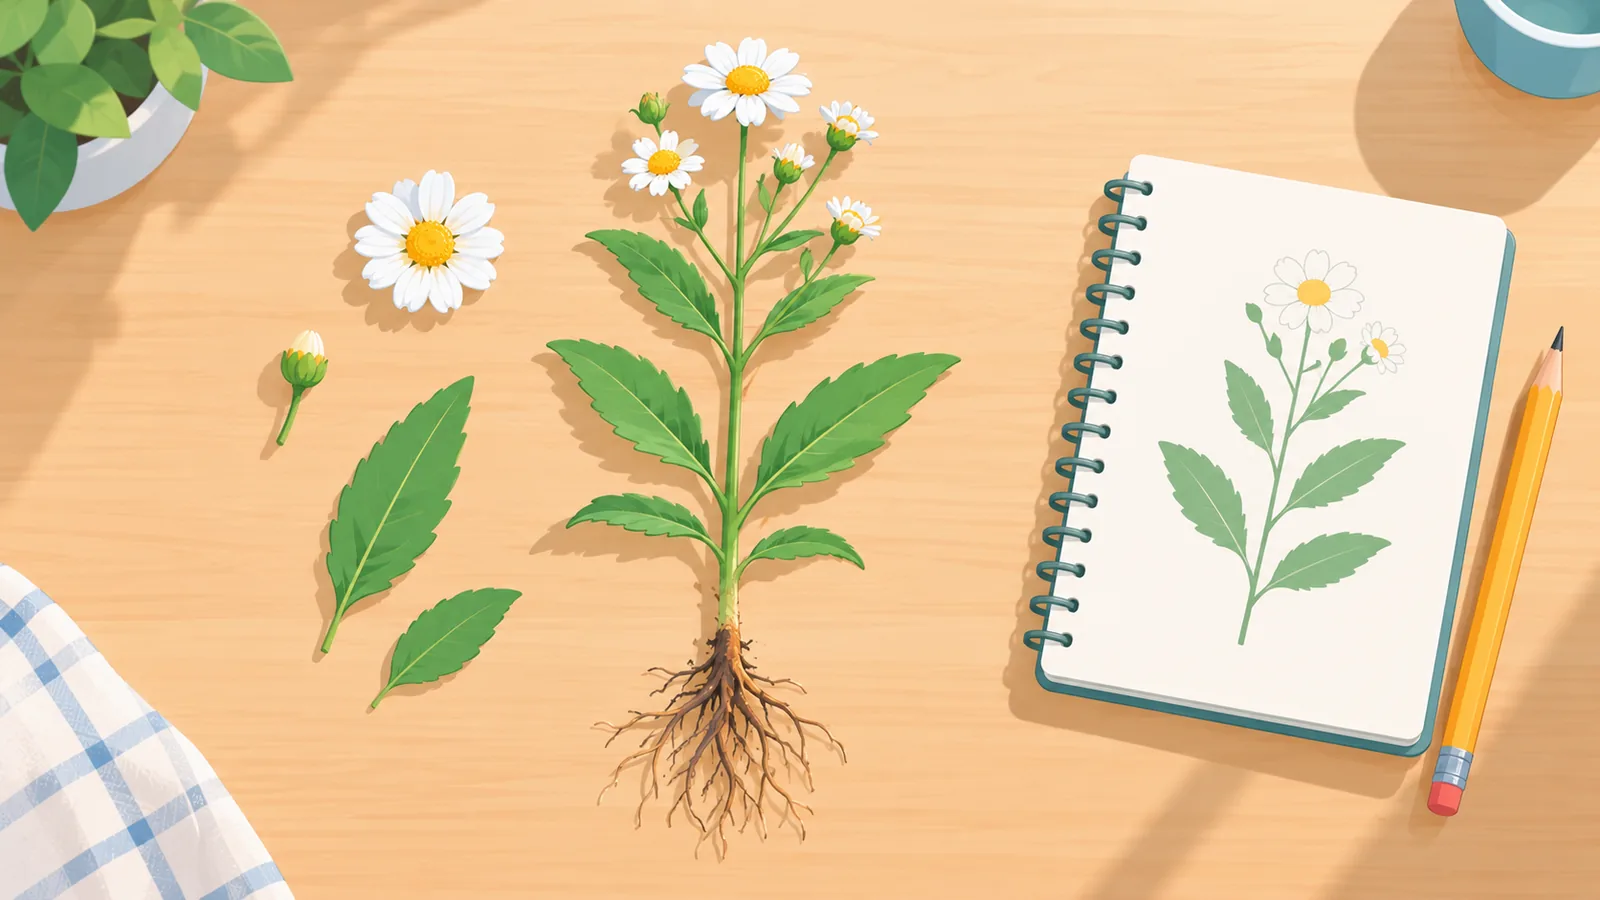
You do not need to memorize a textbook. Start with the core parts of a plant: roots, stems, leaves, flowers, fruits, and seeds. Each one gives you clues about what the plant is and how it lives.
To avoid overload, keep a short glossary of only the terms you actually meet in the field. When a new word appears in a field guide, write it down with a plain-language definition and a small sketch. Ten well-understood terms are more useful than fifty half-remembered ones.
Takeaway: Learn vocabulary in context, one term at a time.
Keep a Field Journal
A field journal turns casual walks into real learning. It gives you a record you can review, compare across seasons, and use to spot patterns.
What to Record for Each Plant
- Date and time
- Location and habitat (shady woodland edge, open meadow, garden bed)
- Your five-point observations
- A quick sketch or photo reference
- Questions to look up later
Use the same page layout every time. A consistent format makes it easy to flip back and compare entries, and it saves you from deciding what to write while you are standing outdoors.
Takeaway: A simple, consistent entry format beats a beautiful but inconsistent one.
Try Botanical Drawing to See More
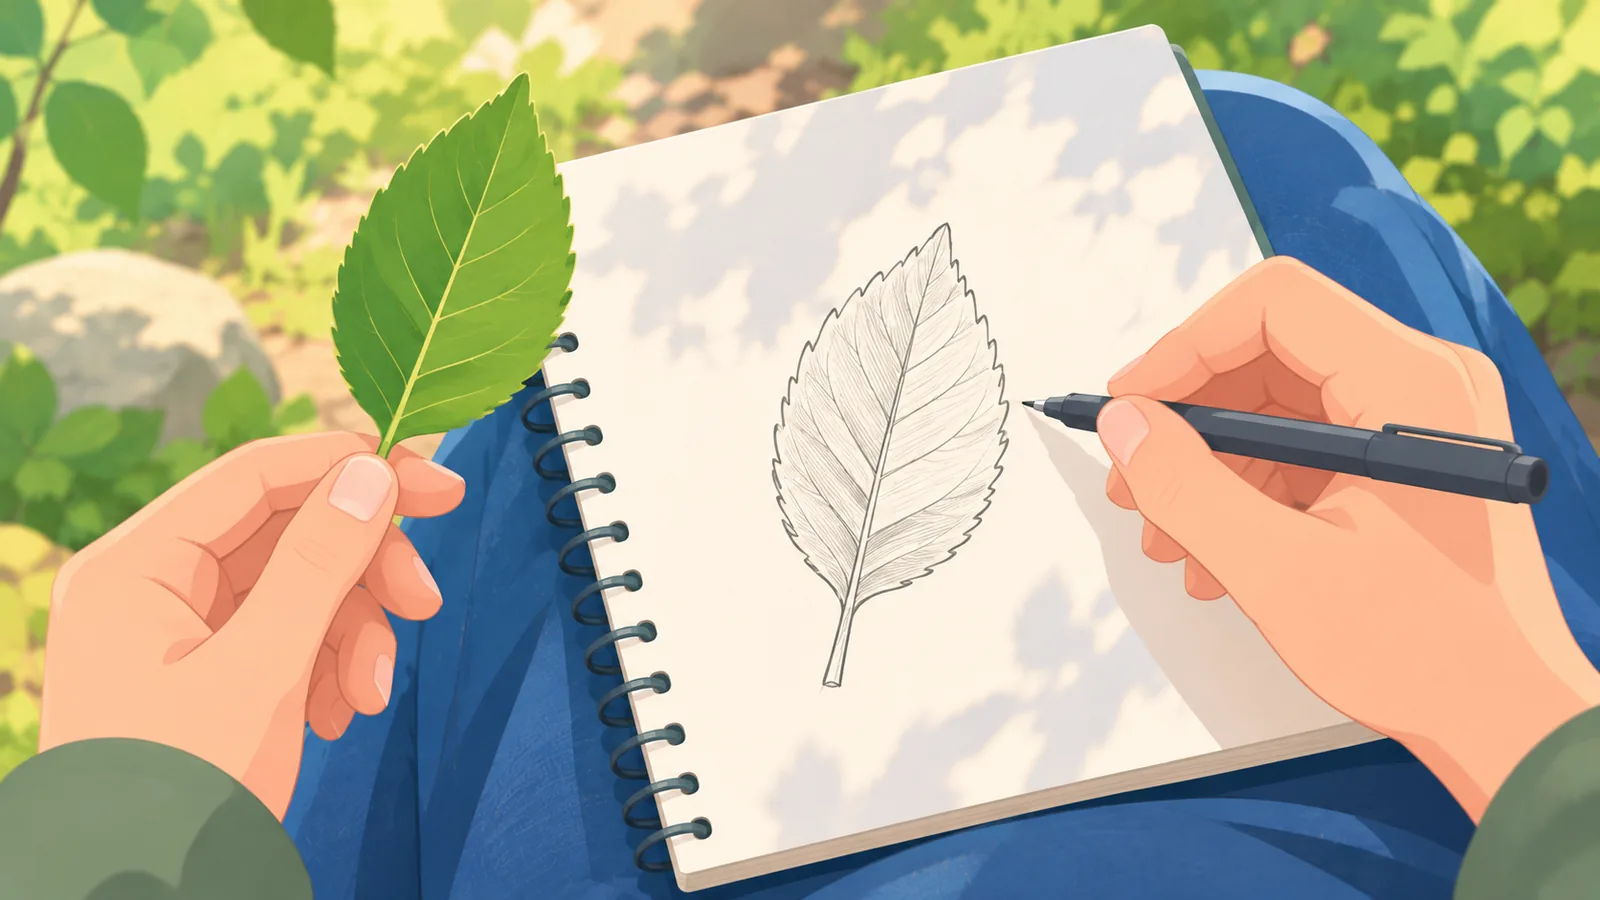
Drawing a plant slows you down and reveals details you would otherwise miss, such as how veins branch or how a flower’s parts connect. You do not need artistic talent. The goal is to look, not to impress anyone.
A First Exercise
Pick one leaf and draw its outline, then add the main veins, then label the margin type and arrangement on the stem. Spend five to ten minutes on it. Basic supplies are a pencil, an eraser, a fine pen, and a sketchbook or your field journal.
Takeaway: One slow sketch teaches more than ten quick photos.
Identify Plants With Field Guides and Keys
Once you have observed and recorded a plant, you are ready to identify it. Two main types of guides can help.
- Dichotomous keys present paired choices that narrow a plant down step by step. They are precise and reward patience, which suits students and serious hobbyists.
- Picture-based guides group plants by visible traits such as flower color or growth form. They are faster and friendlier for casual walkers and beginners.
Regional guides are usually more reliable for your area because they cover plants that actually grow near you. Identification apps can suggest a name from a photo, but results can be wrong, so use them as a cross-check against your guide or key rather than as a final answer.
🛒 Recommended Product
Takeaway: Identify from your own observations first, then confirm with a second source.
Collect and Press Plants Responsibly
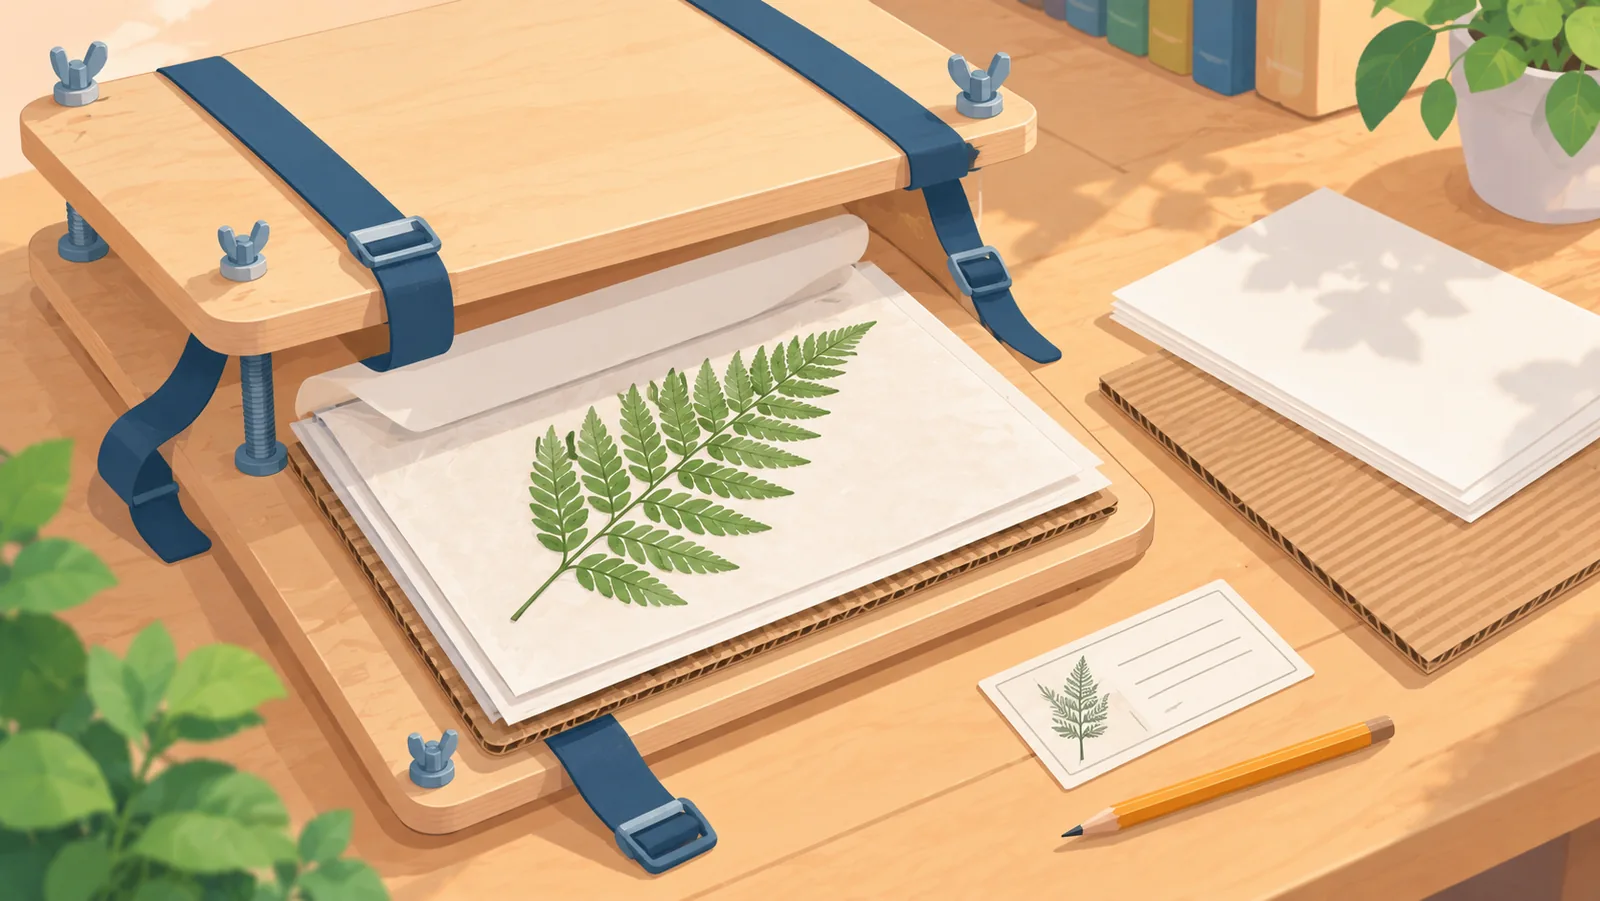
Pressing plants is a classic way to preserve and study them, but responsible collecting comes first.

- Rules on collecting vary by location and land type, and permission or a permit is often required. Check with the local land manager before you collect anything.
- Never collect rare or protected species. Photograph or sketch them instead.
- Some plants cause skin irritation or are toxic. Never taste or eat a plant based on identification alone.
Basic Pressing Steps
- Take a small, representative sample, ideally with leaves and flowers or fruit if available.
- Place it flat between sheets of blotting paper, arranging the leaves so some show the underside.
- Stack the sheets with corrugated cardboard between layers, then tighten the press with its straps.
- Let the specimen dry, replacing damp blotting paper as needed.
- Label each specimen with the date, location, and habitat, then mount or store it flat.
Takeaway: Check the rules first, collect sparingly, and label everything.
Essential Tools Compared
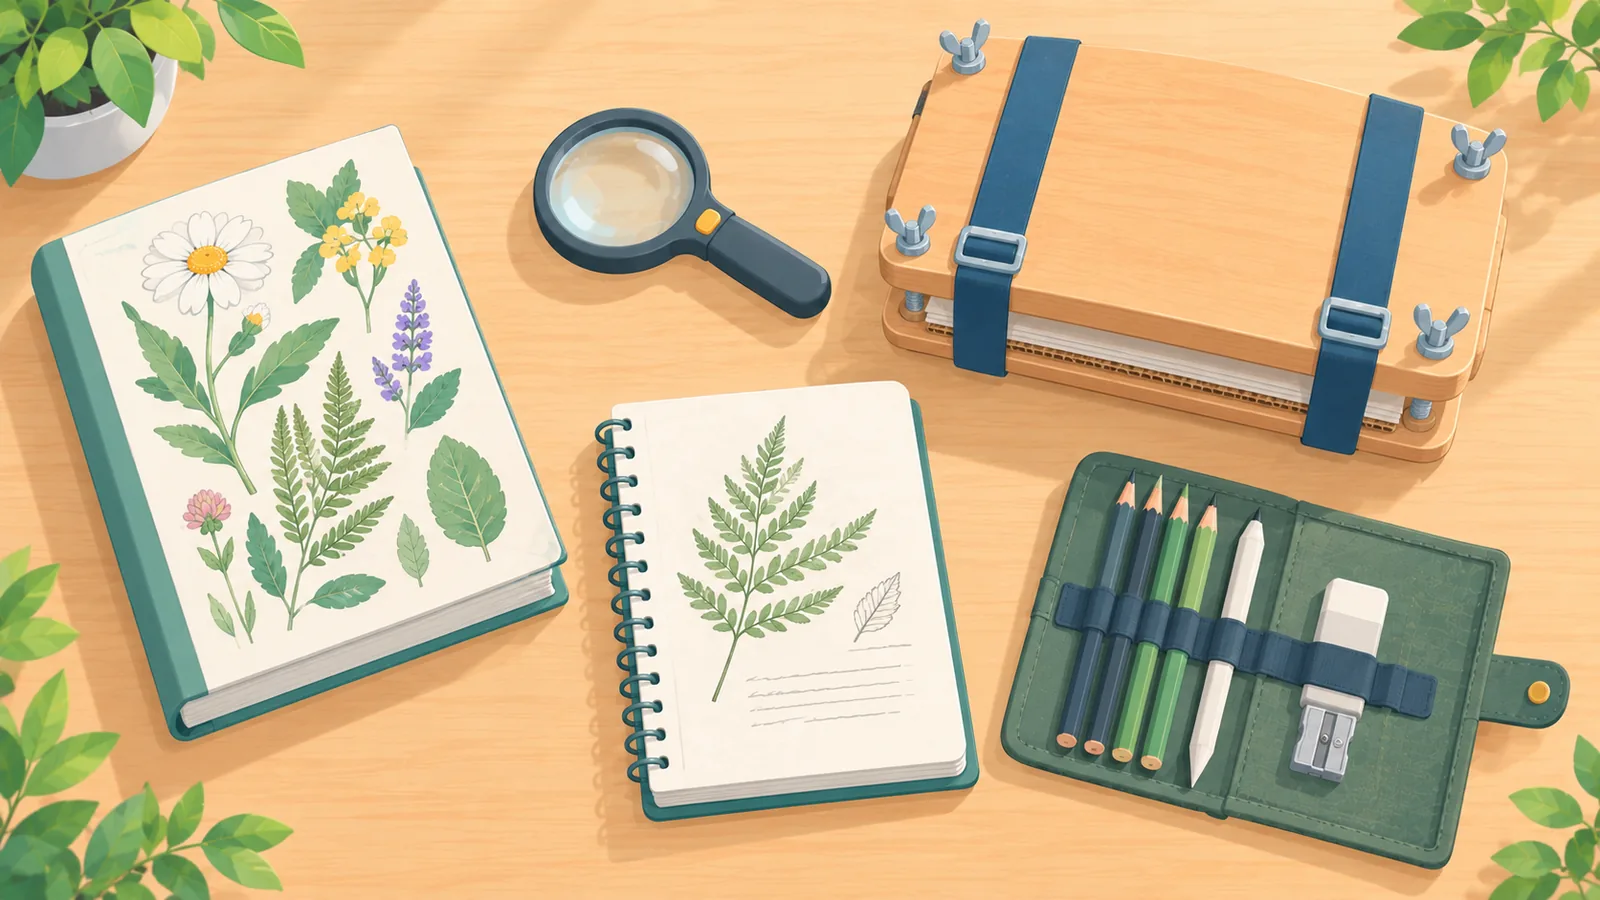
Here is how the five core tools compare. Budget ranges are described in general terms only, since costs vary widely by seller and region.
| Tool | Purpose | Best For | What to Look For | Budget Range |
|---|---|---|---|---|
| Field guide | Identify plants and learn terms | Every beginner | Regional coverage, clear images or a usable key | Low to moderate |
| Hand lens | View small features such as hairs and flower parts | Close observation outdoors | Commonly 10x, a clear view, a comfortable grip or cord | Low |
| Plant press | Flatten and dry specimens | Building a reference collection | Sturdy boards, secure straps, blotting paper, cardboard | Low to moderate |
| Field journal | Record observations and sketches | Tracking progress over time | Durable cover, paper that suits pencil and pen, lies flat | Low |
| Drawing set | Sketch plant details | Sharpening observation | Pencils, eraser, fine pen, compact case | Low to moderate |
Takeaway: A microscope is not needed at the beginner level, because a hand lens covers most starter needs.
How to Choose Your Starter Kit
The right first purchase depends on how you plan to study. Treat the suggestions below as advice, not a universal ranking.
Match Tools to Your Use Case
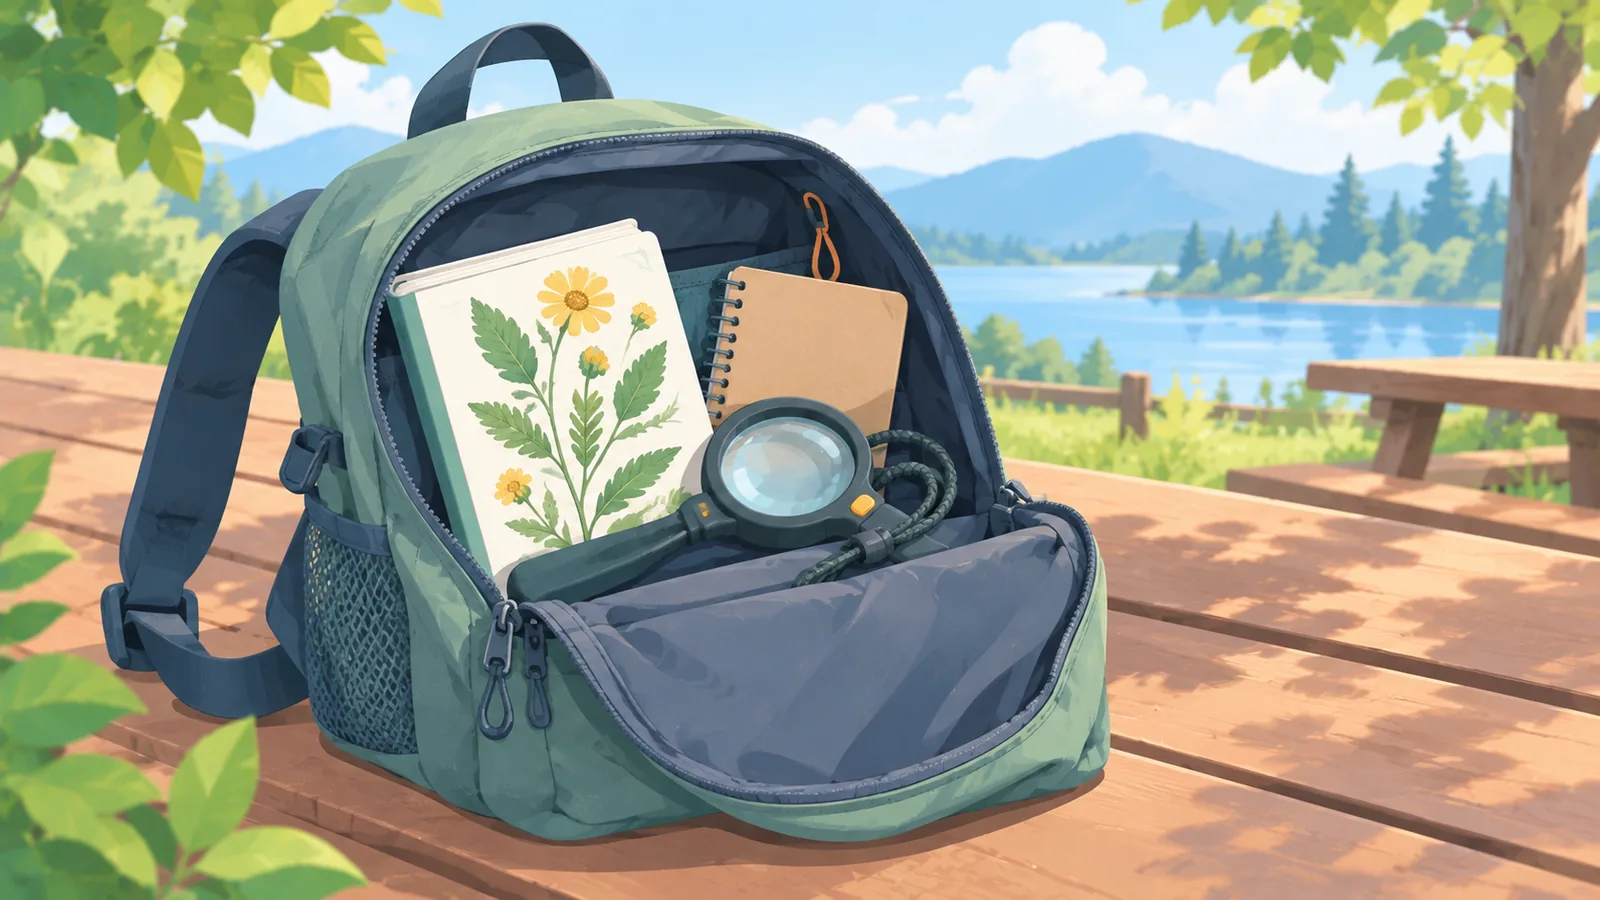
- Hiking: A compact regional field guide, a hand lens on a cord, and a small pocket journal.
- Gardening: A field guide covering cultivated and wild plants, plus a journal to track changes through the seasons.
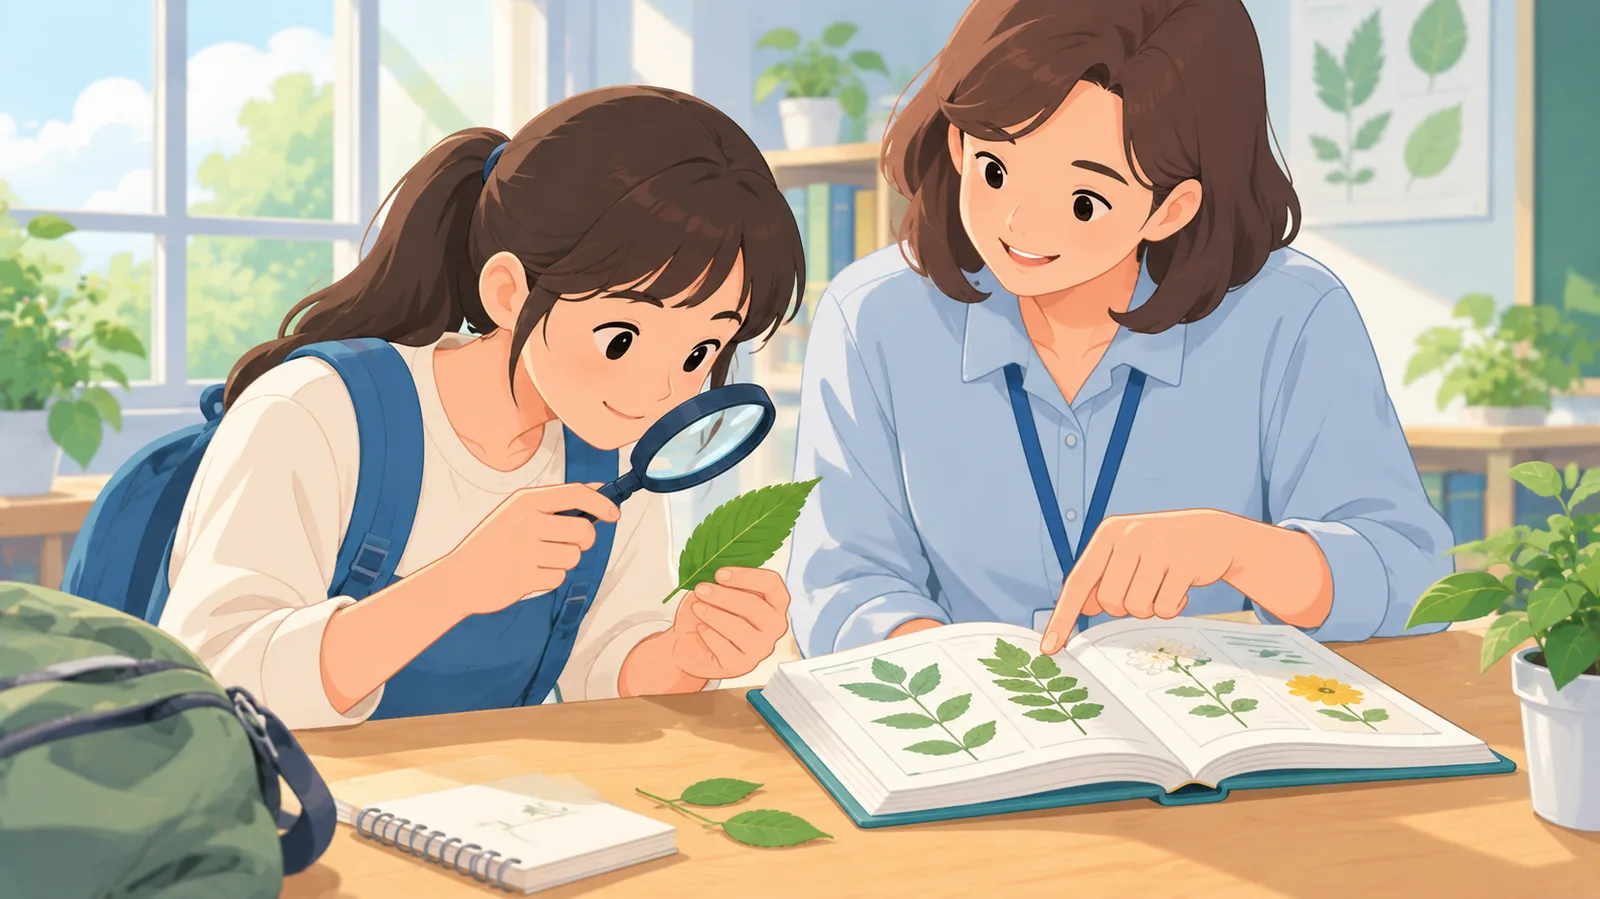
- Classroom: A dichotomous key, a hand lens for each student, and drawing supplies.
- Home study: A field guide, a journal, and a plant press once you are ready to keep specimens.
Selection Checklist
- Portability: Will you actually carry it on walks?
- Durability: Can it handle damp, dirt, and daily use?
- Regional relevance: Does it cover plants that grow near you?
- Ease of use: Is it clear enough that you will reach for it often?
Common Buying Mistakes
- Buying a general or worldwide guide when a regional one would serve you better.
- Buying a full set of tools before building the observation habit.
- Choosing bulky gear that stays at home.
Takeaway: Start with a field guide and a hand lens, then add tools as your practice grows.
A Simple 4-Week Practice Plan
This is a sample schedule. Adjust it to your own pace and habitat, and start with a small group of plants, such as five to ten common local species.
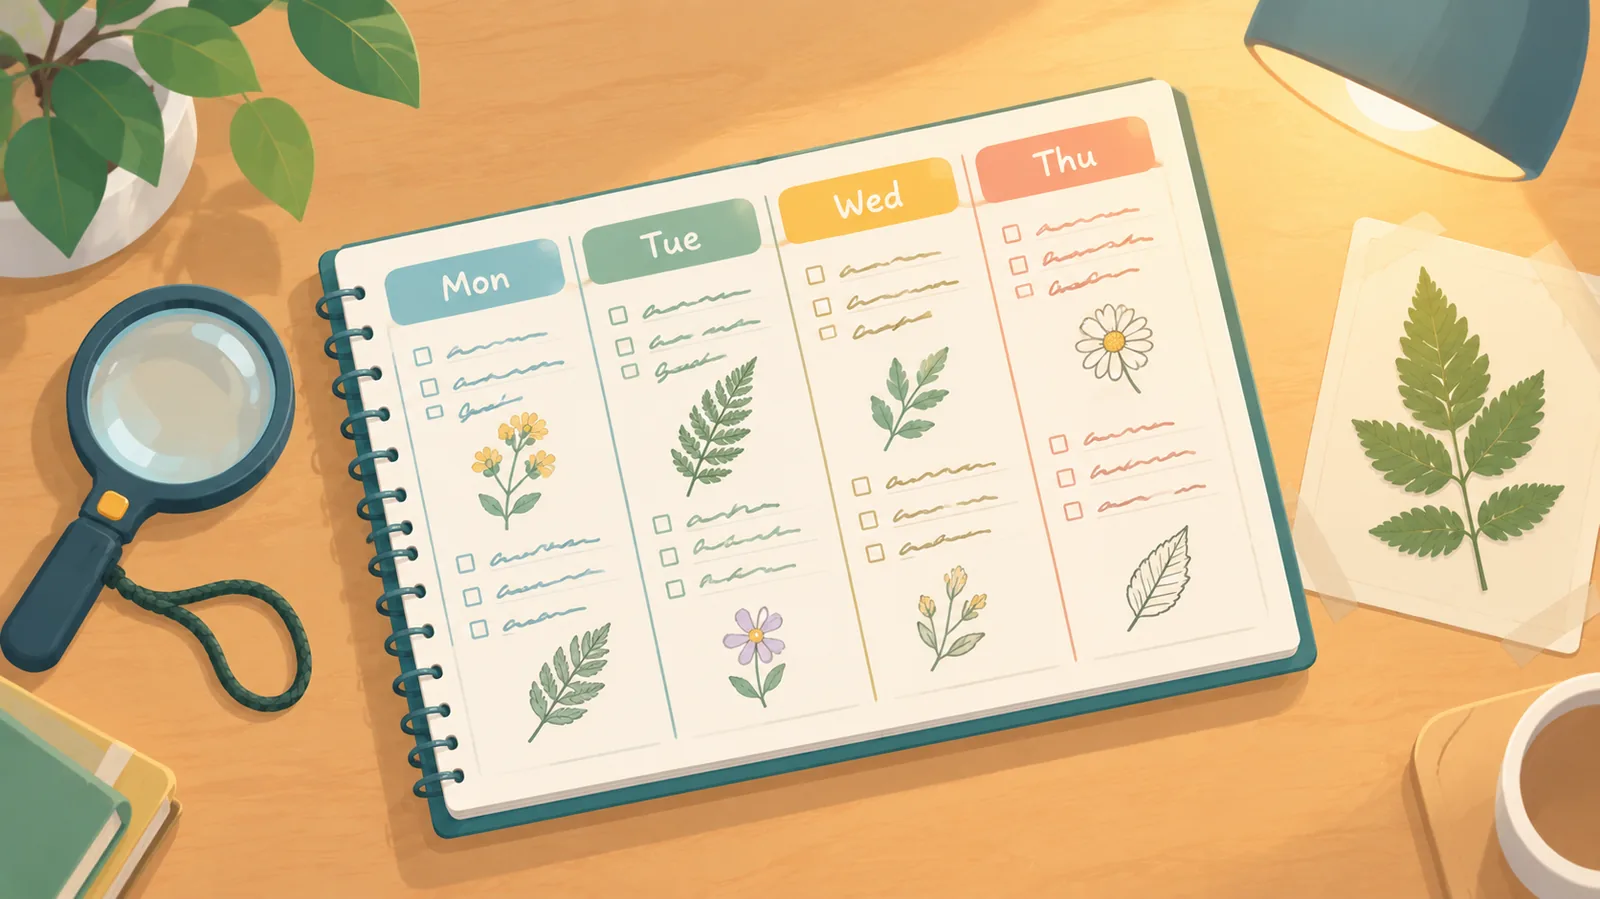
- Week 1, Observe: Visit your chosen habitat two or three times. Practice the five-point routine on a few plants.
- Week 2, Record: Start your field journal. Create one entry per plant with consistent details and a quick sketch.
- Week 3, Identify: Use your field guide or key to identify your journal plants, then cross-check with a second source.
- Week 4, Preserve and review: If local rules allow, press one or two common plants. Review your journal and note what you learned.
Takeaway: Small, regular sessions build skill faster than one long outing.
Frequently Asked Questions
Do I need a microscope?
No. A hand lens is enough for most beginner needs, and it is easy to carry outdoors.
Can apps replace field guides?
Not fully. Apps can suggest a name, but results can be wrong, so confirm with a guide or key.
How many plants should I study at first?
Start small, for example five to ten common local species, and add more as you gain confidence.
Is pressing plants legal everywhere?
No. Rules vary by location and land type, so check with the local land manager and never collect rare or protected species.
What is the best age or level to start?
Any age or level works. Begin with observation and a journal, and add tools as your practice grows. Young children should have adult supervision outdoors.
Ready to begin? Browse starter tools for studying plants and build a kit that fits the way you learn.
Browse Plant Study Starter Tools
- Introductory botany course materials on plant structure and identification characters (general reference).
- Regional field guides and dichotomous keys for your local area (general reference).
- Local land manager or park authority guidance on plant collecting rules in your area.
Want more comparisons and buying guides?