⚠️ This page connects you to Atovia’s partners and affiliate markets. We may receive a commission from affiliate partners for activities made through these links. Discount offers may change at any time according to policy! Rest assured, there are no additional costs to you! We hope this saves you time in finding the right items!
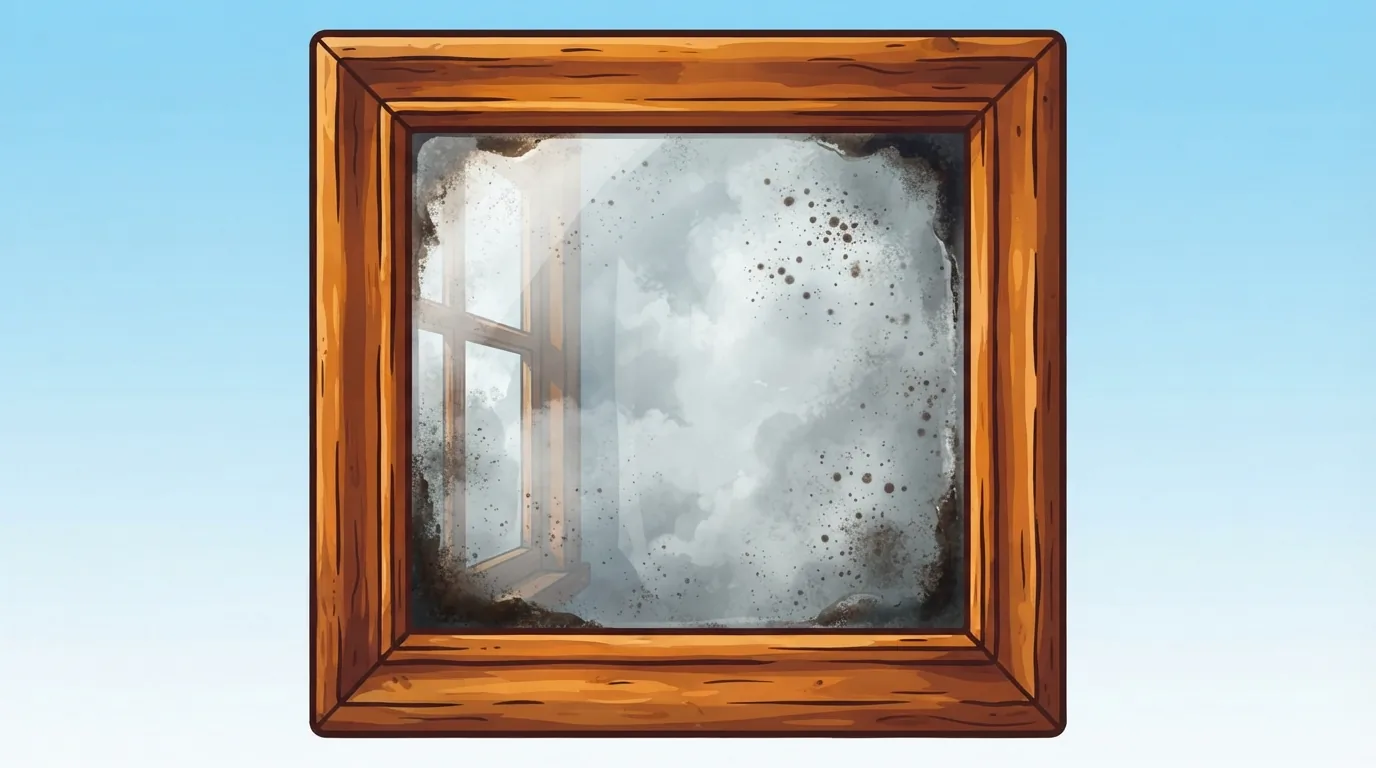
A plain, budget-friendly mirror can take on a soft, speckled, vintage look in a single afternoon, and you never have to take it off the wall or open the frame. Most tutorials work from the back of the glass or require dismantling the mirror. This guide keeps everything on the front, where it is easier to control and safer for an installed mirror.
One honest expectation up front: a front-applied finish creates the illusion of aged silvering. Real mirror silvering sits on the back of the glass, so front methods cannot remove or thin it. Instead, they add translucent, speckled, or frosted layers on the surface to imitate the cloudy patches and dark spots (often called foxing) of an old looking glass. Results vary by product and by mirror, so a test patch is part of the plan, not an optional extra.
- What “Antiquing From the Front” Actually Means
- Supplies Checklist and What to Look for When Buying
- Prep: Cleaning, Masking, and Choosing Your Workspace
- Method 1: The Vinegar and Water Droplet Technique
- Method 2: Mirror-Antiquing Spray or Paint Applied to the Front
- Method 3: Steel Wool and Sponge Dabbing for Fine Detail
- Sealing and Finishing the Mirror
- Comparison of Methods
- Common Mistakes and How to Fix Them
- Final Checklist Before You Start
- Frequently Asked Questions
- Front-application method: no need to remove the mirror from the wall or touch the backing.
- Rough time estimate: about 2 to 4 hours of active work, plus drying time. This is an approximate range.
- Rough supply cost: often about $15 to $45 depending on store and kit size. This is a broad estimate, not a quote.
- Best for framed or wall-hung mirrors where you want a soft, aged look.
- The finish is easiest to adjust before it cures or is sealed, and difficult to undo afterward.
- Always test on scrap glass or an inconspicuous corner first.
What “Antiquing From the Front” Actually Means
Antique mirrors get their charm from aged silvering: clouded patches, dark freckles, and darker edges where moisture crept in behind the glass. Because that silvering lives on the back, a front-side project works differently. You add thin, uneven layers on the glass surface, or lightly frost it, so the mirror appears to have aged.
How the look is built
- Haze: a soft, cloudy veil from misted mirror-effect spray or translucent paint.
- Foxing: small, irregular dark spots made with dabbed paint or sponge work.
- Edge darkening: heavier build-up near corners and edges, where real mirrors tend to age first.
Front vs. back methods
Back methods can look very convincing, but they require taking the mirror out of its frame or off the wall and handling the backing. Front methods are safer for installed mirrors and easier to adjust as you go. The trade-off is that the result is a faux finish, not true aged silvering.
Supplies Checklist and What to Look for When Buying
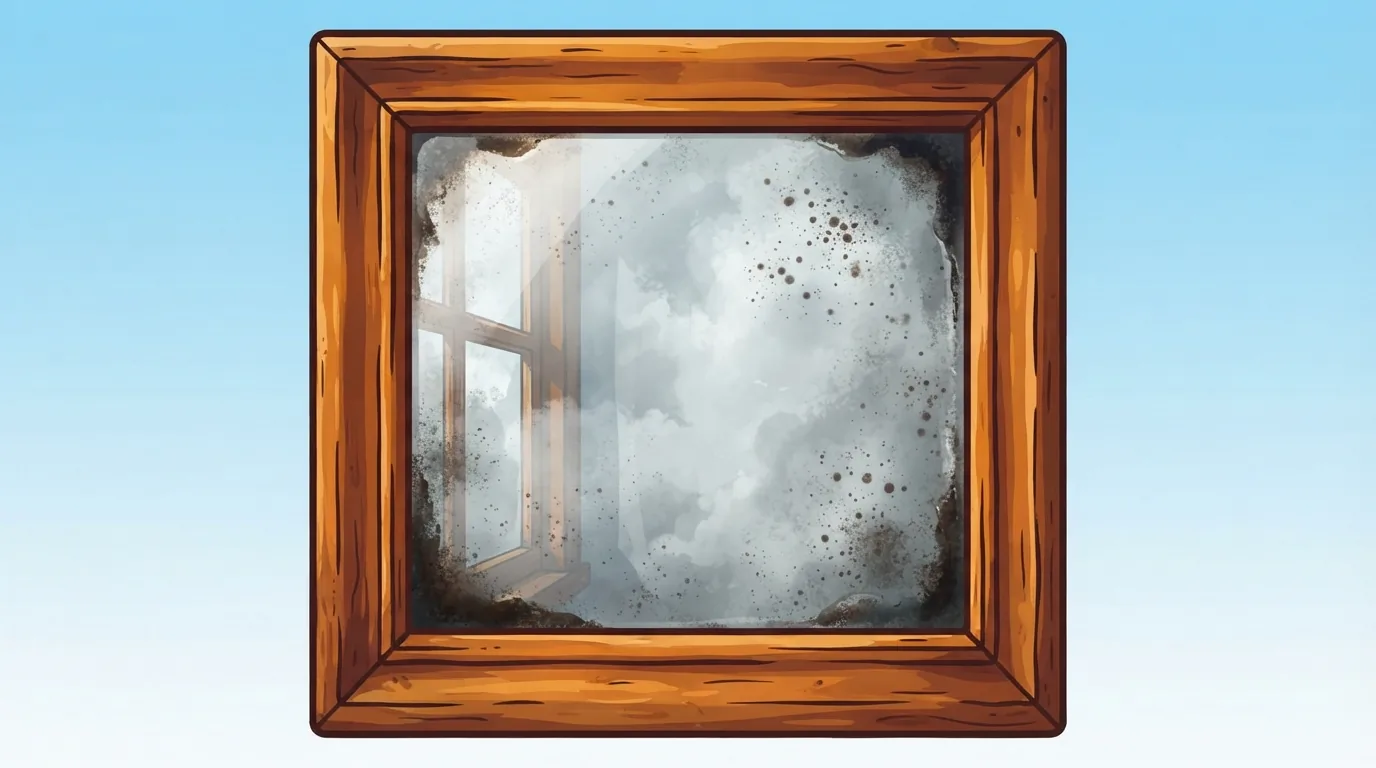
Think of your shopping in two tiers: what you need to buy first, and what is nice to have.
Buy this first
- Mirror-effect, looking-glass, or translucent antiquing spray or paint (check the label for use on glass).
- White vinegar and distilled water, plus two small spray bottles. Distilled water is a helpful tip to avoid mineral spotting.
- Painter’s tape and plastic sheeting to protect the frame, wall, and floor.
- Nitrile gloves and a mask or respirator suited to the product you choose.
- Lint-free cloths and a natural sponge.
Nice to have
- Fine 0000 steel wool for feathering and blending.
- A soft brush for stippling.
- Dark gray or black paint for small foxing spots.
- A clear matte sealer labeled as compatible with your paint or spray.
- A scrap mirror or thrifted small mirror for testing.
Buying criteria that matter
| Decision | Option A | Option B |
|---|---|---|
| Formula | Water-based: usually lower odor, easier cleanup | Solvent-based: often needs stronger ventilation and a rated respirator |
| Sealer finish | Matte: keeps the aged, soft look | Gloss: adds shine that can look too new |
| Quantity | Small can or bottle: fine for small mirrors and test patches | Larger can: check label coverage for big mirrors |
| Compatibility | Sealer and paint from the same product line | Mixed products: confirm compatibility on the labels |
Budget tiers
A basic approach using vinegar, water, and a translucent paint or glaze sits at the lower end of the range. A specialty mirror-effect spray plus sealer costs more but is often simpler to apply. Prices vary widely by store, so compare coverage per can rather than just the sticker price.
Prep: Cleaning, Masking, and Choosing Your Workspace
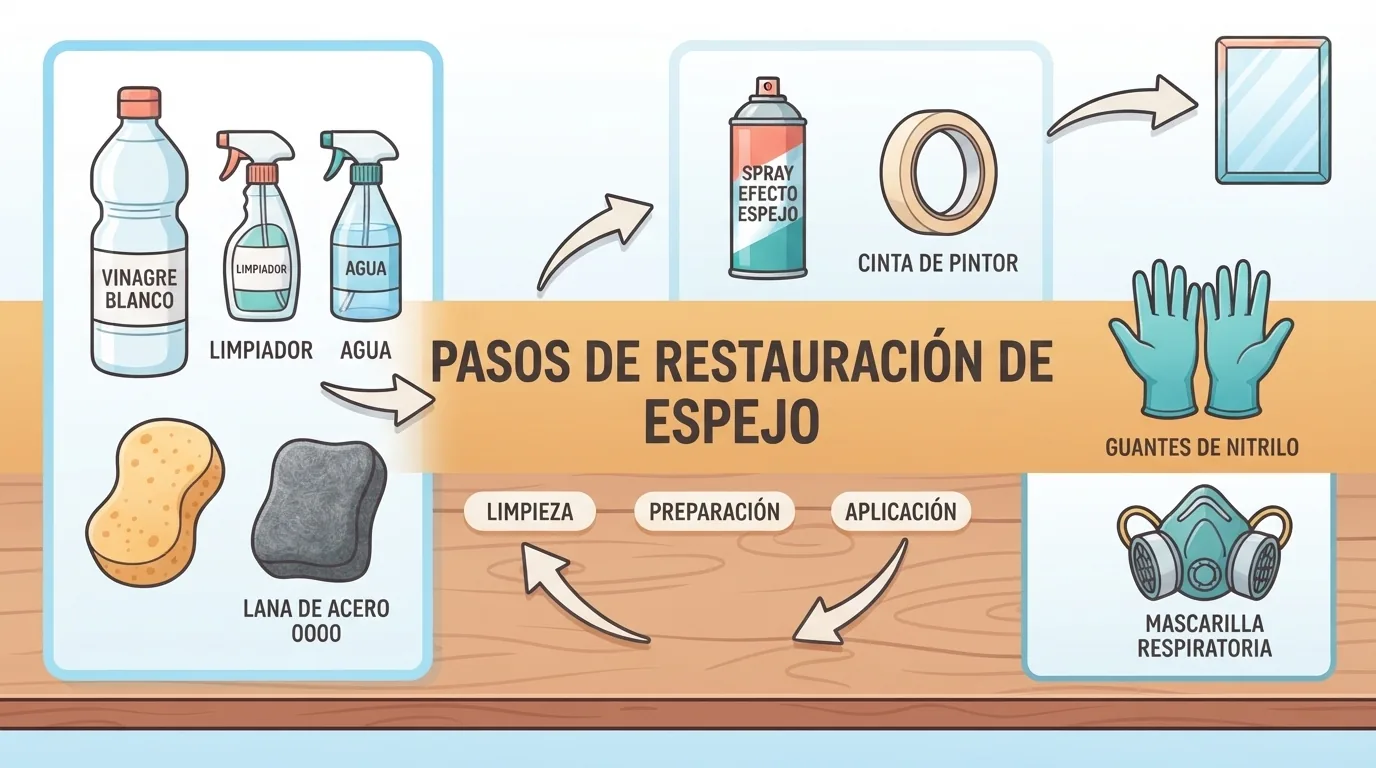
- Degrease the glass. Clean with a glass cleaner, then wipe with a lint-free cloth so the finish adheres evenly.
- Mask the frame. Run painter’s tape along the glass edge and cover the frame, wall, and floor with plastic sheeting.
- Lay it flat if you can. A horizontal mirror reduces drips and runs. If it must stay on the wall, work in thin layers.
- Ventilate. Open windows or work outdoors. Wear gloves and a mask or respirator as recommended on your product’s label.
- Test first. Try your whole process on scrap glass or an inconspicuous corner before touching the main surface.
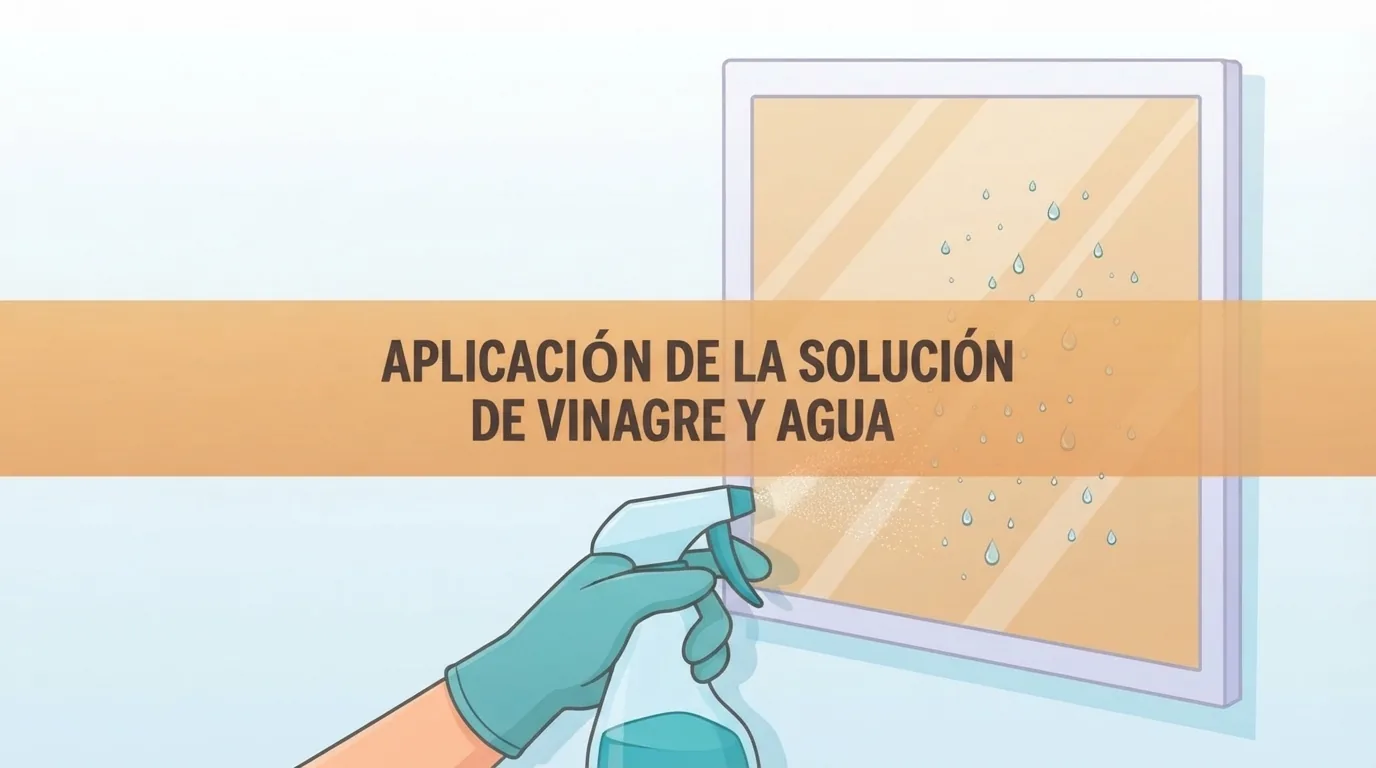
Method 1: The Vinegar and Water Droplet Technique
This method is used together with a mirror-effect spray or translucent paint. It is not a standalone way to strip silvering, which the front of the glass cannot do. The droplets interact with the wet coating, leaving mottled, cloudy patches.
- Mix a starting solution. A 1:1 mix of white vinegar and distilled water is a common starting point. Adjust after your test patch.
- Apply a light base coat of your spray or translucent paint, following the product label.
- Mist the vinegar solution from about 8 to 12 inches away, in short bursts, so droplets land unevenly.
- Dab gently with a sponge or crumpled lint-free cloth to soften hard edges and create mottled patches.
- Stop at the visual cue: patches should look uneven and cloudy, not uniform.
Results vary by coating, so always test first.
Method 2: Mirror-Antiquing Spray or Paint Applied to the Front
- Shake or stir the product as directed.
- Apply thin, uneven coats through light misting or sponge dabbing to fog the surface. Skip full, even coverage.
- Build darker zones near corners and edges by adding extra passes there, leaving the center lighter.
- Add foxing with tiny dabs of dark gray or black paint, then soften them with a dry sponge or cloth while still wet.
- Respect drying times listed on the manufacturer’s label before adding another layer.
Method 3: Steel Wool and Sponge Dabbing for Fine Detail
Use this method for refinement, not for the main effect.
- Lightly feather hard edges of dried patches with 0000 steel wool.
- Blend harsh lines and soften spots with a dry sponge.
- Use very light pressure and change the pad if it loads up with grit or paint.
- Test on a scrap first: steel wool can scratch glass, especially if grit gets trapped.
Sealing and Finishing the Mirror
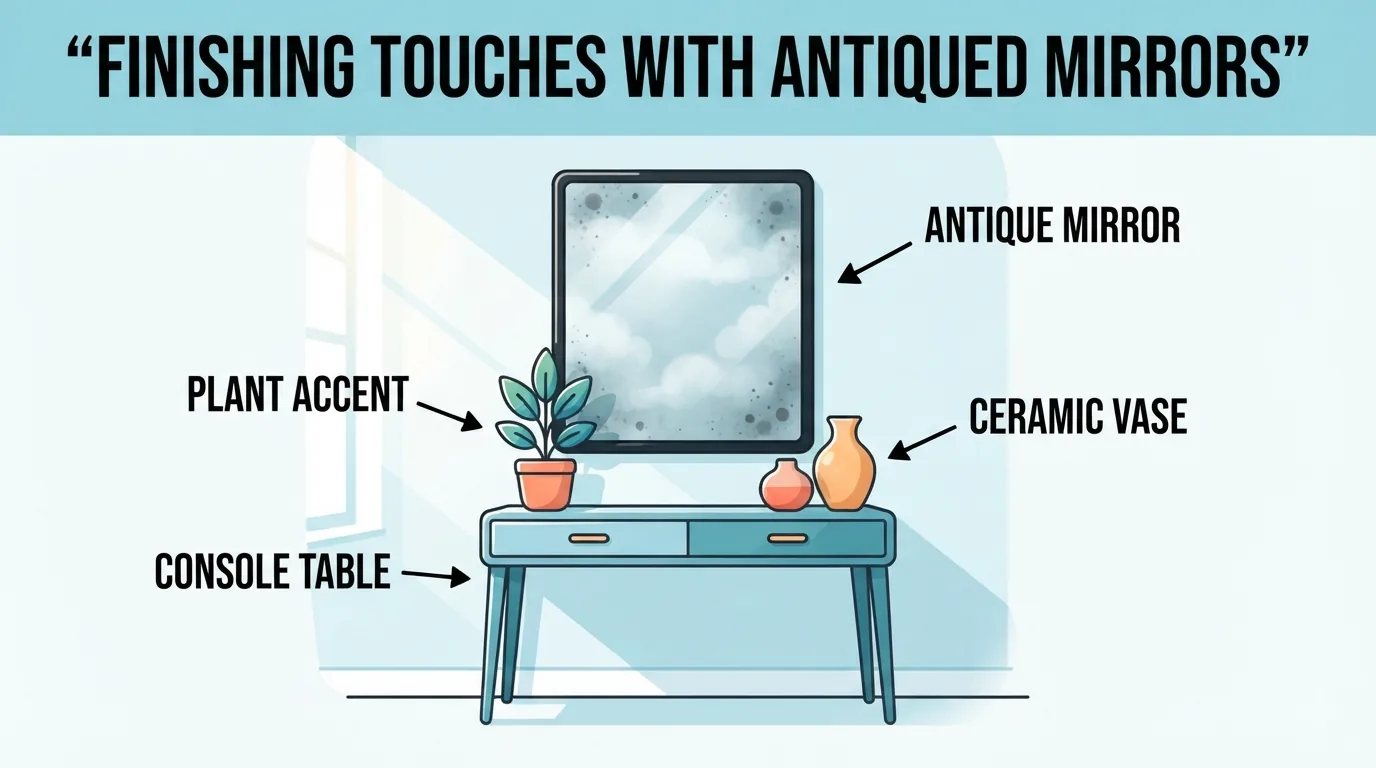
A clear matte sealer protects the finish and keeps the soft, aged look. Confirm on the label that the sealer is compatible with the paint or spray you used.
- Make sure the finish is fully dry according to the product label.
- Apply the sealer in thin, even coats, following the manufacturer’s directions.
- Let it cure for the time stated on the label before removing tape, rehanging, or cleaning.
Cleaning afterward: use a soft, dry or barely damp cloth. Gentle, non-abrasive cleaning is recommended; avoid scrubbing.
Comparison of Methods
| Factor | Vinegar and Water Droplets | Antiquing Spray or Paint | Steel Wool Dabbing |
|---|---|---|---|
| Cost | Low | Low to medium | Low |
| Difficulty | Beginner to intermediate | Beginner | Intermediate |
| Time | Short, plus drying | Short to medium, plus drying | Short |
| Realism of look | Natural mottling | Strong overall haze | Fine detail and blended edges |
| Adjustability | Easiest while wet | Easiest before curing | Hard to reverse once scratched |
| Best for | Cloudy, uneven patches | Full antique effect | Finishing touches |
Common Mistakes and How to Fix Them
- Overspraying: too much product looks opaque. Build thin layers and stop early.
- Uniform patterns: perfectly even spots look fake. Vary size, spacing, and density.
- Skipping the test patch: products behave differently on different mirrors. Always test first.
- Sealing while damp: trapped moisture can cloud or streak the finish. Follow the label’s dry times.
- Harsh abrasives: coarse pads can scratch glass. Stick to 0000 steel wool with light pressure.
- Poor ventilation: open windows and follow the label’s safety guidance.
If a patch looks too heavy, blot or dab it while it is still wet. Once cured or sealed, adjustments are difficult, so work slowly.
Final Checklist Before You Start
- Supplies gathered, including gloves, mask or respirator, and sealer.
- Workspace ventilated and surfaces covered with plastic sheeting.
- Frame masked with painter’s tape.
- Glass cleaned and fully dry.
- Test patch completed and approved.
- Drying schedule planned using label times.
Frequently Asked Questions
Can I antique a mirror without removing it from the wall?
Yes. Front-side methods are designed for this. Mask the frame and wall carefully, and use thin layers to prevent drips.
Will the vinegar method damage the glass?
Diluted vinegar is commonly used for this technique, and the effect comes from droplets interacting with the coating, not from eating the mirror. Still, test first, since results vary.
How do I get a more subtle look?
Use fewer, lighter coats, concentrate the effect near the edges, and keep the center mostly clear.
Can I undo it?
The finish is easiest to adjust before it cures or is sealed. After sealing, removal is difficult, so commit only after a test patch.
Is it safe to use on a bathroom mirror?
Use only products and sealers labeled for humid areas, and keep in mind that results may vary with moisture over time.
Ready to try it? Browse your local craft or hardware store for mirror-effect spray, a matte sealer, and gloves, and start with a small test mirror or scrap glass before working on your main piece.
- Manufacturer labels and safety data sheets for your chosen mirror-effect spray, paint, and sealer (follow ventilation, drying, and compatibility guidance).
- General DIY guidance on faux-aged finishes, test patches, and mild abrasives such as 0000 steel wool.
Want more comparisons and buying guides?
Citing this article
Source: Atovia (Atovia). https://atovia.kr