⚠️ This page connects you to Atovia’s partners and affiliate markets. We may receive a commission from affiliate partners for activities made through these links. Discount offers may change at any time according to policy! Rest assured, there are no additional costs to you! We hope this saves you time in finding the right items!
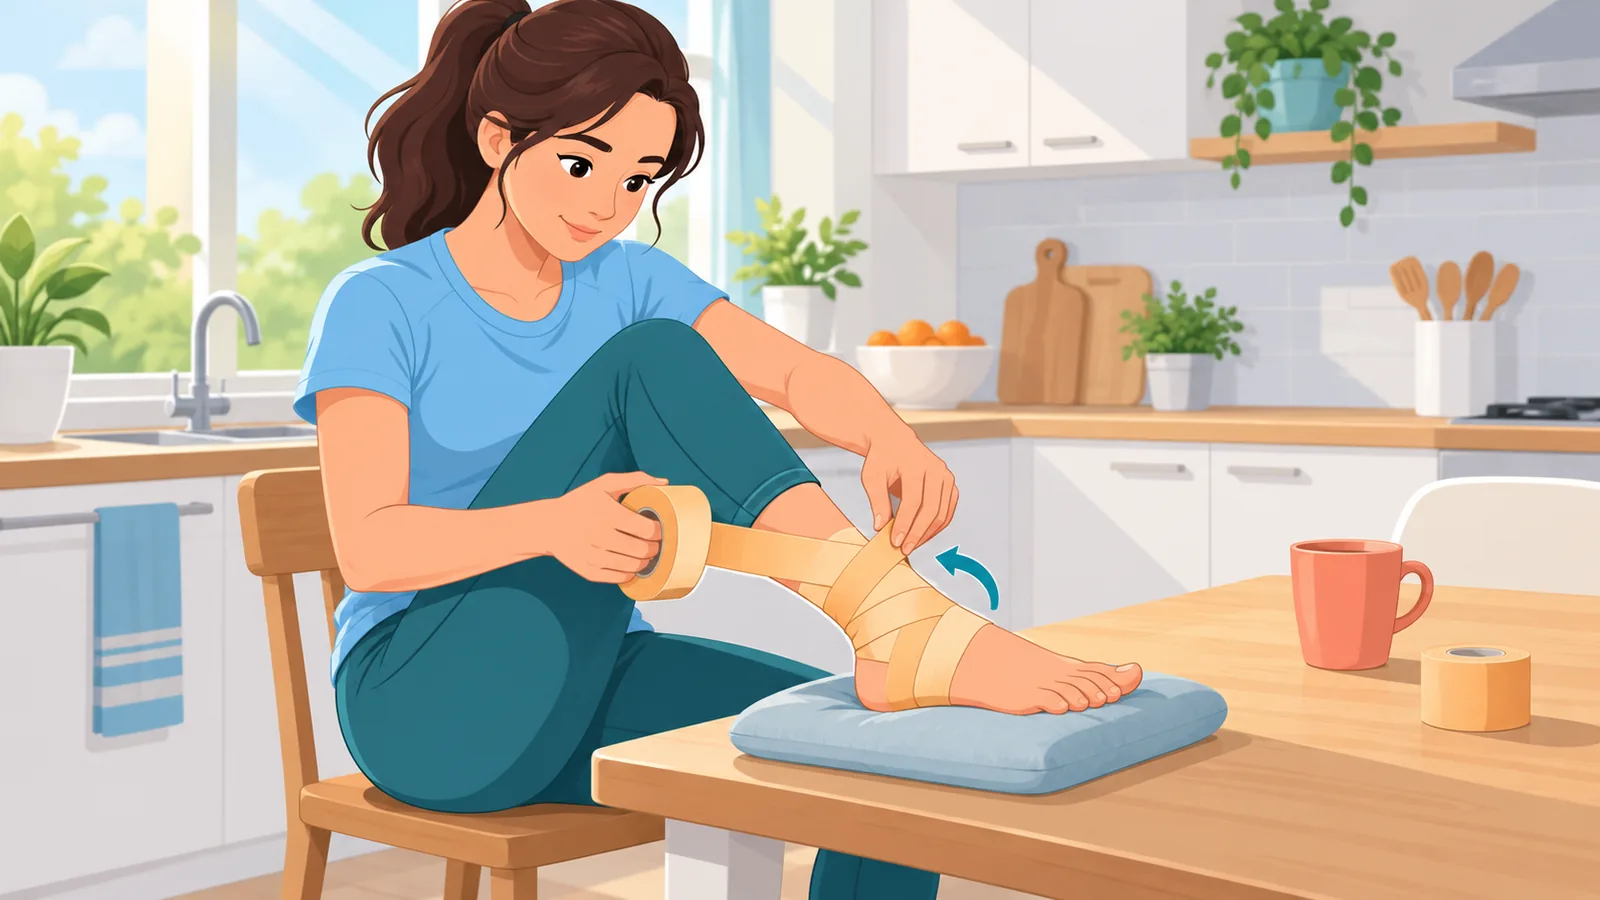
You’re in the locker room with a roll of tape in your hand and an ankle that could use some extra support. Here’s the useful part up front: a standard ankle tape job follows a fixed order of pads and prewrap, anchors, stirrups, figure strips, heel locks, and a finish.
This guide covers athletic-tape wrapping only, not Kinesio tape. It follows sports-medicine and public-health sources, and it flags where those sources disagree.
- What Does Ankle Taping Actually Do?
- What Supplies Do You Need?
- How Should You Prepare Your Foot and Ankle?
- How Do You Tape an Ankle Step by Step?
- How Do You Know the Tape Is Not Too Tight?
- Does Taping Prevent Sprains or Help a Sprained Ankle?
- When Should You See a Doctor Before Playing?
- Frequently Asked Questions and Your Next Step
- References
- The order is anchors, stirrups, figure strips, heel locks, then a finish.
- The SMA 2015 guide has you overlap anchors, stirrups, and stirrup covers by half a tape width.
- Right after taping, check circulation, sensation, and movement.
- If you cannot bear weight, or you notice numbness or blue or gray skin, get medical help before you play.
What Does Ankle Taping Actually Do?
Ankle taping adds outside support to the joint during sport. It is one prevention tool among several, and it is not a treatment.
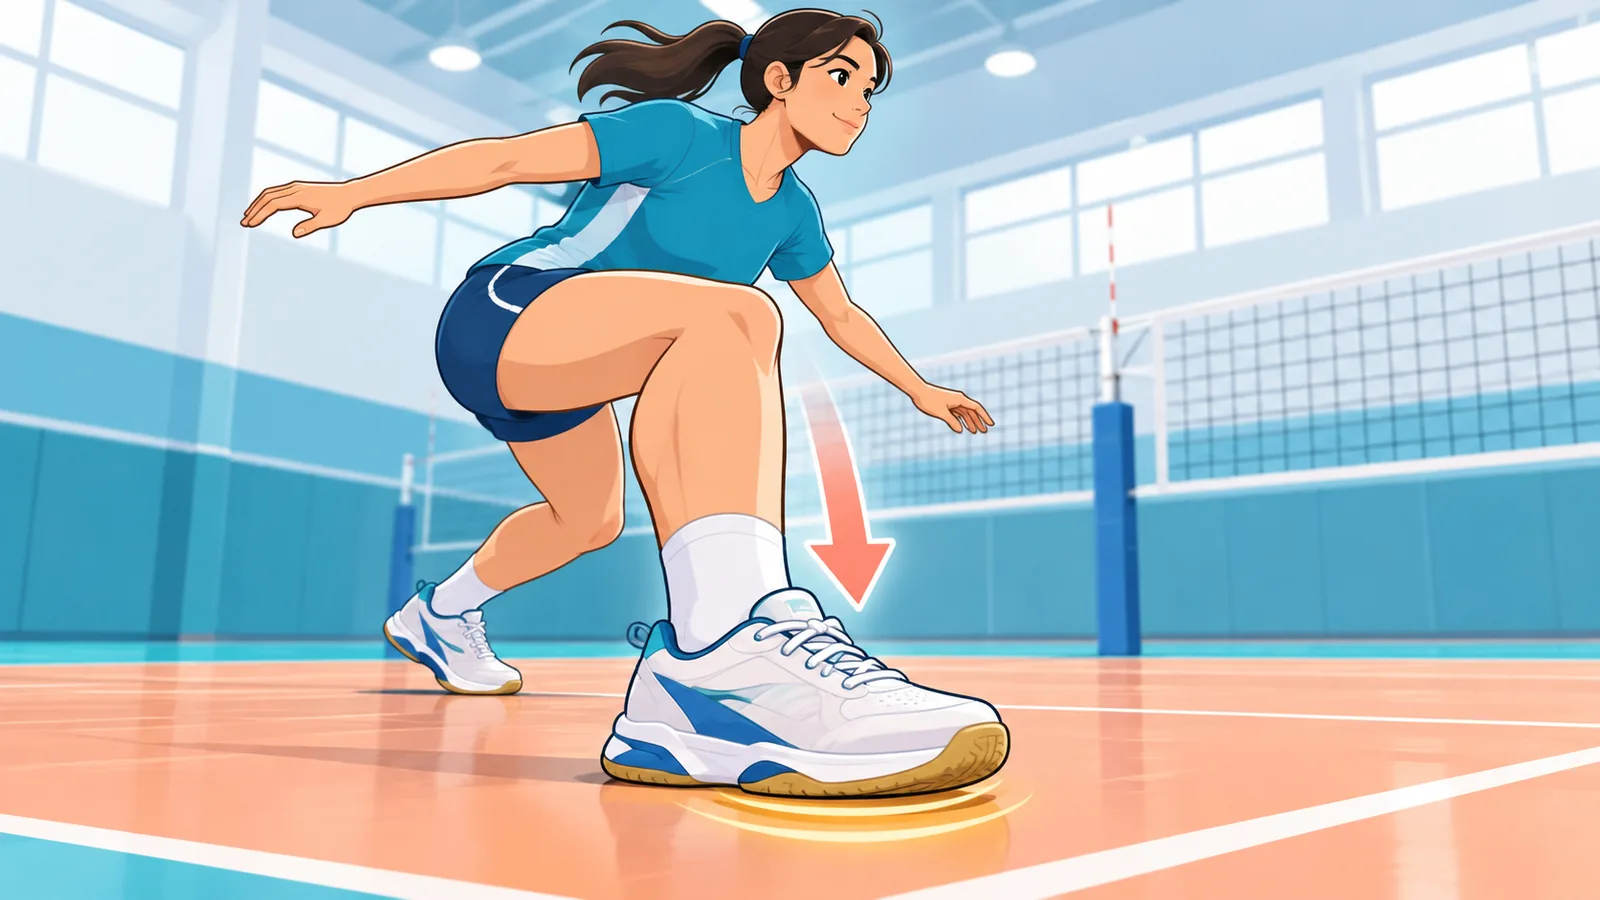
Sports Medicine Australia (SMA) says sprain risk is higher in sports with jumping, cutting, and turning, such as basketball, volleyball, and soccer. It lists taping or bracing as one way to help prevent injury, especially for people who have hurt the ankle before.
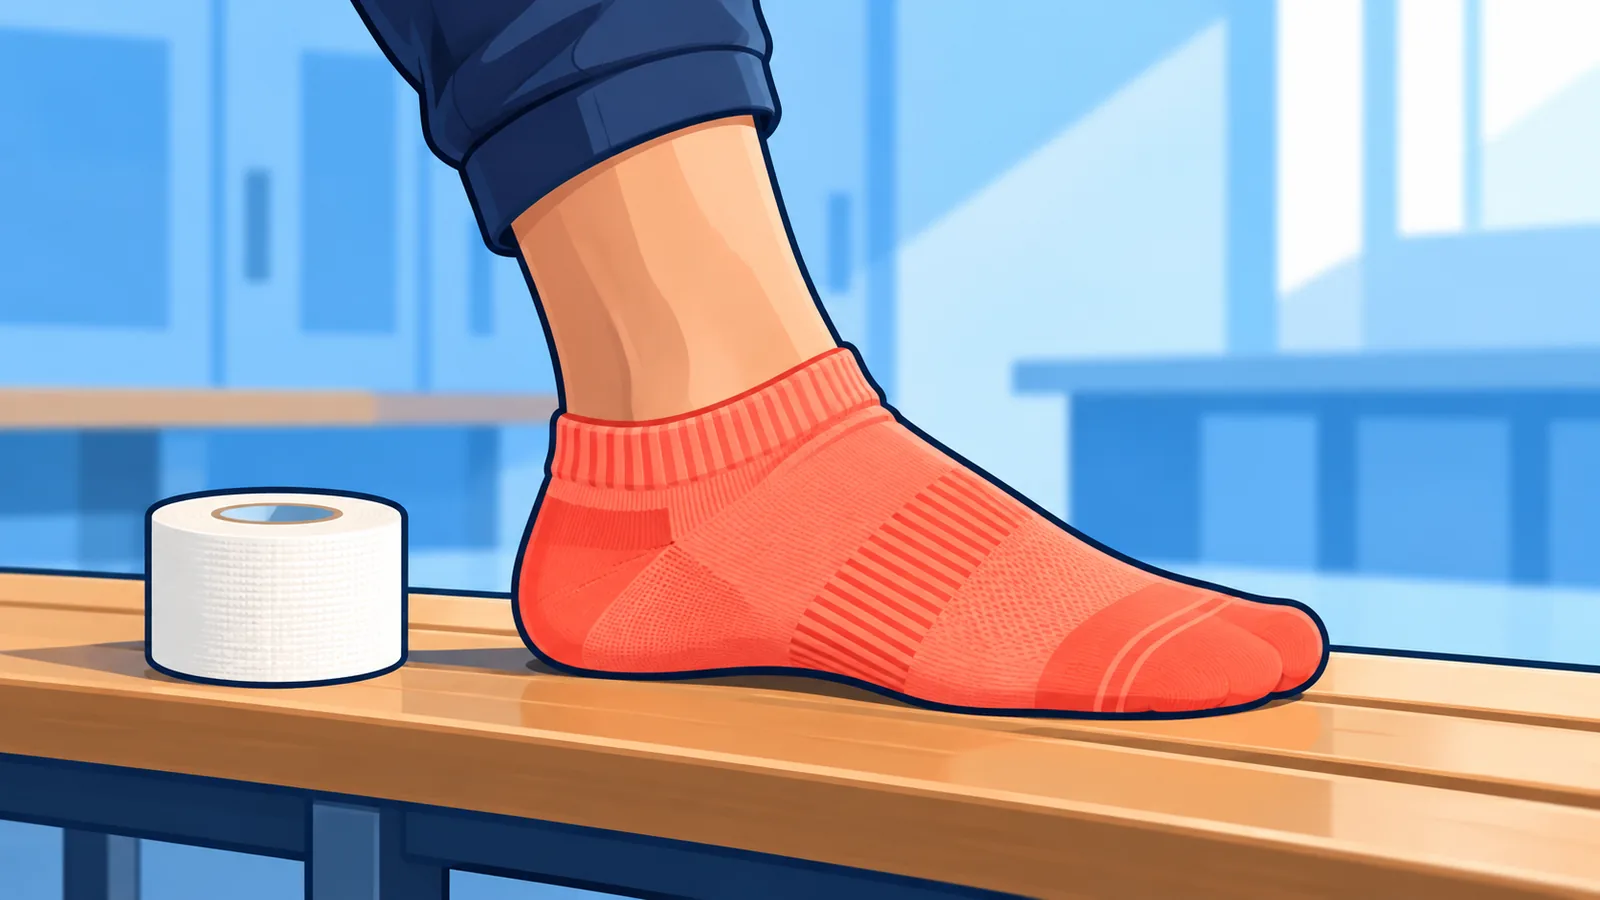
Here’s the catch: tape does not diagnose anything, and it does not cure an injury. Think of it as a support layer, not a fix.
What Supplies Do You Need?
You need athletic tape, prewrap, and non-adhesive pads, plus clean, dry skin.
- Non-adhesive pads for the front and back of the ankle
- Prewrap, from the arch up to just below the calf
- Athletic tape
- A covering for any wound on the skin
- Scissors, which is just common sense and not from the sources
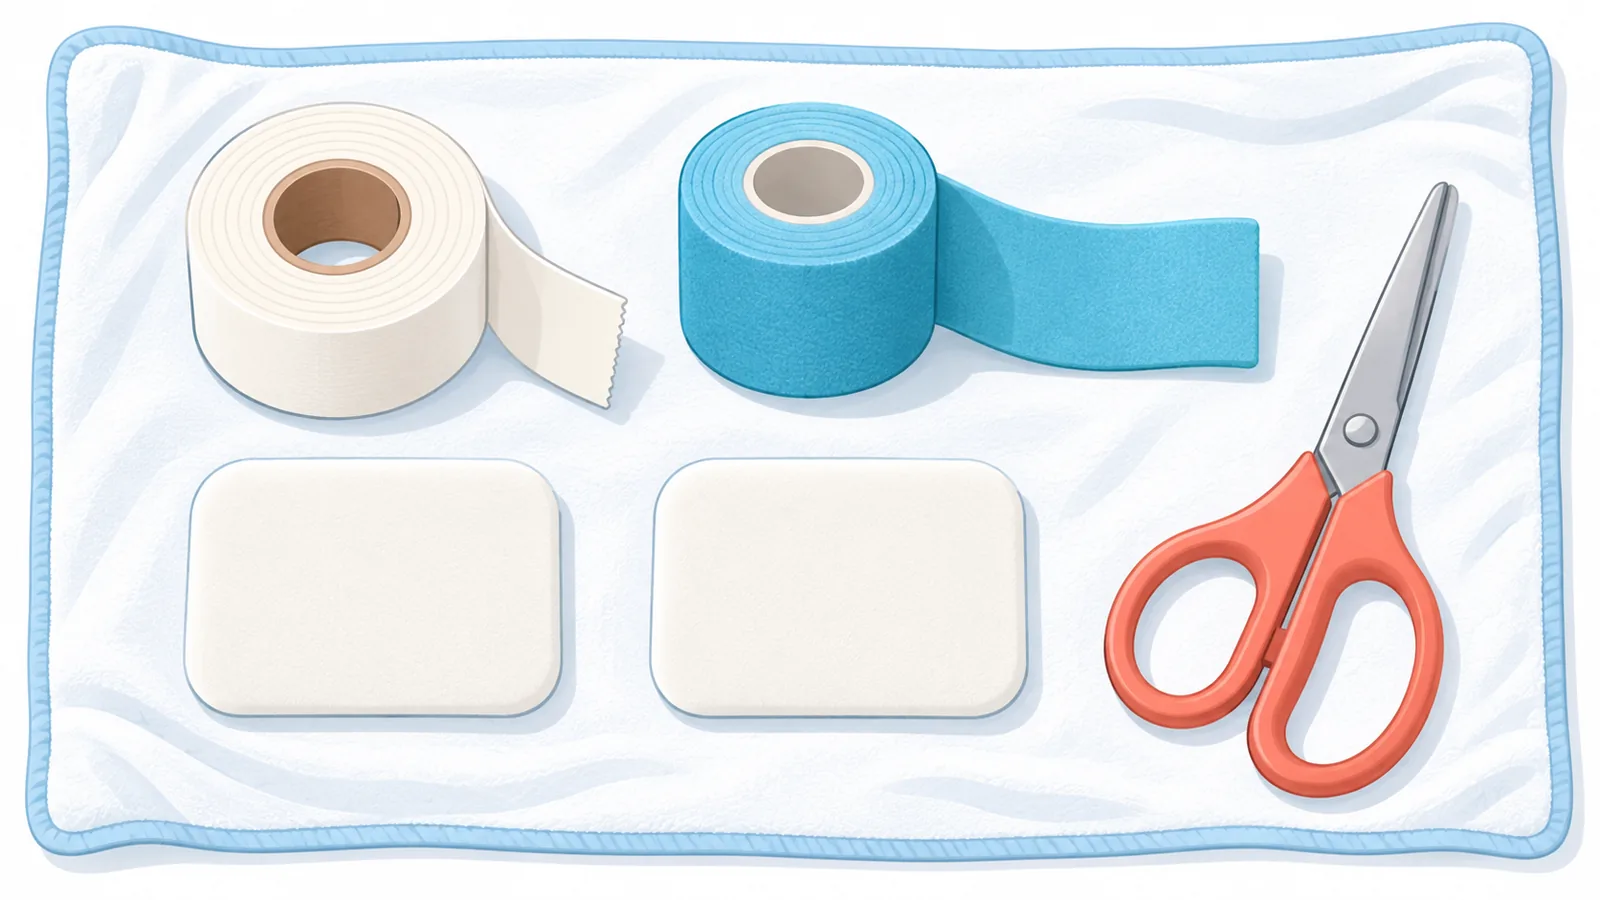
The sources reviewed for this guide do not name tape widths or brands, so this article does not either. If you are unsure which roll to buy, ask your trainer or a clinician.
How Should You Prepare Your Foot and Ankle?
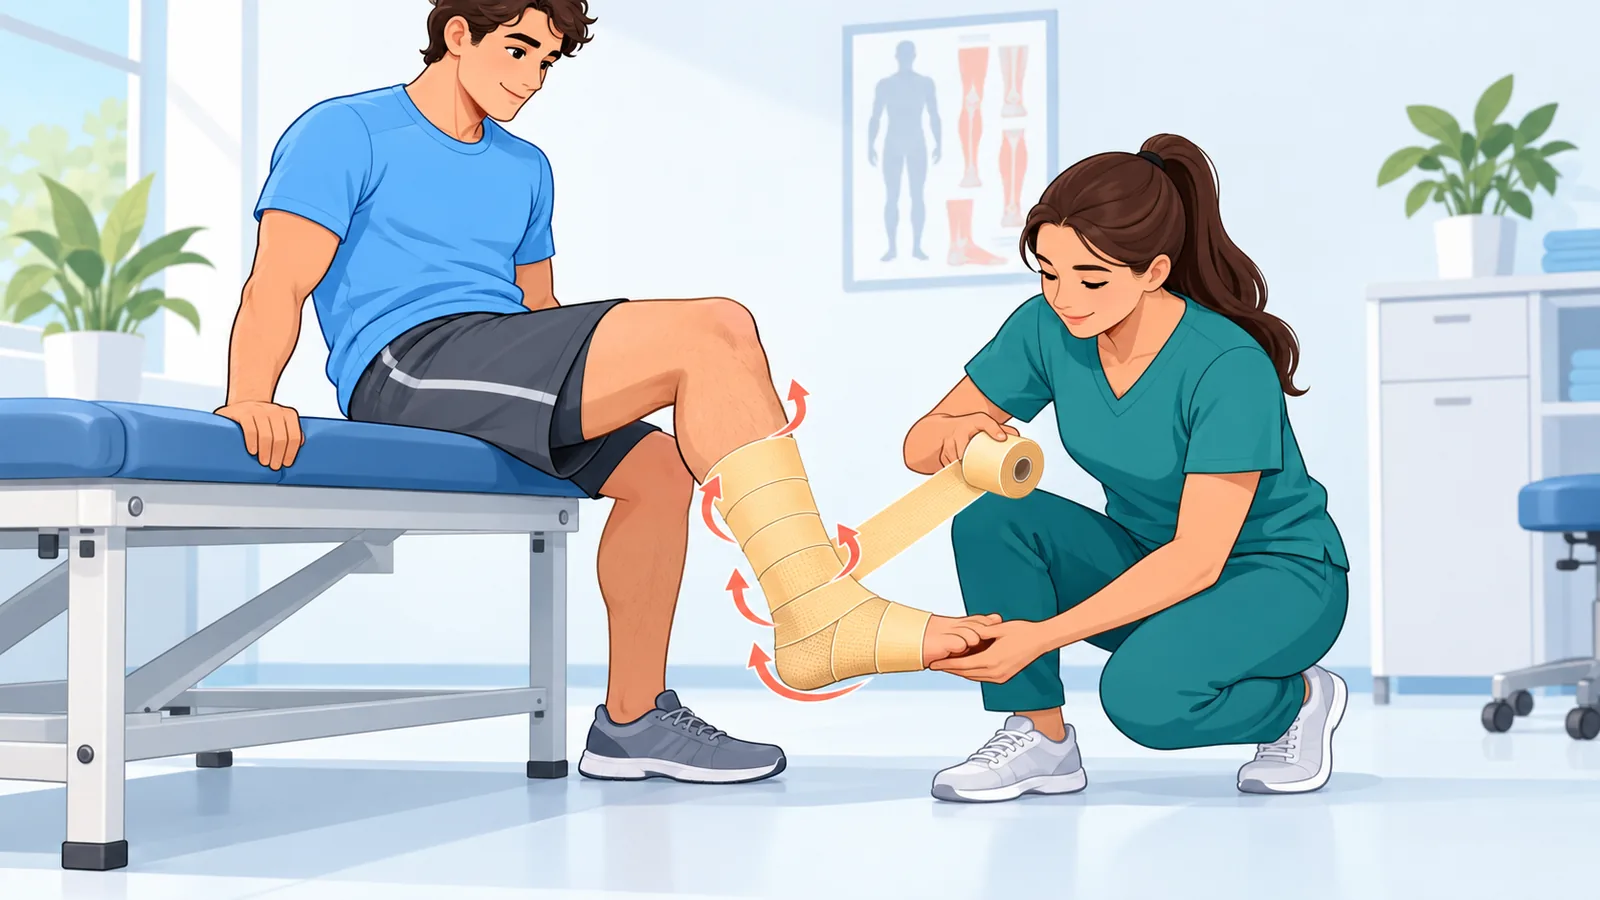
Start with a clean, dry ankle and lower calf, cover any wound, and hold your foot at 90 degrees. That is the setup described in the SMA 2015 ankle taping guide.
Why do pads and prewrap come first?
The FootCareMD guide from the American Orthopaedic Foot & Ankle Society puts non-adhesive pads on the front and back of the ankle to reduce blisters. It then runs prewrap from the arch to just below the calf, so the tape does not sit directly on skin.
How Do You Tape an Ankle Step by Step?
Work in a fixed order: anchors, stirrups, a figure strip, heel locks, and a finish. The list below follows the SMA 2015 guide, which has the most step detail.
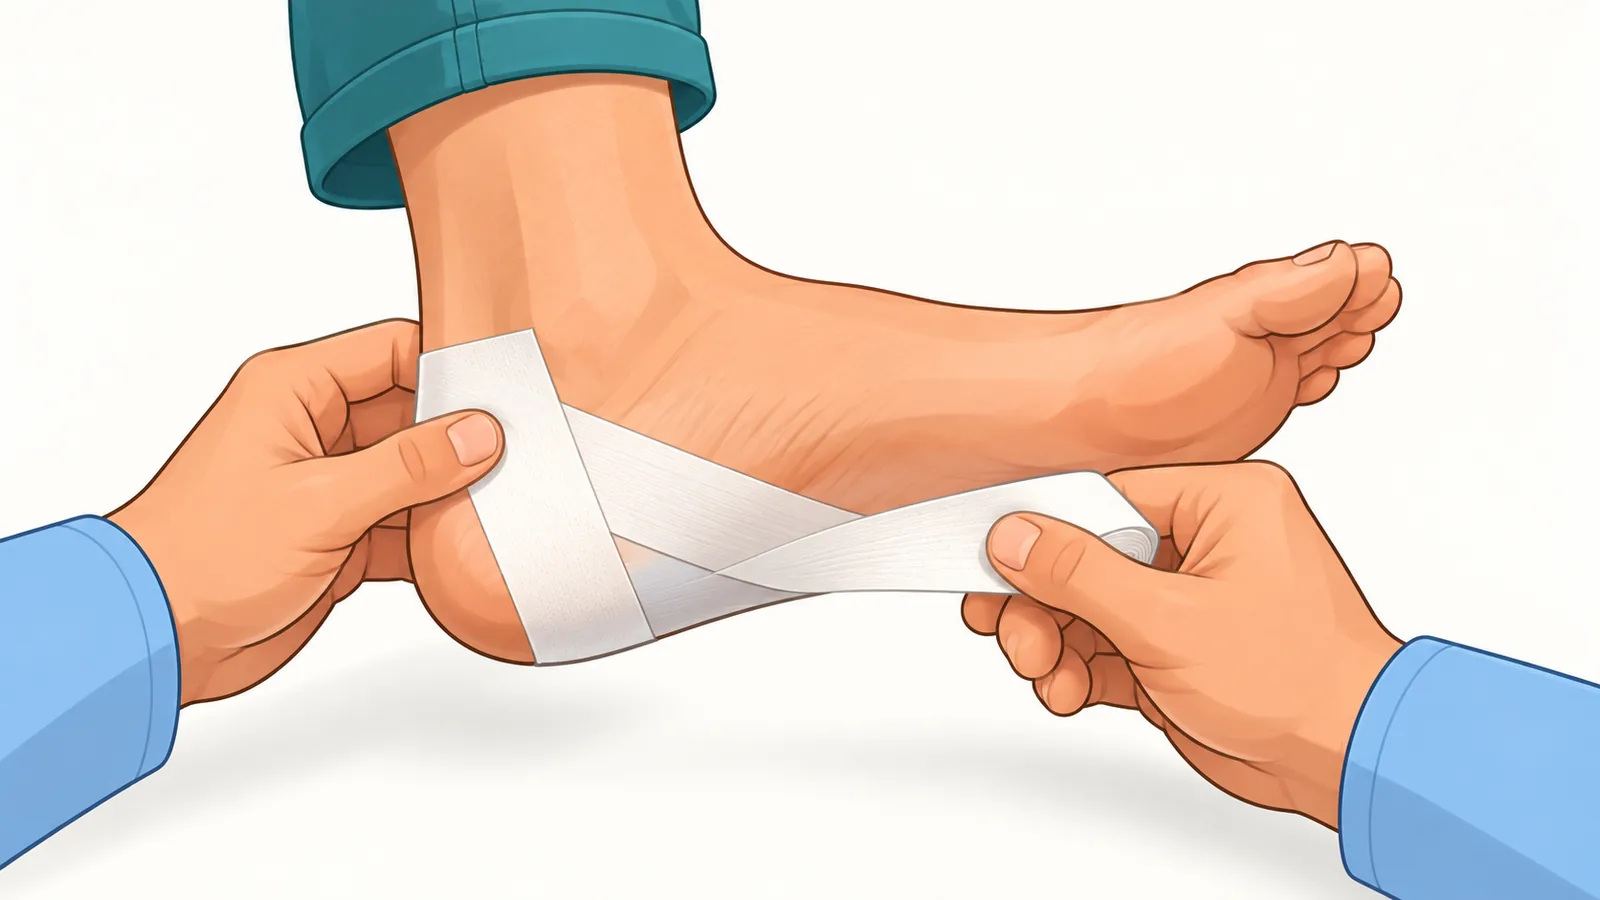
- Anchors: Place two anchors low on the calf, with the second overlapping the first by half a tape width (SMA 2015 guide).
- Stirrups: Run two to three stirrups from the inner anchor under the heel to the outer anchor, each overlapping the last by half a width (SMA 2015 guide).
- Figure 6: Start at the inner anchor, pass under the heel, cross the front of the ankle, and return to where you started (SMA 2015 guide).
- Heel locks: Cross the front of the ankle diagonally over the top of the foot, round the heel bone, and continue under the foot. Do one in each direction, inner and outer (SMA 2015 guide).
- Stirrup covers: Apply them from the top down, overlapping by half a width, and finish near the ankle bones (SMA 2015 guide).
A guide in words only goes so far. SMA’s taping resources are meant as refreshers for people it has trained, so hands-on practice with a qualified trainer or clinician matters.
Why do guides show different sequences?
Sources differ by organization and by year, and none of them is declared wrong here. The table below shows the main differences. For the exact strip paths, including Reverse 6, check the illustrations in the SMA Sports Taping Guide.
🛒 Recommended Product
| Step | FootCareMD | SMA 2015 | SMA Sports Taping Guide |
|---|---|---|---|
| Stirrups | 3 | 2 to 3 | 3 |
| Figure strips | Figure 8 | Figure 6 | Figure 6, then Reverse 6 |
| Heel locks | Both directions | Inner and outer | 2 heel locks |
| Finish | Finishing strips | Stirrup covers | Finish |
How Do You Know the Tape Is Not Too Tight?
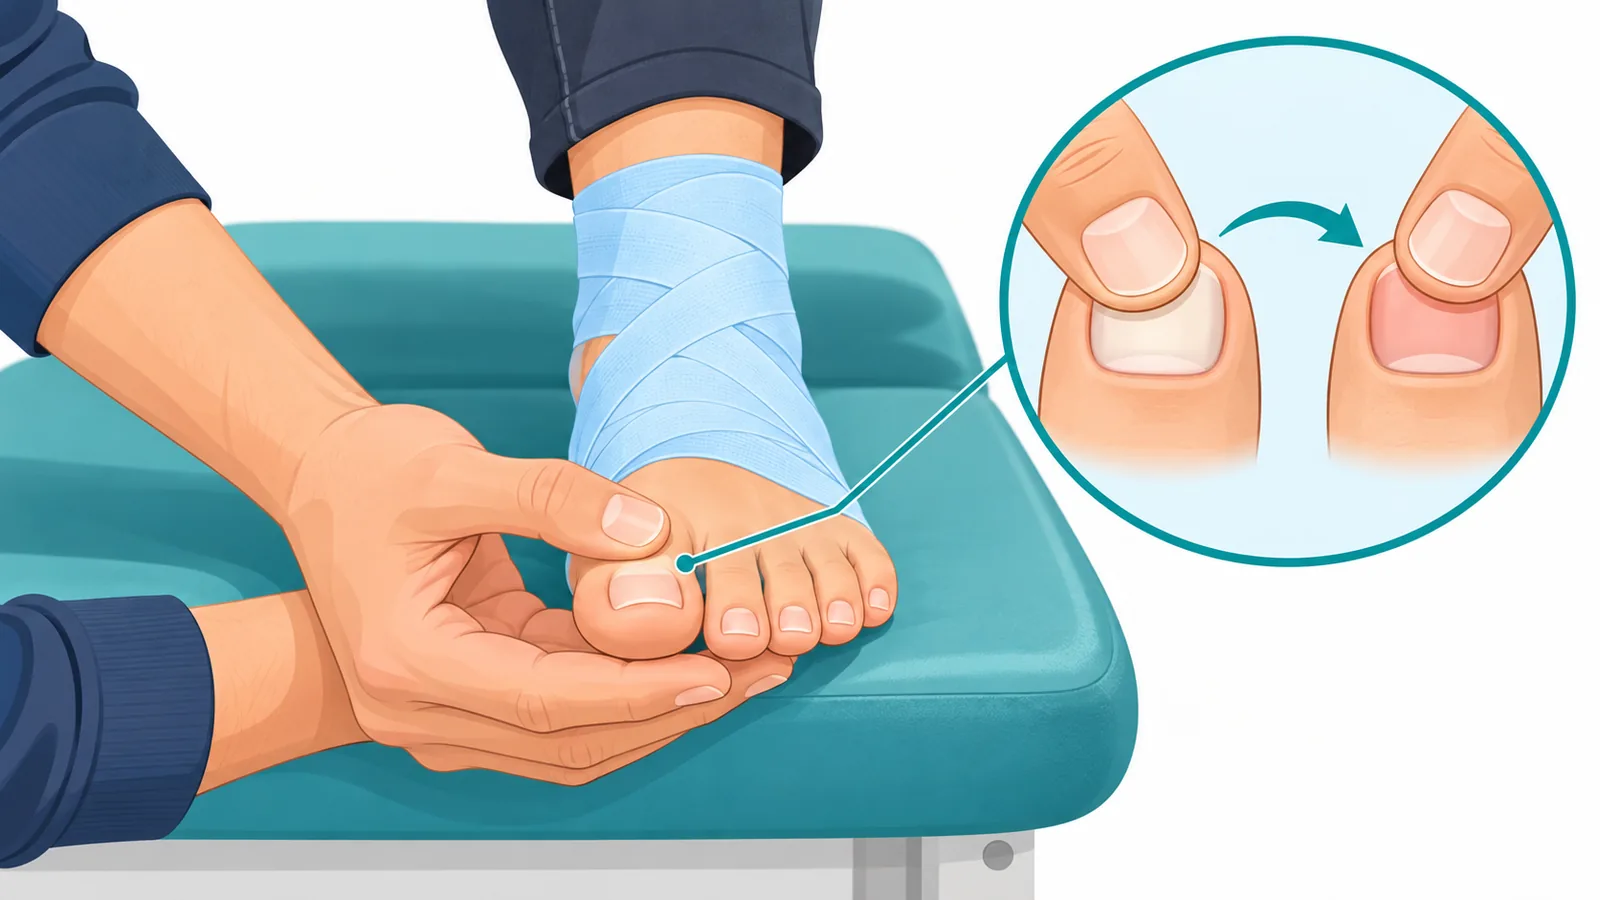
Check circulation, sensation, and movement right after you finish. SMA’s guides list these as the post-taping checks.
- Circulation: look at distal capillary refill, meaning color returning at the foot end.
- Sensation: the foot should feel normal, with no numbness or tingling.
- Movement: you should be able to move the ankle freely within the range you intend.
If something feels off, adjust the tape or take it off. Then have a trainer or clinician look at it.
Does Taping Prevent Sprains or Help a Sprained Ankle?
Taping can be one way to lower sprain risk, but it does not prevent every sprain and it does not fully protect an injured ankle. SMA lists it as one prevention option alongside bracing.
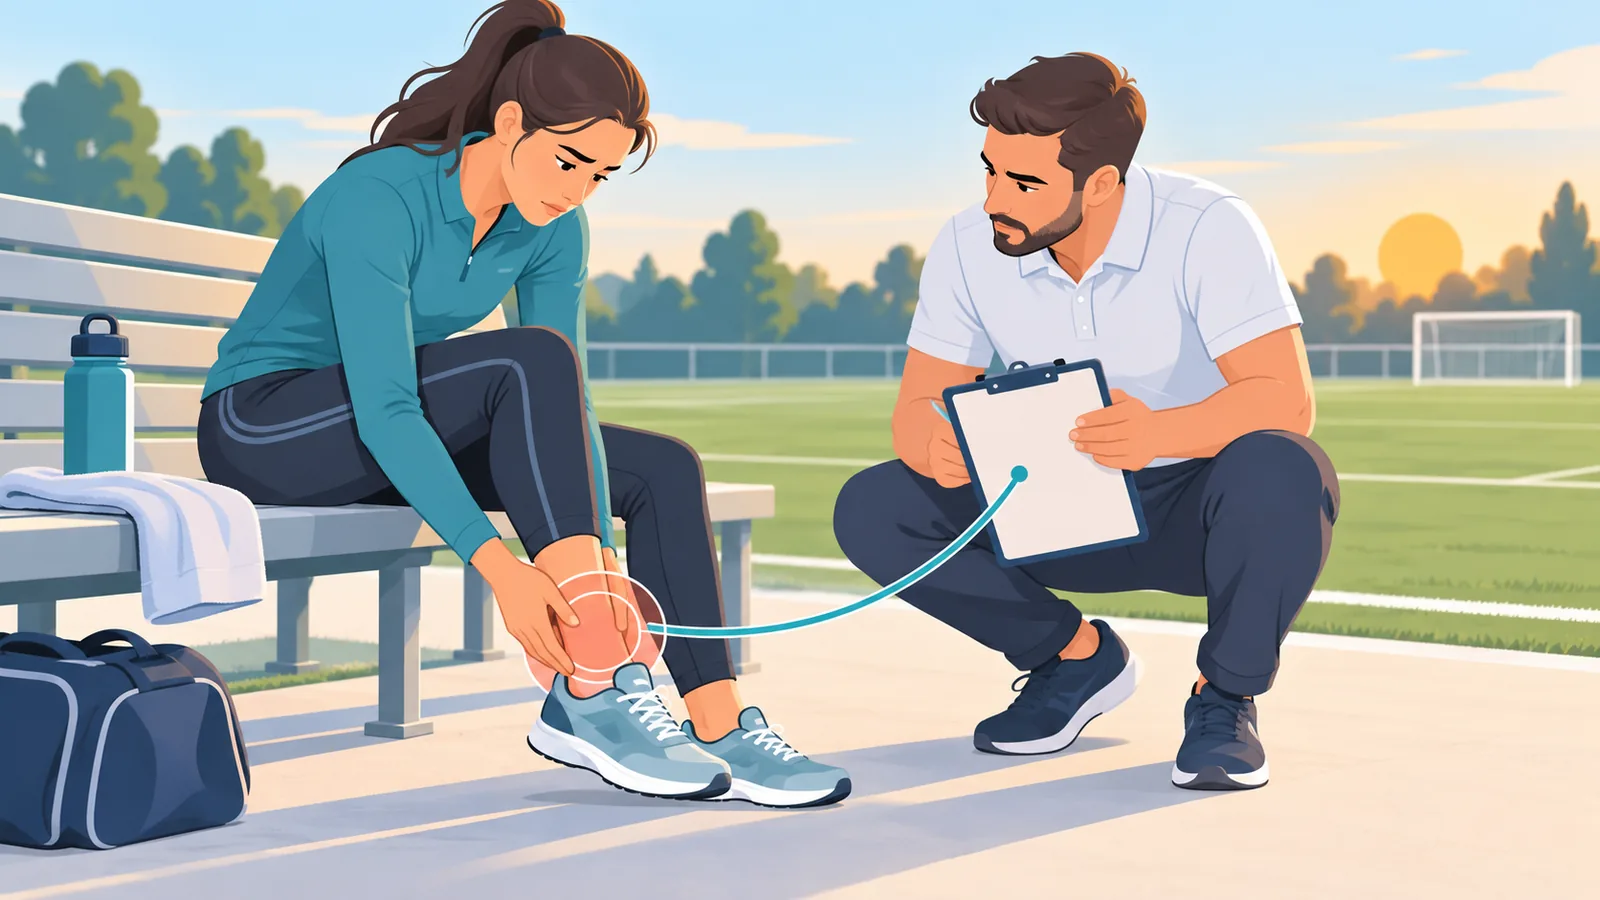
Most sprains recover in about 2 to 6 weeks, and severe ones can take up to 12. For grade 2 and 3 ligament injuries, SMA recommends protective taping or bracing during play for at least 6 to 12 months after the injury.
That is about returning to sport safely, not about treating a fresh sprain with tape. A new, painful ankle needs assessment first.
When Should You See a Doctor Before Playing?
Get urgent medical advice if you cannot put weight on the foot or walk a few steps after an injury. The NHS gives the same advice if pain or swelling is severe or getting worse.
Seek immediate help if the foot looks deformed, feels numb, or turns blue or gray. Tape is not a way to play through an acute injury.

Frequently Asked Questions and Your Next Step
Does taping treat a sprained ankle?
No. The sources support protective taping for return to play after grade 2 and 3 injuries, and they do not describe tape as a treatment.
What should I check right after taping?
Check circulation, sensation, and movement, as covered in the tightness section above.
Why do guides show different sequences?
They come from different organizations and different years. FootCareMD uses a Figure 8, while the SMA guides use a Figure 6.
When should I see a doctor first?
See one if you cannot bear weight, or if pain and swelling are severe or worsening. Numbness or blue or gray skin means immediate help.
When you take tape off, go slowly and look at your skin afterward. Your next step for today: practice the sequence on a calm day, not game day, and note any spot where the tape feels too tight.
Want a hands-on check of your technique? Ask a qualified trainer or sports clinician to walk you through it.
References
- American Orthopaedic Foot & Ankle Society, FootCareMD: How to Tape an Ankle
- Sports Medicine Australia: Sport Trainers Guide: Ankle taping (2015)
- Sports Medicine Australia: Sports Taping Guide
- Sports Medicine Australia: Ankle Injuries
- NHS: Sprains and strains
- Sports Medicine Australia: Sports Taping Resources
Want more comparisons and buying guides?